Custom Map Layers
Map layers can display routes and resource locations, as well as demographic information along with street names and one-way street arrows, helping you better navigate routes.
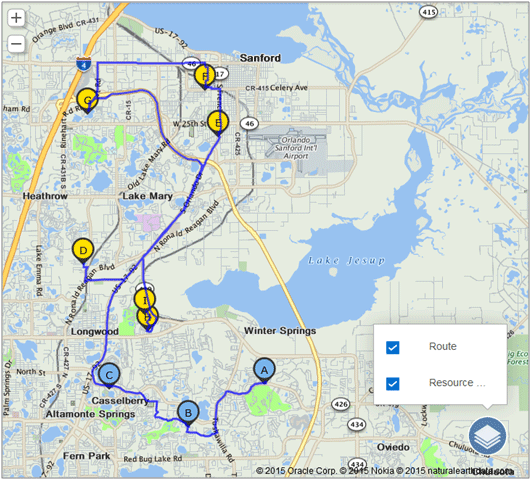
This screenshot displays the layers on a map, which can include routes, resource locations, and demographic information such as population density and the locations of gas stations, pipelines, and other geographical features. Each layer is represented by a color-coded symbol: a circle for locations, a blue line for routes, and a colored shape for demographic data.
- Click the
 icon in the application to open the list of all layers configured in the
application.
icon in the application to open the list of all layers configured in the
application. - Select a layer from the list to add the items contained in the layer to the map.
- Select multiple layers to display their combined data.
- Deselect a layer to remove its content from the map.
Create an activity or a service request
You can create an activity or service request from a map layer and include the asset details and GPS location. In addition, you can interact with the asset directly and obtain historical and/or IoT data. The application can capture the correct location and asset properties automatically, if configured. As a mobile worker or a dispatcher, you can open a plug-in or custom form from the map layer hint for a specific asset. Custom map layers are available for route and team maps within Core Application and in the installed iOS and Android apps.