Use the install inventory action to track equipment or inventory that is moved from
the mobile worker’s inventory pool to the customer’s inventory pool. Typically, mobile
workers install new equipment as part of the activity completion process and the
Add to Installed action tracks the inventory consumed
during the activity. If you use a warehouse to manage inventory, mobile workers draw the
new equipment from the warehouse.
-
Use one of these methods to select the equipment that you want to
install:
- Search for the equipment that you want to install either
from the global search field or within the warehouse
that's assigned to the activity.
- Scan for the equipment using a barcode scanner.
- Open an activity that's in Started status. Open the
Inventory tab and go to the
Warehouse section. Search for the required equipment
within the warehouse.
-
Click Add to Installed for the equipment in the
mobile worker pool.
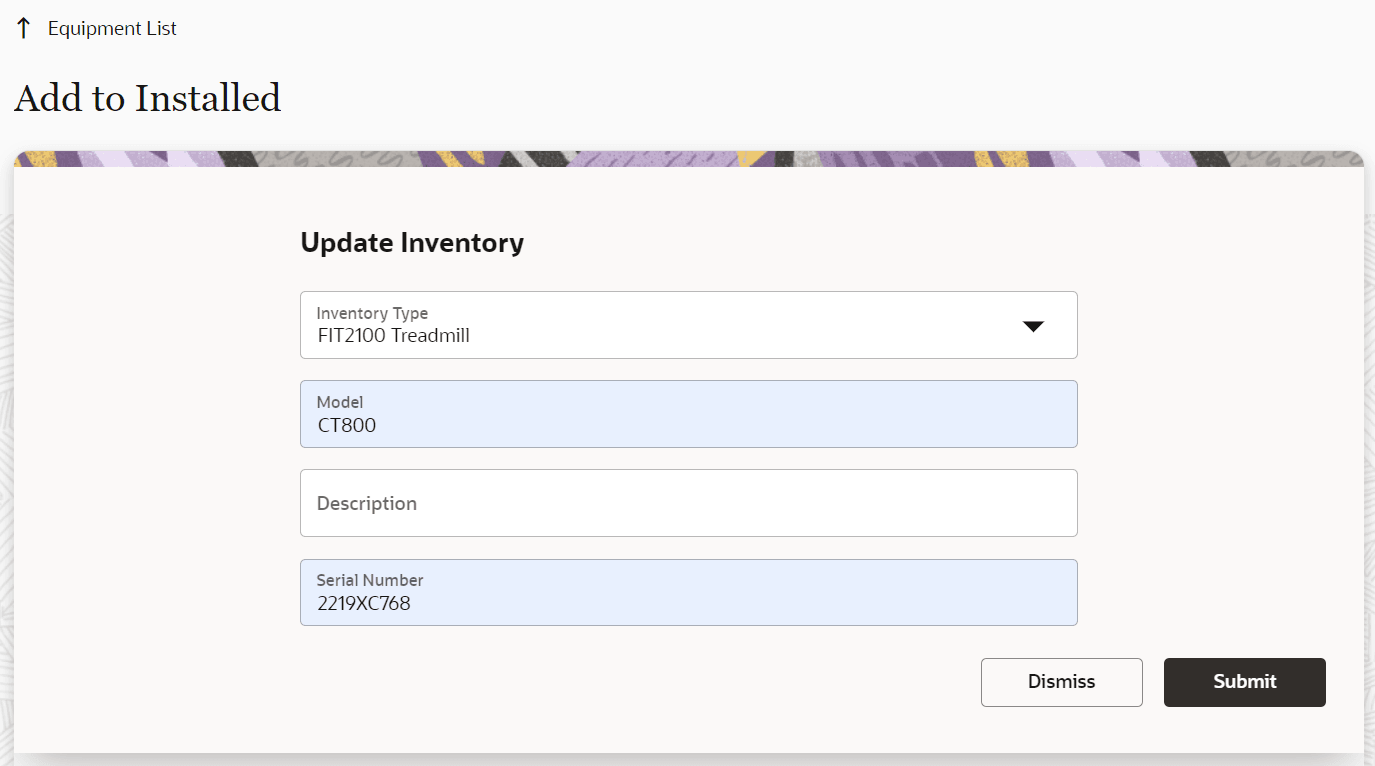
The Add to Installed dialog box appears, as shown in this
screenshot:
-
Enter the details of the inventory you are installing.
If this is non-serialized inventory and you enter a value that
exceeds the quantity precision that's configured, then the precision
is rounded off. For example: Quantity precision for an Inventory type
= 2. You enter 1.4552; this is rounded off to 1.46. In general, the
half-up rounding rule is applied; that is, 0.5 becomes 1 and 0.4
becomes 0. If you enter extra zeros after the decimal point, then all
trailing zeros are trimmed and not displayed in the inventory pool. If
you try to install more non-serialized inventory than you have in the
pool, then the message, 'The quantity 6.5 exceeded your available
quantity of 5. Are you sure you want to proceed?' is
displayed.
-
Click Submit.
The equipment is installed and the inventory is deducted from the
warehouse.
-
Optionally, click Deinstall.
This allows the ability to undo an install if, for example, a device
was installed in error. When you deinstall, the equipment is added
back and its quantity is incremented in the warehouse.