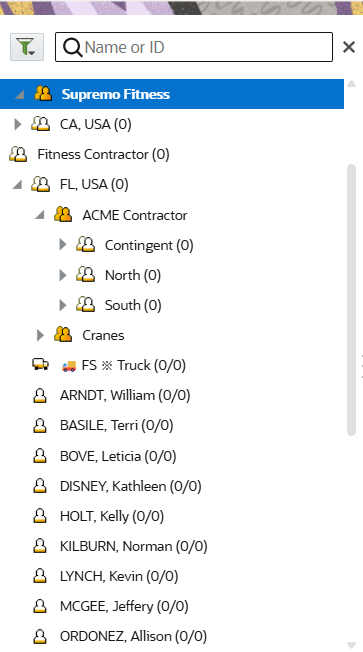
Enable Quota Management at a Bucket Level

You can enable quota management only at a bucket level.

Note: Forecasted data is available only for the quota enabled bucket. If the user clicks a group/parent resource, the following message is shown: Select a Quota Management enabled Bucket. By default, the first available bucket in the tree is loaded.
You can manage quota for a:
  • Region: Create a group for all the resources of a specific region and then create a bucket inside that group to use it for the quota management.

  • Workforce: Create a single bucket for the entire workforce and then divide the workforce into various groups within the bucket.

The bucket structure looks like this:
Bucket structure

Quota of a group or a bucket with the “child” capacity areas display the sum of quota of all the child buckets. You can't edit quota at the aggregate level.

To enable quota management at a bucket level:

  1. Sign in to Oracle Fusion Field Service as a user who has access to the Quota module.
  2. Select Navigation Menu and click Quota.
  3. Select Configuration and click the plus icon (+) in the left pane.
  4. In the Add Capacity Area dialog, select the bucket that you want to use as a capacity area.
  5. Click Add.
    The quota management feature is enabled for this bucket and the bucket is displayed in the resource tree. The Quota Configuration page is displayed.
  6. Configure the quota bucket as required, and click Save.
    To stop using a bucket as a capacity are, select the bucket in the resource tree on the Quota page and click the minus ( - ) icon. This operation doesn't remove the bucket from the Dispatch Console resource tree, but it only disables the bucket from being used as a capacity area.