Modify an Oracle Integration Application

You can modify the existing endpoint configurations for an Oracle Integration application.

  1. Click Configuration > Applications.
  2. On the Applications page, select the application to edit
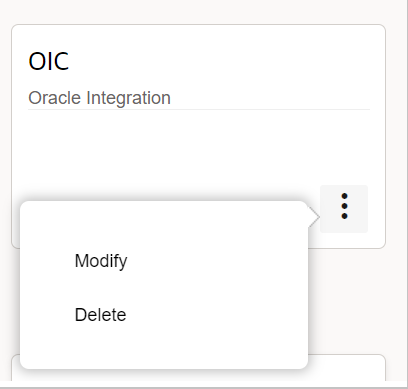
  3. Click the Properties icon and select Modify.
    The screenshot shows the Properties menu options for a selected application.

    This screenshot shows the Properties menu options for a selected Oracle Integration application.
  4. The Modify Application dialog box displays the options to edit the selected application.
    This screenshot shows the Modify Application dialog box.

    This screenshot shows the Modify Application dialog box
  5. Edit the following details as necessary:
    Note:
    Field Name Action
    Application Type Select Oracle Integration from the drop-down list.
    Application Name Enter the name of the application you are integrating. This name will be displayed on the Applications page.
    Host Enter the host name of the Oracle Integration instance in the format servername.oraclecloud.com.
    User Name Enter the user name which is used to log in to the Oracle Integration instance that has read/write permissions.
    IDCS URL Enter the base URL of the Oracle Identity Cloud Service Admin console in the format https://example.identity.oraclecloud.com.
    Client ID Enter the Client ID of the client application you have created in Oracle Identity Cloud Service.
    Client Secret Enter the Client Secret of the client application you have created in Oracle Identity Cloud Service.
    Key ID Enter the key that is used to verify the signature in Oracle Identity Cloud Service. It must match with the certificate alias uploaded in Oracle Identity Cloud Service.
    Scope Enter the scope of the Client Application that you have created in Oracle Identity Cloud Service. It must be in the format: https://applicationid.integration.ocp.oraclecloud.com:443urn:opc:resource:consumer::all
  6. Click OK.