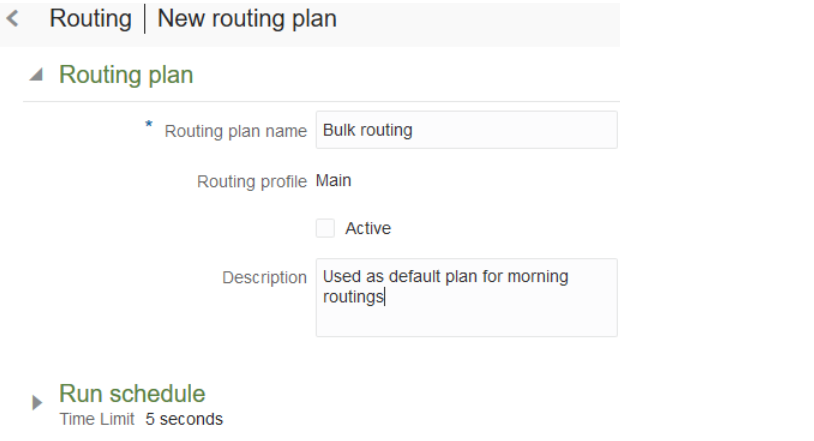
You must provide general details about the routing plan
including the profile on which it is based, the routing method and
the number of minutes and seconds it will run.
To configure the routing plan section:
- Click Routing to open the Routing screen.
- Select Routing Plans to display
the routing plans and routing profiles available for the selected
bucket or resource.
- Click the Modify link to open the
Edit routing plan screen.
- Click Routing Plan to expand that
section.
- Identify the routing name and profile and provide other
basic details.
- Click Add.
Tip: If you find that routing is regularly running
until the time limit, consider increasing the time limit and monitor
the results to see if they are more efficient.
If the Time Limit shows any value between 5 seconds and
20 minutes, the routing plan runs over and over again until it either
finds the best match or the time limit expires, whichever comes first.