Import Fiscal Document

You can import a fiscal document related to a purchase order. You can also understand how taxes are handled on an XML imported fiscal document.

In the Manage Inbound Fiscal Documents page, the tax amount indicated in the XML imported fiscal document is captured in the Fiscal Document Tax Amount field, and the amount calculated based on tax configuration is captured in the Tax Amount field. If the difference between the fiscal document tax amount and tax amount exceeds the tolerance limit, fiscal document is put on hold.

This table describes various scenarios involving the fiscal document tax amount and tax amount and how taxes are handled on an XML imported fiscal document:

Import Fiscal Document

Scenario Tax Treatment Hold Hold if Difference Tolerance
Tax is stated on the fiscal document and is applicable per the tax setup

Fiscal Document Tax Amount = <Notified Value>

Tax Amount = <Calculated Value>

Tax is stated on the fiscal document but is not applicable per the tax setup

Fiscal Document Tax Amount =<Notified Value>

Tax Amount = 0.00

Tax is not notified on the fiscal document but is applicable per the tax setup

Fiscal Document Tax Amount = 0.00

Tax Amount = <Calculated Value>

User updates the calculated tax amount

Fiscal Document Tax Amount = <Notified Value>

Tax Amount = <Updated Value>

User creates a manual tax line

Fiscal Document Tax Amount = 0.00

Tax Amount = <lnput Value>

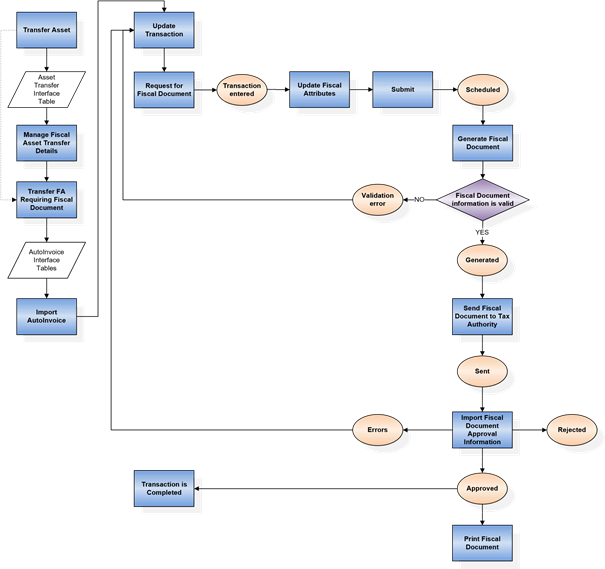
Here is the process flow to capture a fiscal document:
Import Fiscal Document process flow diagram

To import a fiscal document related to a purchase order, follow these steps:

  1. From the Navigator menu, click Tools and select the File Import and Export task.
  2. Click Upload.
  3. Select the zip file containing the fiscal document XML file.
  4. Select the account as scm/BrazilSEFAZSupplierMessages/import.
  5. Navigate to the Scheduled Processes work area and submit the Import Brazil Electronic Documents process.
    This ESS job process retrieves Brazil electronic documents such as the fiscal documents and the freight fiscal documents from the content server and imports them to the fiscal document interface.
  6. From the Scheduled Processes work area, submit the Import Electronic Fiscal Documents process.
    This ESS job process imports the electronic fiscal documents from the interface into the fiscal document internal tables.
  7. From the Fiscal Document Capture work area, navigate to the Manage Inbound Fiscal Documents task.
  8. Search for and open the imported fiscal document.
  9. Review the fiscal document information including the header, lines, and charges.
  10. In the Taxes tab, review the calculated taxes in the Tax Amount attribute.
    The fiscal document tax amount is the tax amount indicated in the fiscal document and cannot be updated. The downstream processes consider this tax amount.
  11. From the Actions menu, click Capture Fiscal Attributes and review the fiscal attributes.
  12. From the Actions menu, click Validate Fiscal Document. This action performs tax calculation based on tax configuration.
  13. In the Holds and Validation Errors region, check for any hold or validation errors. Correct any invalid information and release the hold for the fiscal document.
  14. From the Actions menu, click Validate Fiscal Document.
    If there is no hold or validation error, the fiscal document status changes to Completed Prevalidation and the tax information cannot be updated.
  15. From the Actions menu, click Confirm Item Deliveries.
  16. Click Save and Close.
  17. From the Actions menu, click Validate Fiscal Document.
    Once the validation process is completed, the fiscal document status changes to Captured. At this point, a receipt and a Payables invoice are created automatically. The fiscal document tax amount is carried forward to the receipt and Payables invoice.
  18. Navigate to the Scheduled Processes work area.
  19. Submit the Transfer Transactions from Receiving to Costing process to post transaction details from Receiving to Costing.
  20. From the Receipt Accounting work area in Costing, navigate to the Create Receipt Accounting Distributions task. This task creates distribution lines for purchase order receipt transactions.
  21. Select the bill-to business unit used to process receipt accruals in a trade transaction.
  22. Click Submit.
  23. From the Invoices work area in Payables, navigate to the Manage Invoices task.
  24. Search for and open the generated invoice.
  25. Review the invoice header, lines, charges, and taxes. The tax amount in the invoice is copied from the fiscal document tax amount.