Walkthrough of Developing a Flow Project
Intelligent Advisor Flows was only made available to select customers, and will not be made Generally Available.
This topic is a basic walkthrough of developing a flow project in Intelligent Advisor Hub. The walkthrough will demonstrate how to create a very simple flow for a loan pre-approval scenario, with two pages containing various inputs and labels, and several rules.
This walkthrough assumes that the project is being worked on by two users: a user with the Manager role in Intelligent Advisor Hub who creates the flow project and the flow scheme project, and a user with the Author role who develops the flow and the rules that sit behind it.
The process of developing a flow project is as follows:
- The manager creates a flow scheme project - the flow scheme project contains the set of controls, data actions and other settings to use when authoring the flow.
- The manager creates a flow project - the flow project contains the questions, pages and data actions that define a flow (in this case, a web interview flow).
- The author develops the flow
- The author creates the rules of the flow
- The author runs the flows
These steps are walked through in greater detail below.
-
The manager creates a flow scheme project. To do this they:
- In Intelligent Advisor Hub, navigate to the Projects Page.
- Click Create. In the Create project window:
- Under Project type, select Flow scheme.
- Under Template, select Web interview.
- Under Workspace, select Default Collection.

- Click Create. The new scheme project opens.
- Rename the project by clicking in the New Scheme text in the project header and typing a new name "My Walkthrough Scheme". For more information, see Rename a Project.
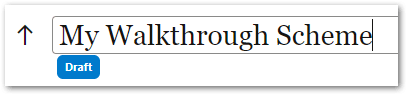
- Click Enter. The project header shows that the change has been automatically saved.

- Click Commit. This is important because the flow scheme project will not be available to the flow project in the step below unless it has been committed.
- In the Commit dialog, type "Scheme created for Loan Pre-Approval example". Click OK.
Tip: For the purpose of this walkthrough, we are going to use out-of-the-box controls in the flow scheme template, but if you did want to customize the controls available to the flow project, you can learn more about that in Intelligent Advisor Flow Schemes.
- The manager creates a flow project. To do this they:
- Navigate to the Projects Page.
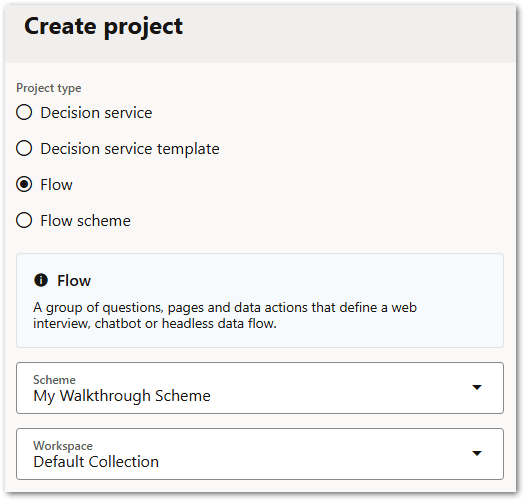
- Click Create. In the Create project window:
- Under Project type, select Flow.
- In the Scheme drop-down list, select the 'My Walkthrough Scheme' flow scheme that was created in step 1.
- In the Workspace drop-down list, select the 'Default Collection' workspace for the project.
- Click Create. The new project opens.
- Rename the project by clicking in the New Project text in the project header and typing "Loan Pre-Approval". For more information, see Rename a Project.
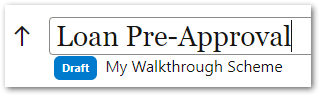
- Click Enter. The project header shows that the change has been automatically saved.

- Click Commit.
- The author creates a page in the flow for the questions that will be asked of the user. To do this they:
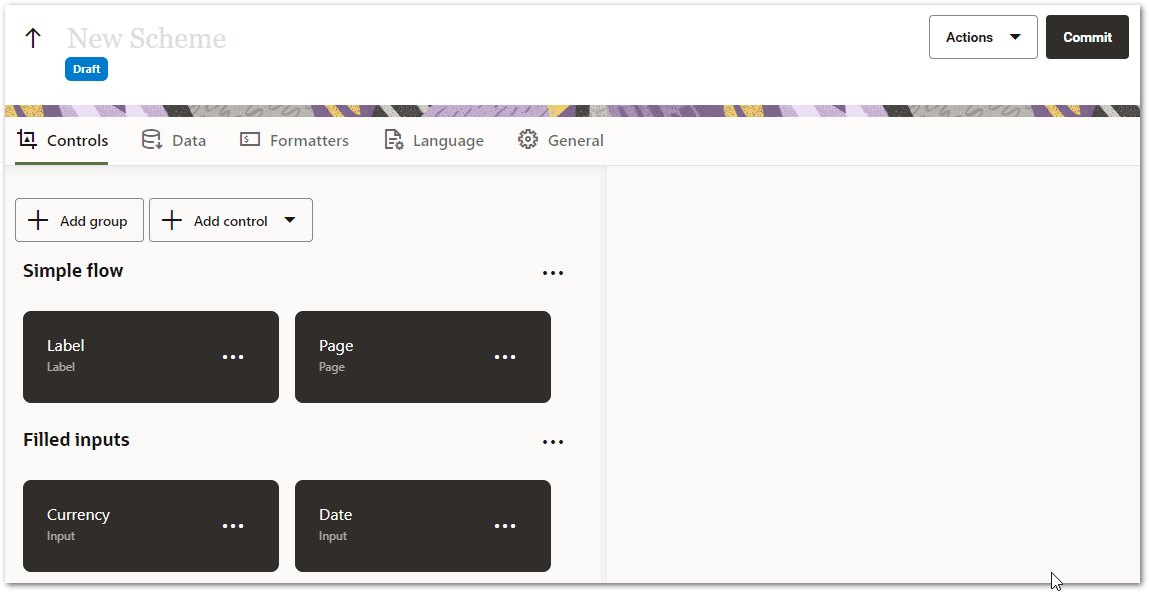
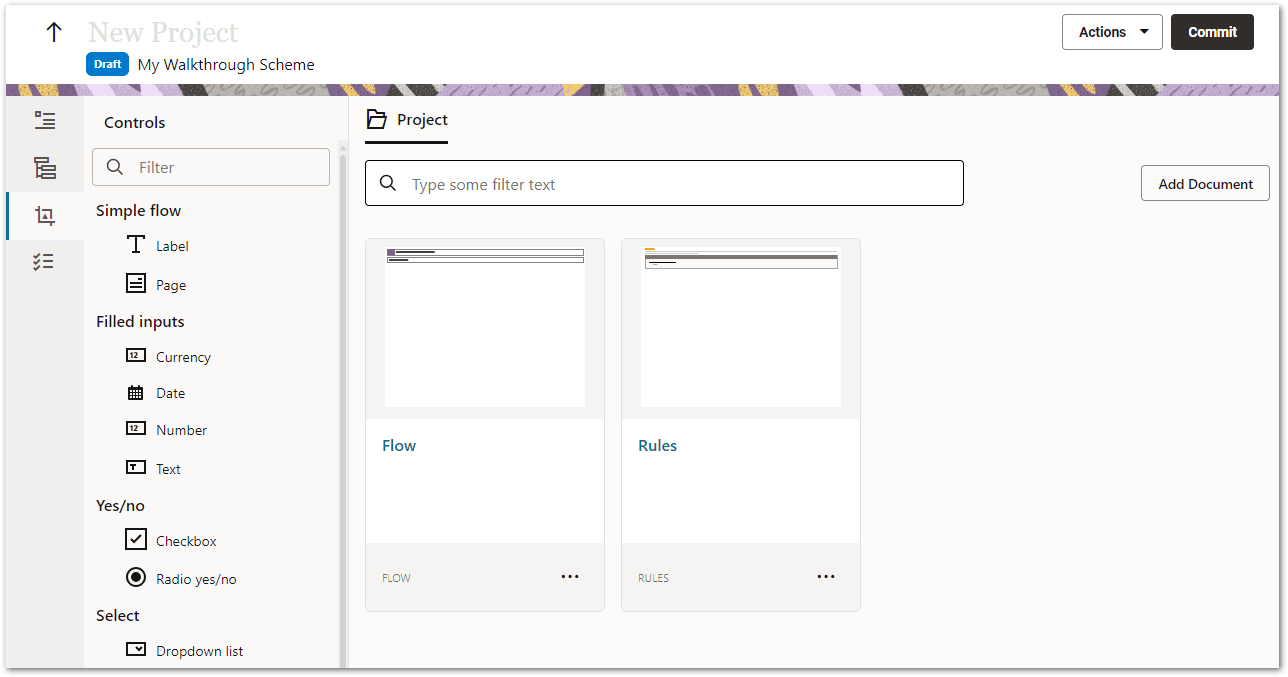
- On the Project tab, click the Flow tile. The flow editor opens. The project flow has been created with a blank page (New Page).
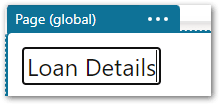
- Click in the New Page text. Replace "New Page" with "Loan Details".
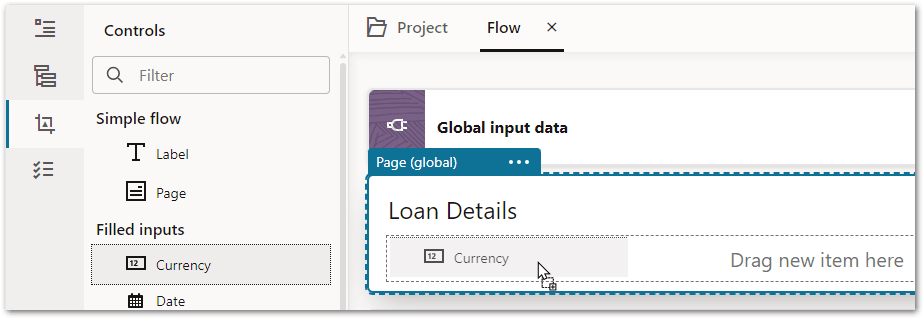
- Add a Currency control to the page by dragging it from the left hand controls palette on to the page in the flow editor.
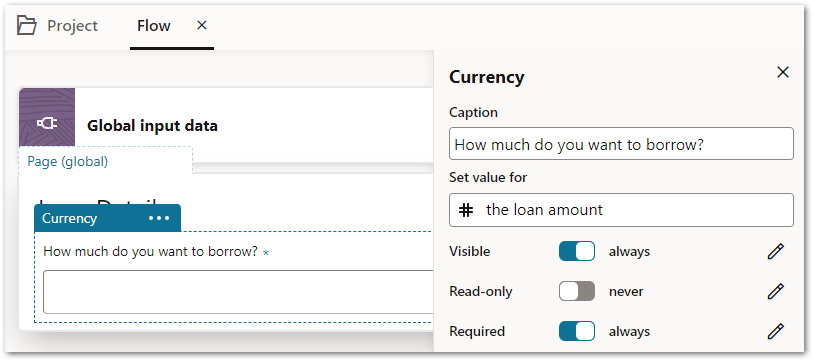
- In the properties panel for the Currency control:
- In the Caption field, type "How much do you want to borrow?". This is the text that will be displayed to the user for the question.
- In the Set value for field, type "the loan amount". This is the field name.
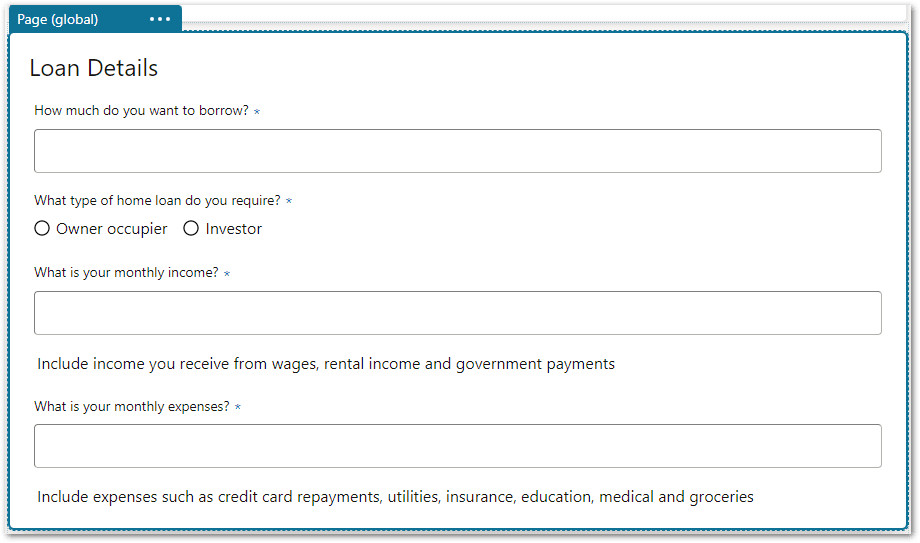
Add a Radio group control to the page by dragging it from the control palette on to the page in the flow editor under the Currency control just added.
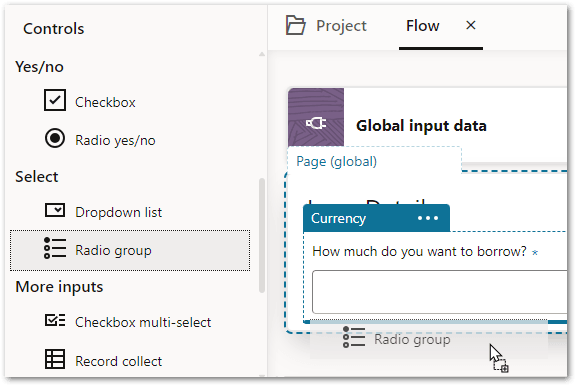
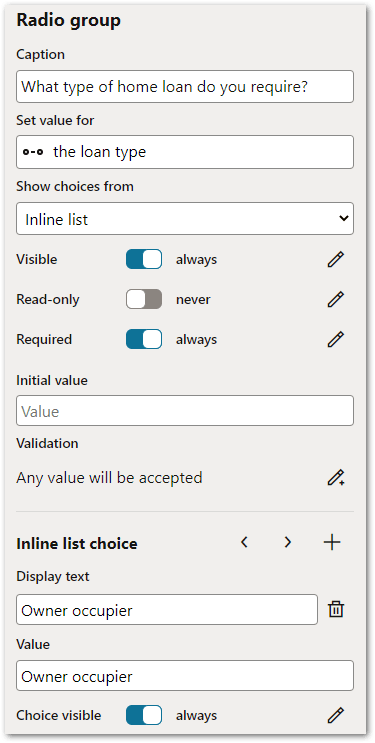
- In the properties panel for the Radio group control:
- In the Caption field, type "What type of home loan do you require?".
- In the Set value for field, type "the loan type".
- In the Show choices from drop-down list, select Inline list.
- In the Inline list choice section, define two choices (you can delete the third option that was created by default):
- Display text: Owner occupier; Value: Owner occupier
- Display text: Investor; Value: Investor
These choices are now displayed on the page in the flow editor.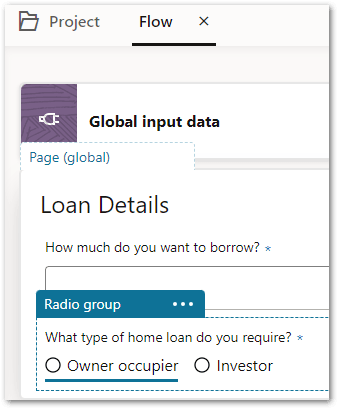
Follow the steps in c and d to add another Currency control under the Radio group control just added, with the properties:
Caption: What is your monthly income?
Set value for: monthly income
Add a Label control to the page by dragging it from the control palette on to the page in the flow editor under the Currency control just added.
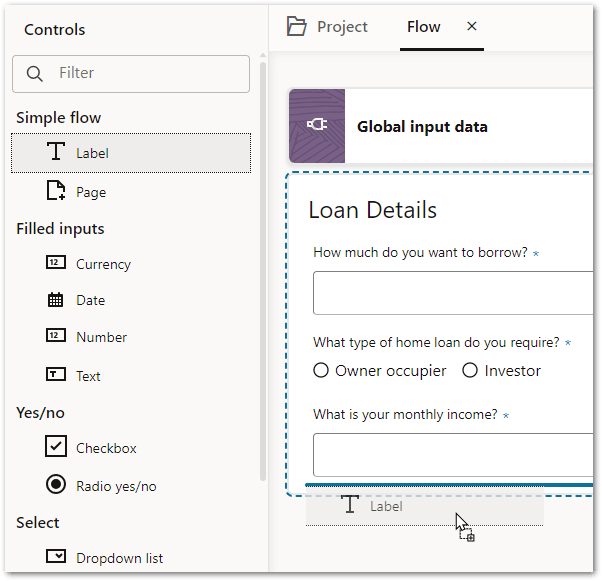
Click in the Label text. Replace "Label" with "Include income you receive from wages, rental income and government payments".
Follow the steps in c and d to add another Currency control under the Label control just added, with the properties:
Caption: What is your monthly expenses?
Set value for: monthly expenses
Follow the steps in i to create another Label control under the Currency control just added, with the text "Include expenses such as credit card repayments, utilities, insurance, education, medical and groceries". The first page of the flow is now complete!
Click Commit.
In the Commit dialog, type "Loan Details page added". Click OK.
- On the Project tab, click the Flow tile. The flow editor opens. The project flow has been created with a blank page (New Page).
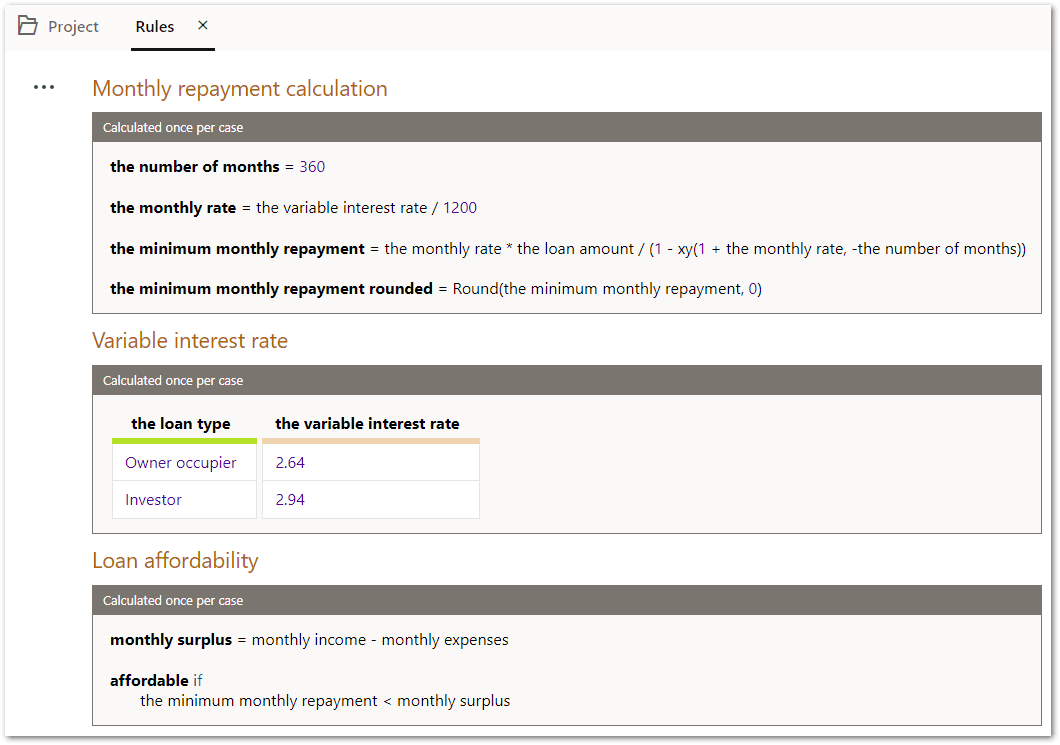
- The author creates the rules of the flow. For more information, see Web-Authored Intelligent Advisor Rules. To do this they:
- On the Project tab, click the Rules tile.
- In the rule editor, create the following rules:
- Click Commit.
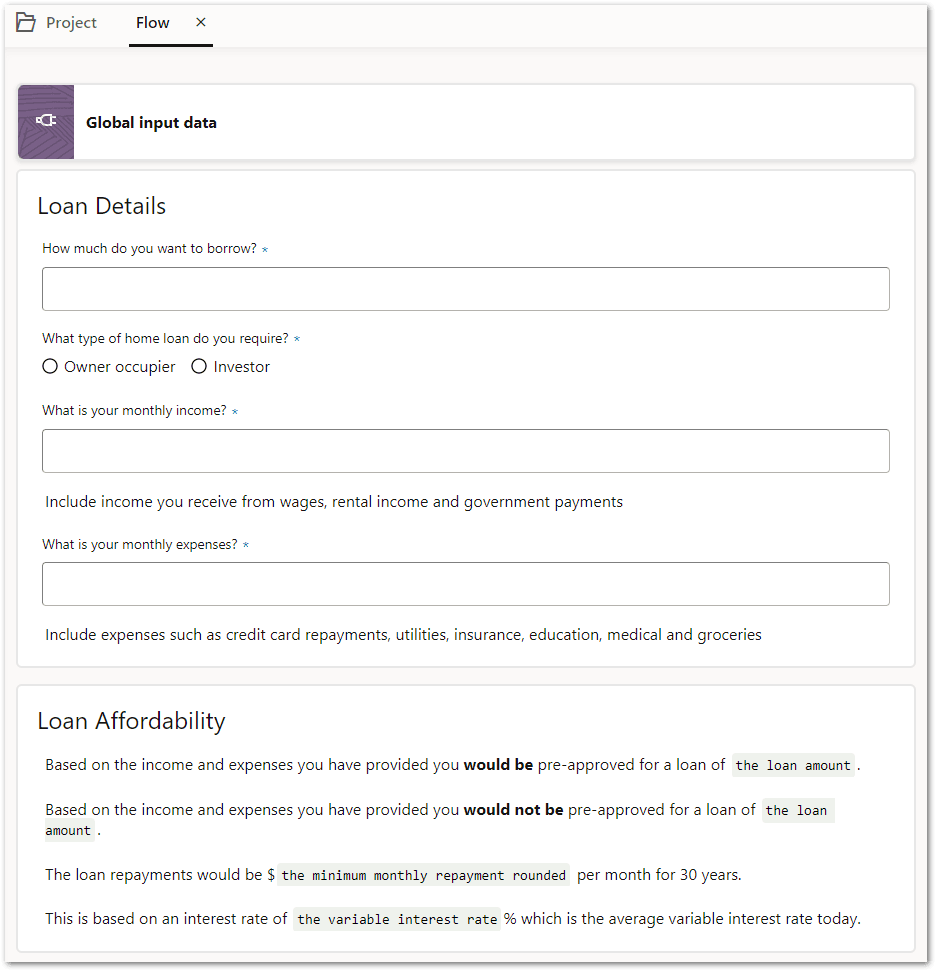
- The author creates a page in the flow to display the results of the interview. To do this they:
- On the Project tab, click the Flow tile.
- Drag a Page control from the control palette on to the flow editor under the Loan Details page created earlier.
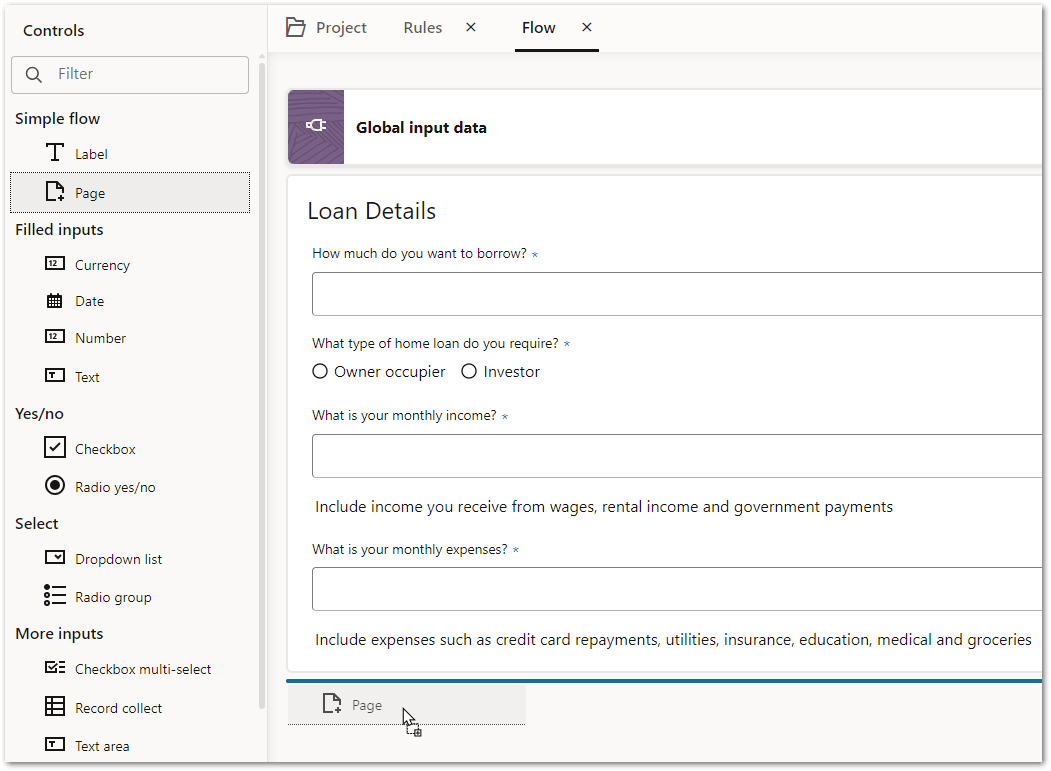
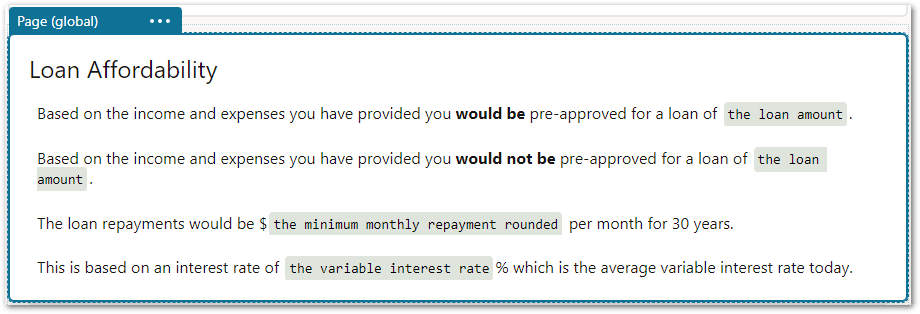
- Click in the New Page text. Replace "New Page" with "Loan Affordability".
- Add two label controls to the page with the following text:
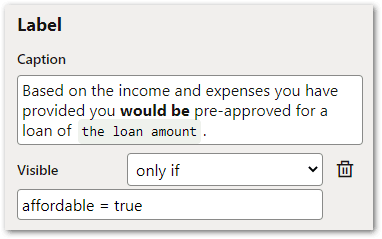
"Based on the income and expenses you have provided you would be pre-approved for a loan of the loan amount."
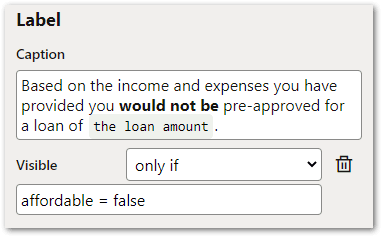
"Based on the income and expenses you have provided you would not be pre-approved for a loan of the loan amount."
- Click on the first of these labels in the flow editor.
- Select the text "would be" and in the pop-up menu above the Label tab, select the B button to make the selected text bold.

- Select the text "the loan amount" and in the pop-up menu above the Label tab, select the (x) button to enable substitution. At runtime, the value for "the loan amount" will be substituted into the text of the label.

- In the properties panel:
- Click the pencil button next to the Visible toggle. The always changes to only if.
- In the Enter condition field, type "affordable = true". At runtime, this label will only be visible on the page if the rule that proves the "affordable" field evaluates to true.
- Select the text "would be" and in the pop-up menu above the Label tab, select the B button to make the selected text bold.
- Click on the second label in the flow editor.
- Select the text "would not be" and in the pop-up menu above the Label tab, select the B button to make the selected text bold.
- Select the text "the loan amount" and in the pop-up menu above the Label tab, select the (x) button to enable substitution.
- In the properties panel:
- Click the pencil button next to the Visible toggle. The always changes to only if.
- In the Enter condition field, type "affordable = false". At runtime, this label will only be visible on the page if the rule that proves the "affordable" field evaluates to false.
- Select the text "would not be" and in the pop-up menu above the Label tab, select the B button to make the selected text bold.
- Add two more label controls to the page with the following text:
"The loan repayments would be $the minimum monthly repayment rounded per month for 30 years."
"This is based on an interest rate of the variable interest rate% which is the average variable interest rate today."
- Click on the first of these labels in the flow editor.
- Select the text "the minimum monthly repayment rounded" and in the pop-up menu above the Label tab, select the (x) button to enable substitution. At runtime, the value for calculated by the rules for "the minimum monthly repayment rounded" will be substituted into the text of the label.
- Click on the second of these labels in the flow editor.
- Select the text "the variable interest rate" and in the pop-up menu above the Label tab, select the (x) button to enable substitution. At runtime, the value for calculated by the rules for "the variable interest rate" will be substituted into the text of the label. The second page of the flow is now complete.
- Click Commit.
- The author runs the flow. Note that this is only available if a custom runtime test harness has been set up. For more information, see Run a Flow.