Walkthrough of Policy Modeling
This topic is a basic walkthough of Policy Modeling. The walkthrough can be used to:
- gain a rapid overview of how Policy Modeling works
- practise using some basic Policy Modeling features
- verify that Policy Modeling and the required prerequisites are correctly installed, and
- verify any changes in system configuration (for example, upgrading to a later version of Microsoft Office).
During the walkthrough we will create a very simple Policy Modeling project with one policy rule and two interview screens.
To walkthrough the basic features of Policy Modeling:
- From the Windows start menu, select Oracle Policy Modeling in the list of apps, then Policy Modeling. Verify that Policy Modeling opens.
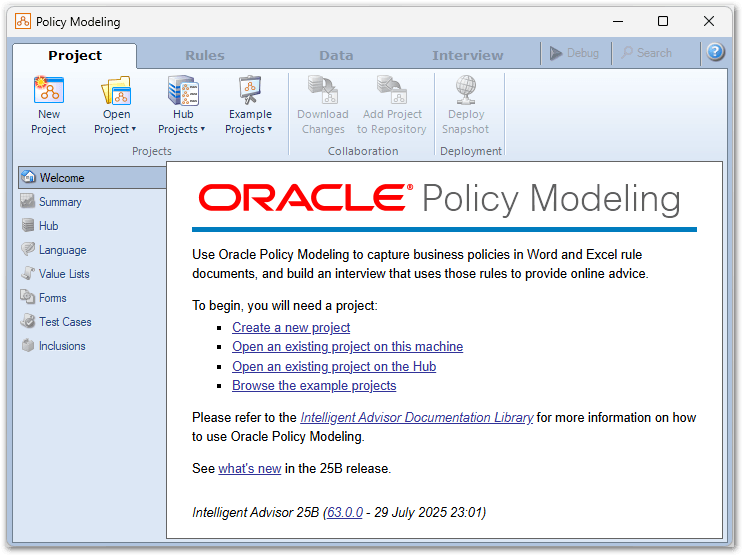
- Click the New Project button.
- In the New Project dialog:
- Enter a Name for the project.
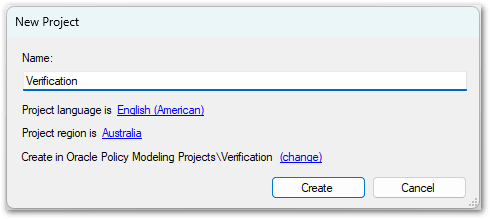
- Click Create. For more information on creating new projects, see Create a New Policy Modeling Project.
The new project will open to show the Rules tab with a single Word rules document in the Rules folder.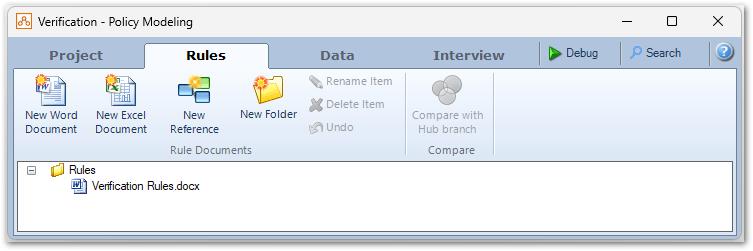
- Enter a Name for the project.
- Double-click the rules document to open it in Microsoft Word. Since the document contains no rules, it will suggest using the Rule Assistant to get started.
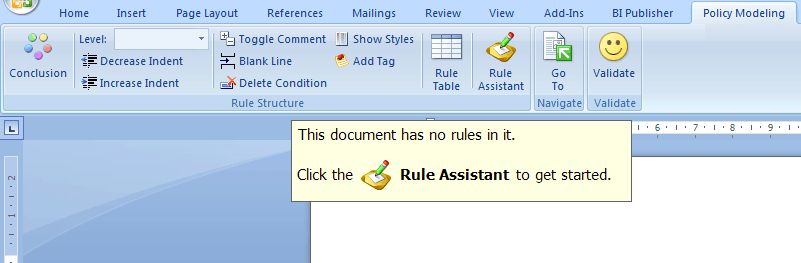
- Click the Rule Assistant button and then:
- Type "the person is happy", then press Enter.
- Type "the sun is shining", then press Enter.
The document will now contain a simple rule with a Boolean conclusion and a single Boolean condition.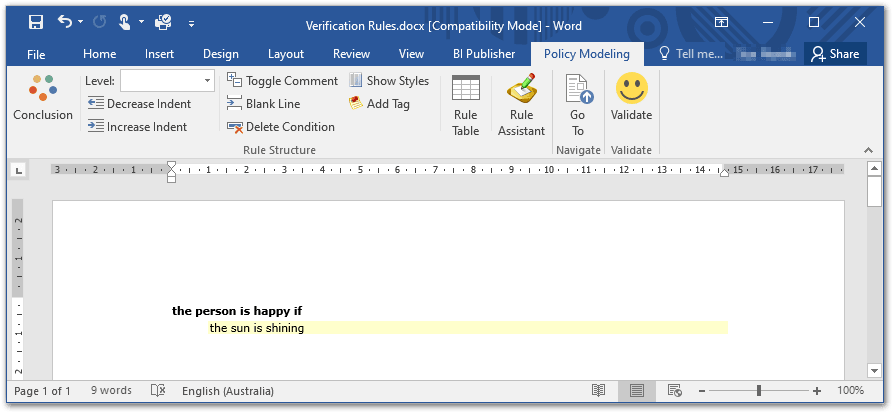
For more information on basic rule writing, see Walkthrough of Creating a Word Rule.
- Click the Validate button to verify the rule and save the document.
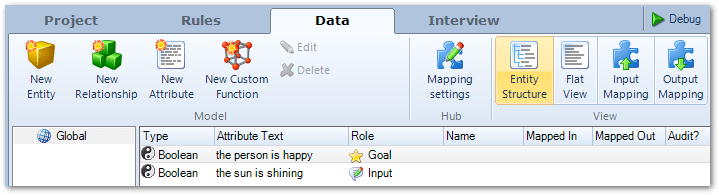
- In Policy Modeling, click the Data tab. Verify that the two Boolean attributes used in the rule from Step 5 are shown.
We have now completed our rules. The next step is to create some screens so that we can interact with the rules via an interview. - Click the Interview tab.
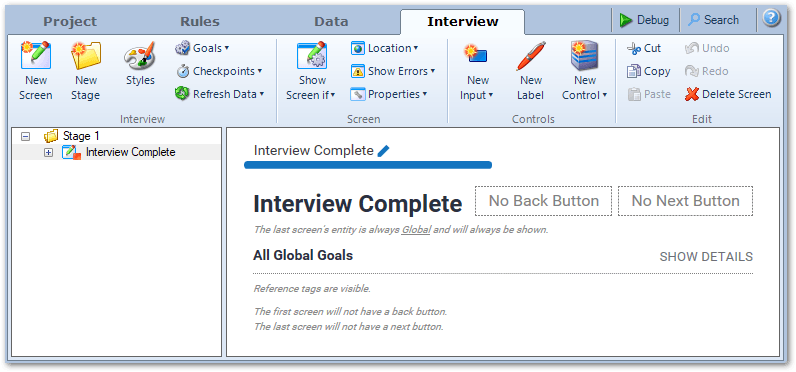
- In the left hand pane, click on Stage 1, and then click the New Screen button.
A new screen is added to the screens list in the left hand pane.
- In the right hand pane, click on New Screen and type the new screen name "Weather'.

- Click the New Input button.

- Double-click the sun is shining in the drop-down window which appears.
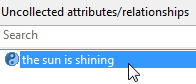
The attribute the sun is shining appears on your interview screen, in the form of a question: Is the sun shining?.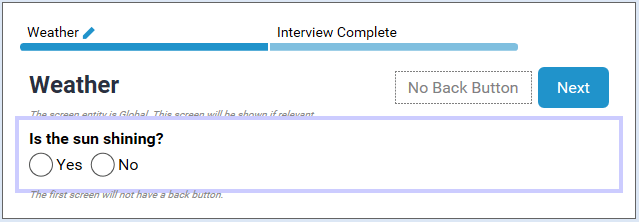
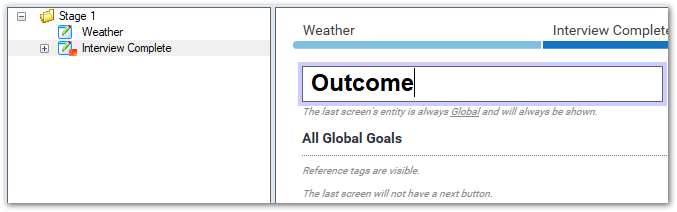
- In the left hand pane, select the Interview Complete screen and then in the right hand pane click on Interview Complete and type a new screen name (for example, 'Outcome').
- Click the New Control button and select Explanation.
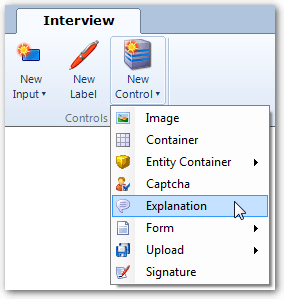
- In the Add Explanation dialog, double-click the person is happy.
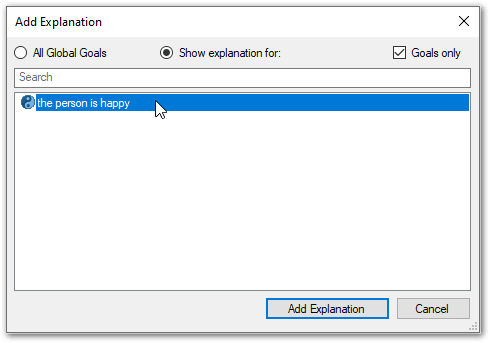
The explanation appears on your 'Outcome' screen, in the form of a statement the person is happy.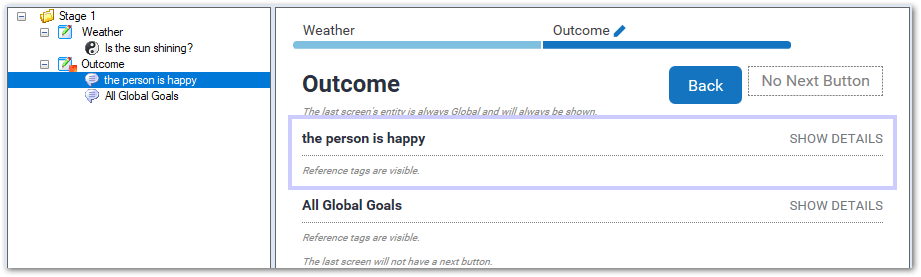
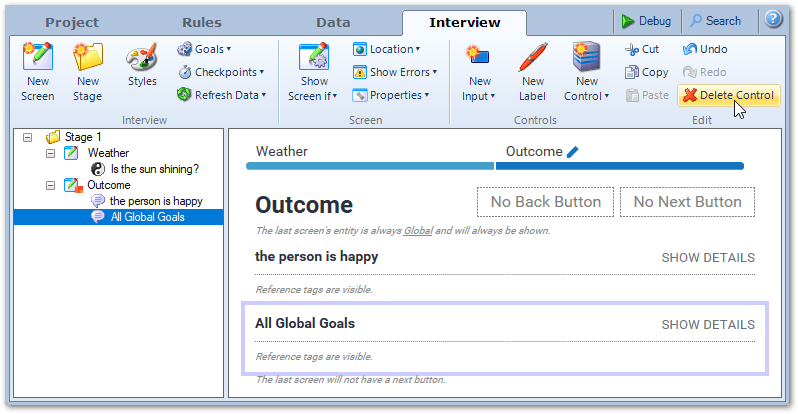
- Select the All Global Goals explanation control and click Delete Control.
- Click the Debug button.

The Oracle Policy Modeling Debugger will open. This will step through an interview using the rule and screens you just created. - Answer the question on the first screen, then click Next.
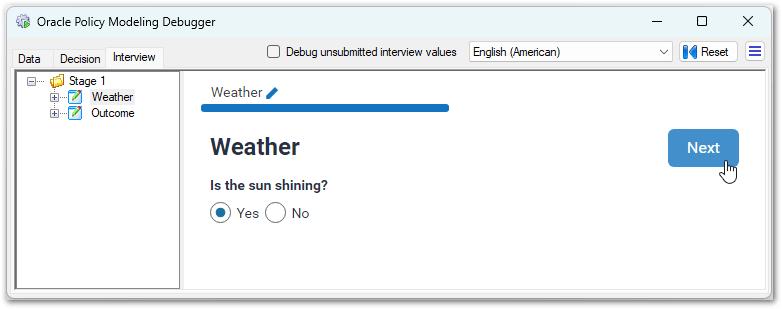
The final screen displays.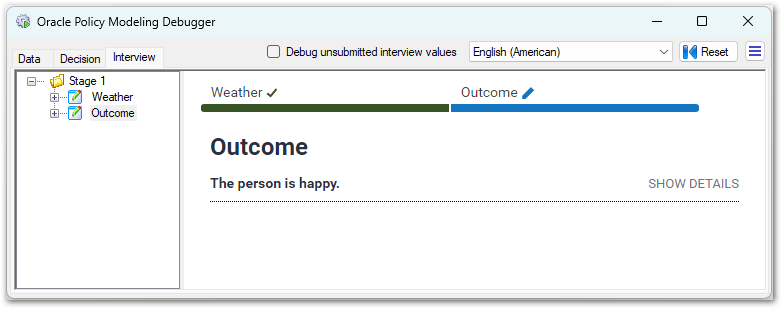
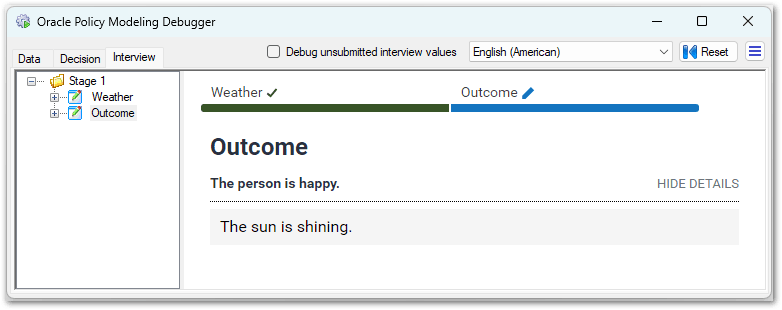
- Click the SHOW DETAILS link to see the reason for the interview outcome.
That’s it, you have now created your first policy model.
There are plenty of ways you can extend your policy model. For example, you can:
- Add translations to display your interview in any language
- Map data into and out of the interview
- Add more attributes to collect information in the interview
- Enhance your screens to show or hide content, include images, and control when and whether a screen is displayed to the end user (for more information, see Interview Options)
- Add more complex rules and calculations
- Add generated forms, letters, and summary documents to your interview
- Set up Test Cases to ensure your policy model gives the correct results
- Deploy your Policy Modeling project to share it with other people
View the Example Policy Models installed with Policy Modeling for examples of what is possible with Intelligent Advisor.