Creating an Amazon Web Services (AWS) destination
The first step in setting up an export of data to Amazon Web Services (AWS) is to create a destination. This will configure how the Oracle Audience Segmentation data will be exported to AWS.
To create the AWS destination:
-
Click the Oracle icon
 in the bottom-right corner to open the navigation menu.
- Select Destinations.
- In the top-right corner, click Create destination.
Step 1: Define destination details
The job details section allows you to define the type of destination and how it will display in Oracle Audience Segmentation.
Enter the information for the destination.
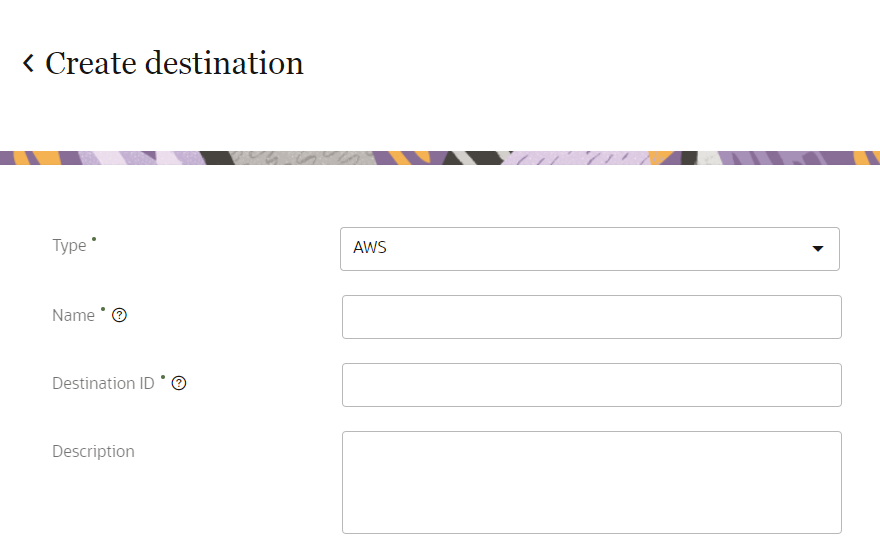
- Type: Use the drop-down list to select AWS.
- Name: Enter a name. The name must be 1 or more characters, up to a maximum of 50. Use only letters (a–z and A–Z), numbers (0–9), underscores (_), hyphens (-), and spaces. The first character cannot be a space.
-
Destination ID: The unique system identifier that is auto-populated from the destination name you enter. You can't change this value after you create the destination.
- Description: Enter a description. This field is optional, but it is highly recommended to add descriptions for any entity created. This helps all other users get additional context when using and navigating Oracle Audience Segmentation. The description can have a maximum of 512 characters with no restrictions on characters used.
Step 2: Configure authentication settings
Enter the information to allow Oracle Audience Segmentationto access the required data from AWS.
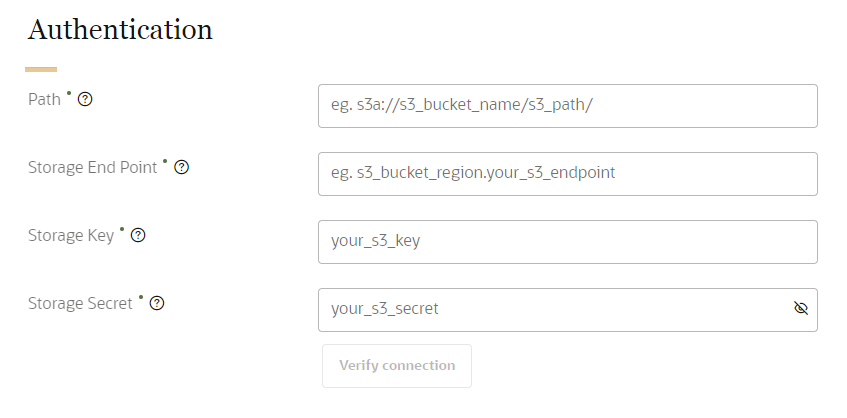
- Path: Enter the path of the folder on AWS that will store the exported data files in this format: s3a://[s3_bucket name]/[s3_path].
- Storage End Point: Enter the AWS region and endpoint in this format: s3_bucket_region.your_s3_endpoint. Learn more about Amazon Simple Storage Service endpoints and quotas from the AWS documentation.
- Storage Key: Enter the AWS key. Learn more about Creating object key names and Working with metadata from the AWS documentation.
- Storage Secret: Enter the AWS secret. Learn how to Create and retrieve a secret from the AWS documentation.
Once you enter all the details, click Verify connection to ensure that Oracle Audience Segmentation can access the server. If there are connection issues, confirm the server path and authentication settings entered are correct.
Step 3: Configure files
The files details section defines the format of the destination files.

- File name: Enter the file name and extension to use for the exported files. A timestamp and file number will be added as a suffix identifying when the file was created. The timestamp will be in the format yyyy-MM-dd-HH-mm-ss-SSS. You can use characters from all languages supported in the language settings.
- Format: The format of the exported file must be in CSV format. Fields in the exported file will be separated by commas.
- Date format: The date format of the exported file must be yyyy-MM-dd-hh-mm-ss-SSS. A timestamp with this format will be added as a suffix to the exported file.
- Compression format: The compression format must be gzip .
Example: If you enter the file name as Export_file_01, a timestamp will be added as a suffix and the file will be named Export_file_01_2021-05-12-12-56-12-926_0.csv. The timestamp is 2021-05-12-12-56-12-926. The "0" indicates it is the first exported file with the same timestamp.
Step 4: Save and publish the new destination
When finished defining the destination, scroll to the top of the page and click Save or Save and close.
Once you create the destination, you will need to publish the changes.
Exporting a data object or segment
After creating and publishing the AWS destination, you can continue following the steps for exporting a data object or segment.