Points per SKU
Learn how to upload and manage the SKUs and corresponding point values on the Program page from the Control Center.
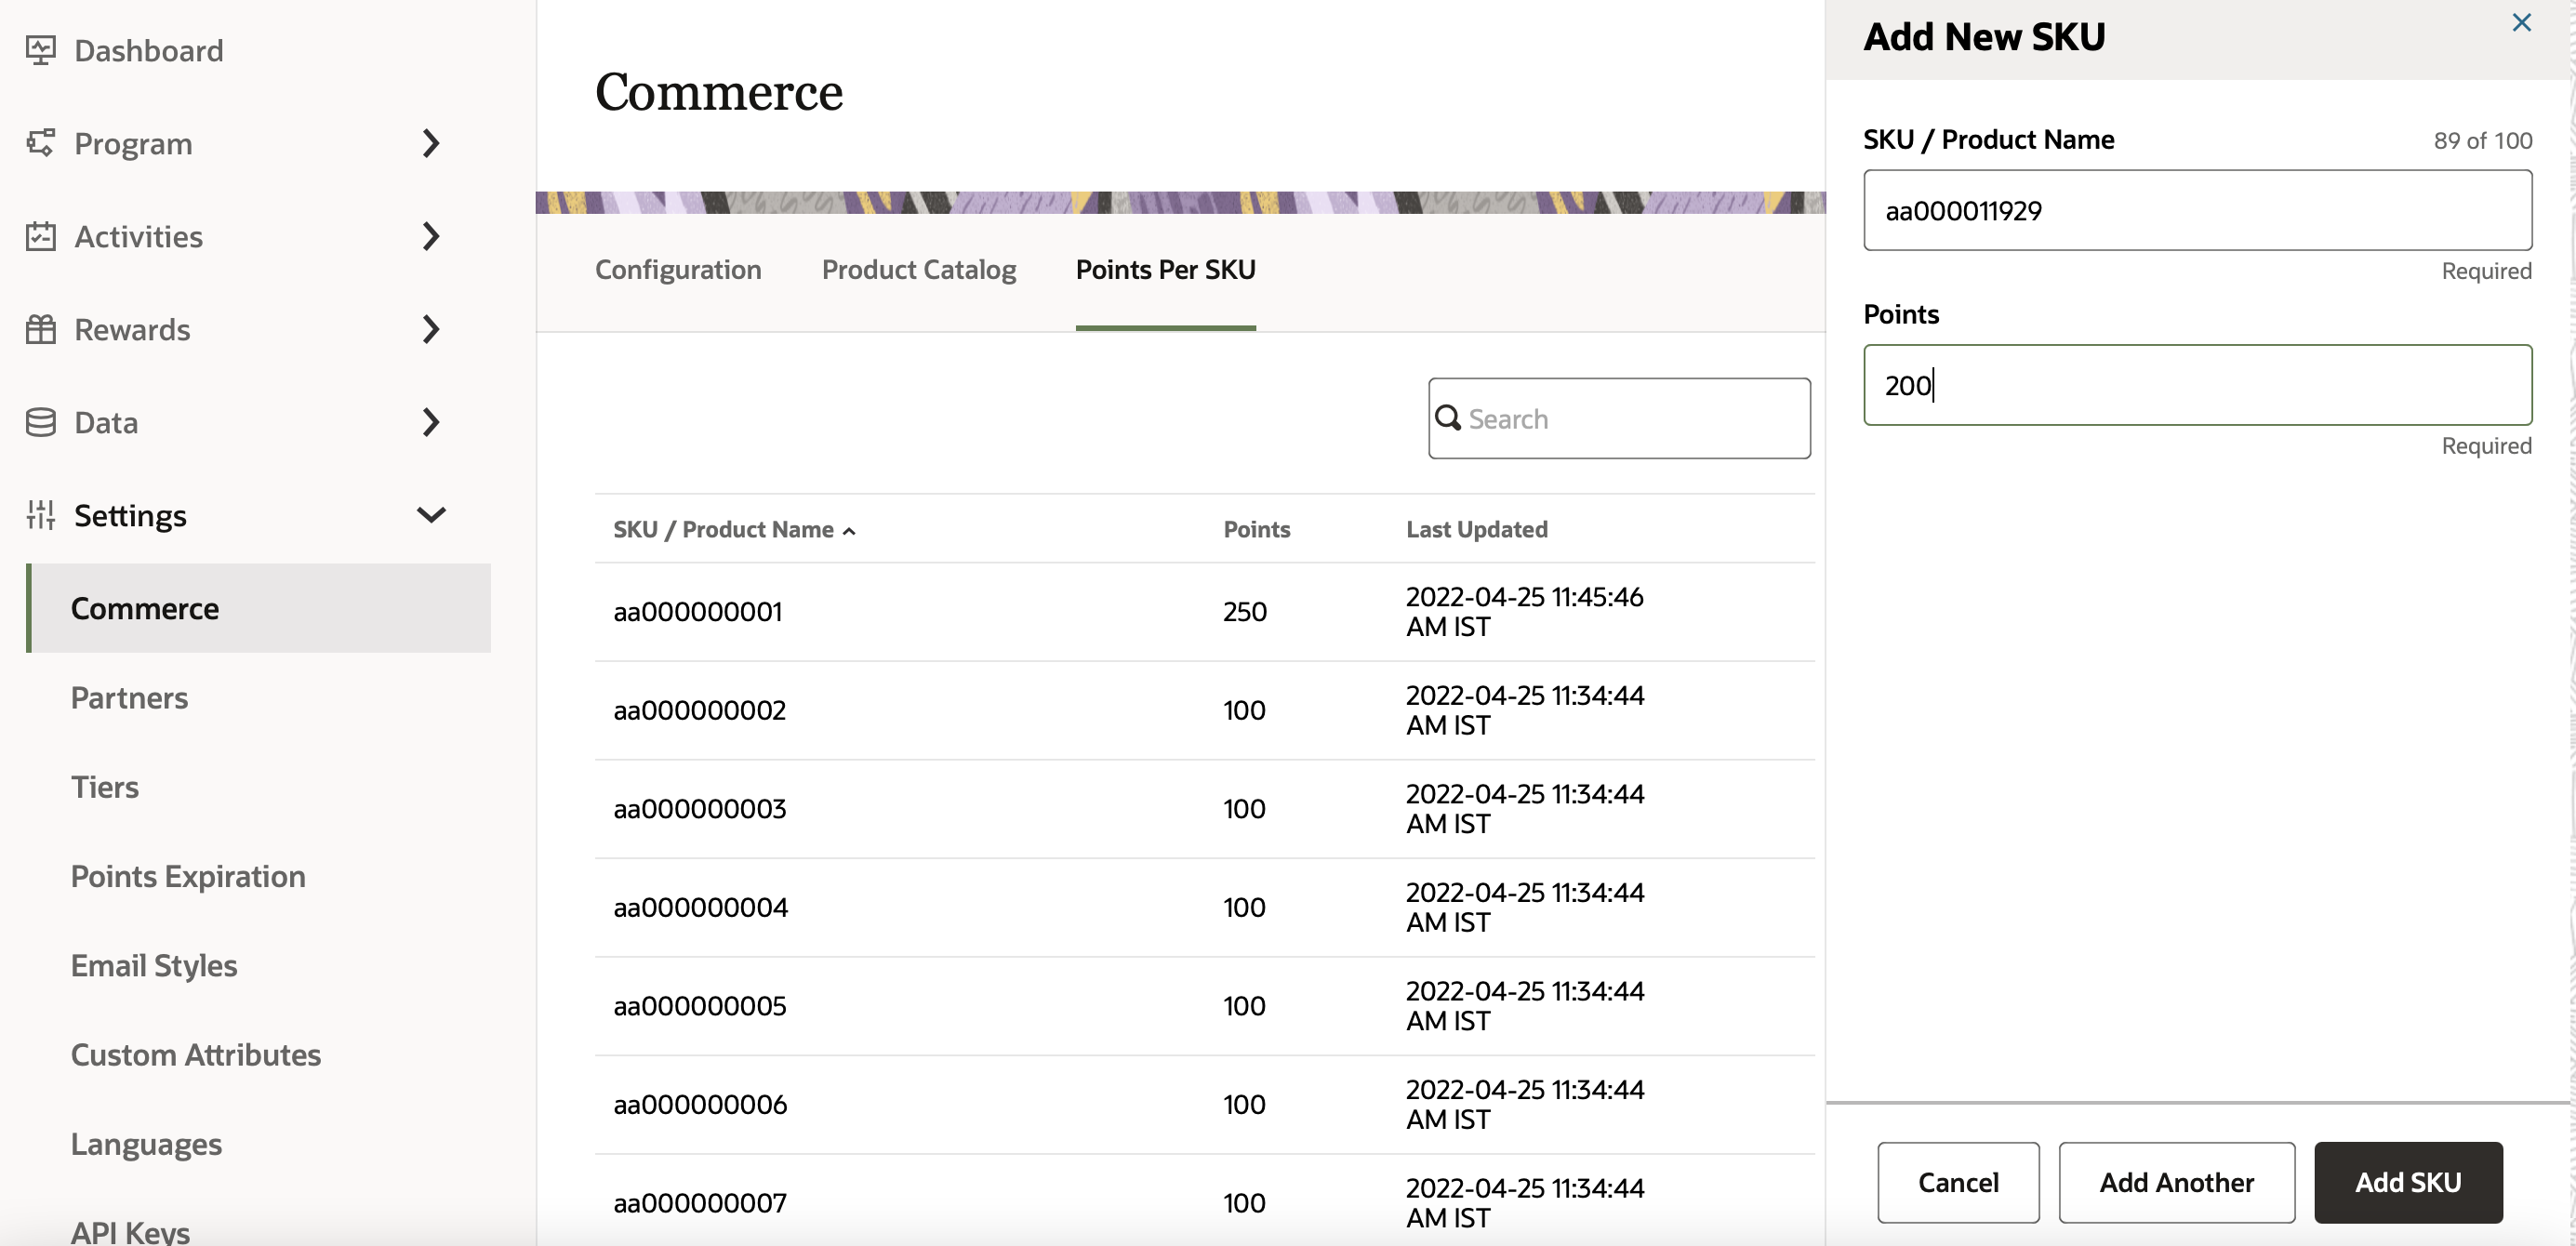
Add SKUs
To add a new SKU:
-
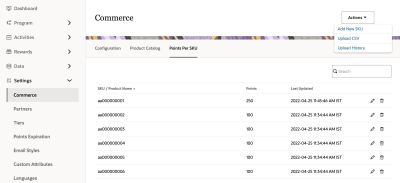
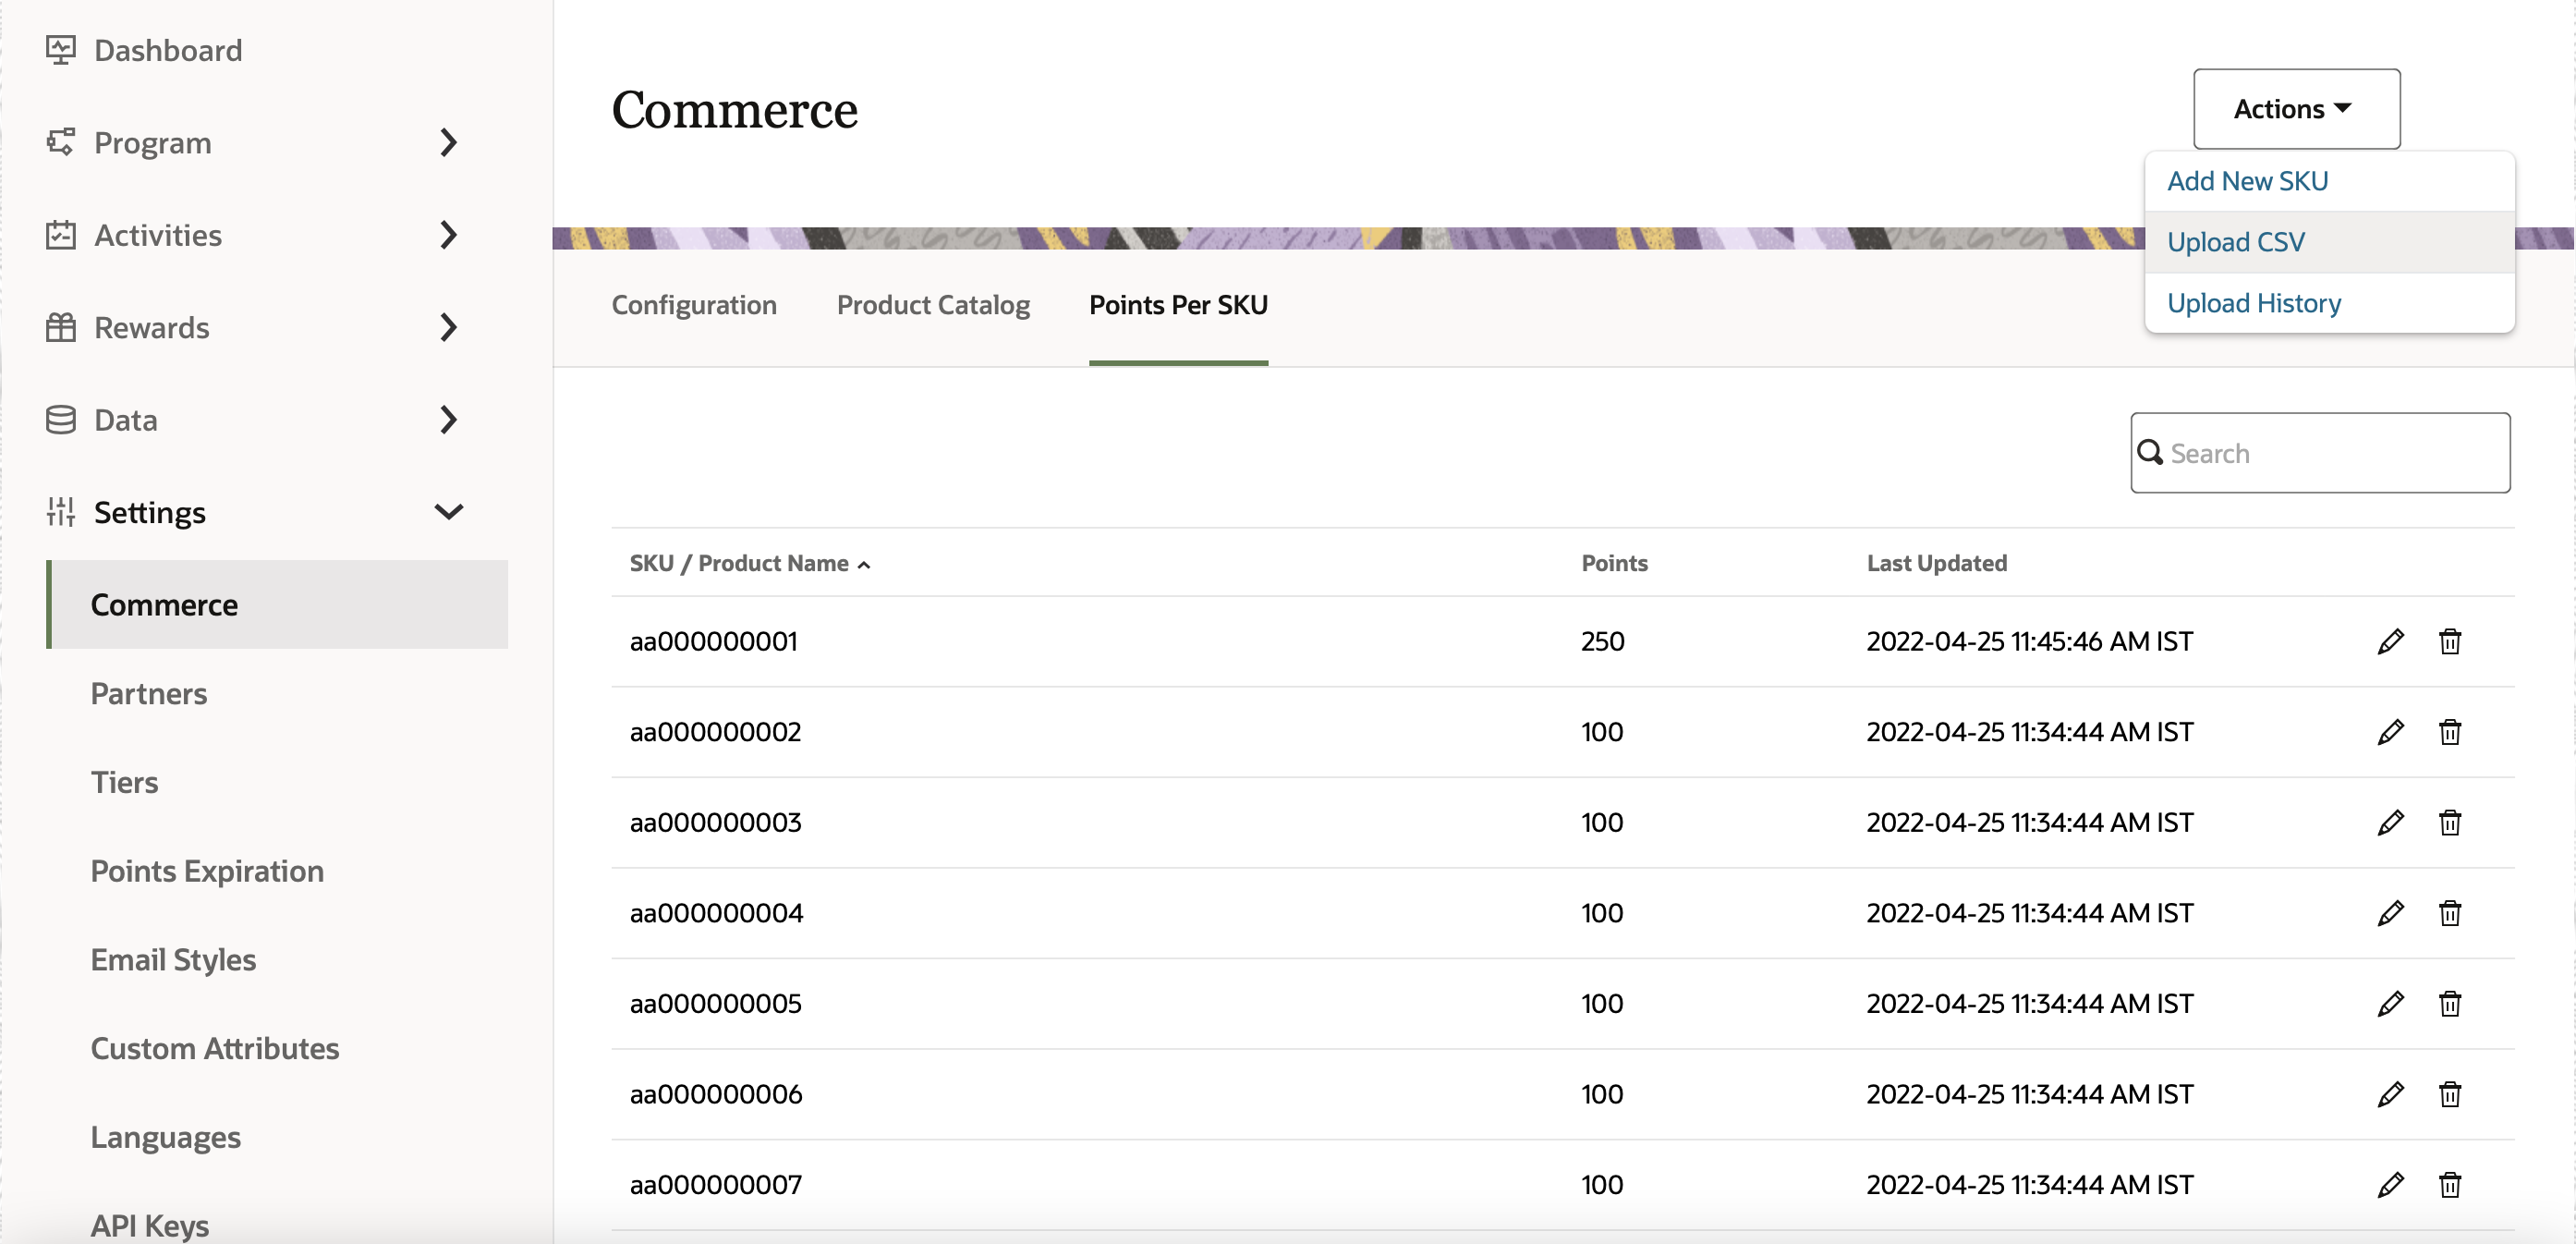
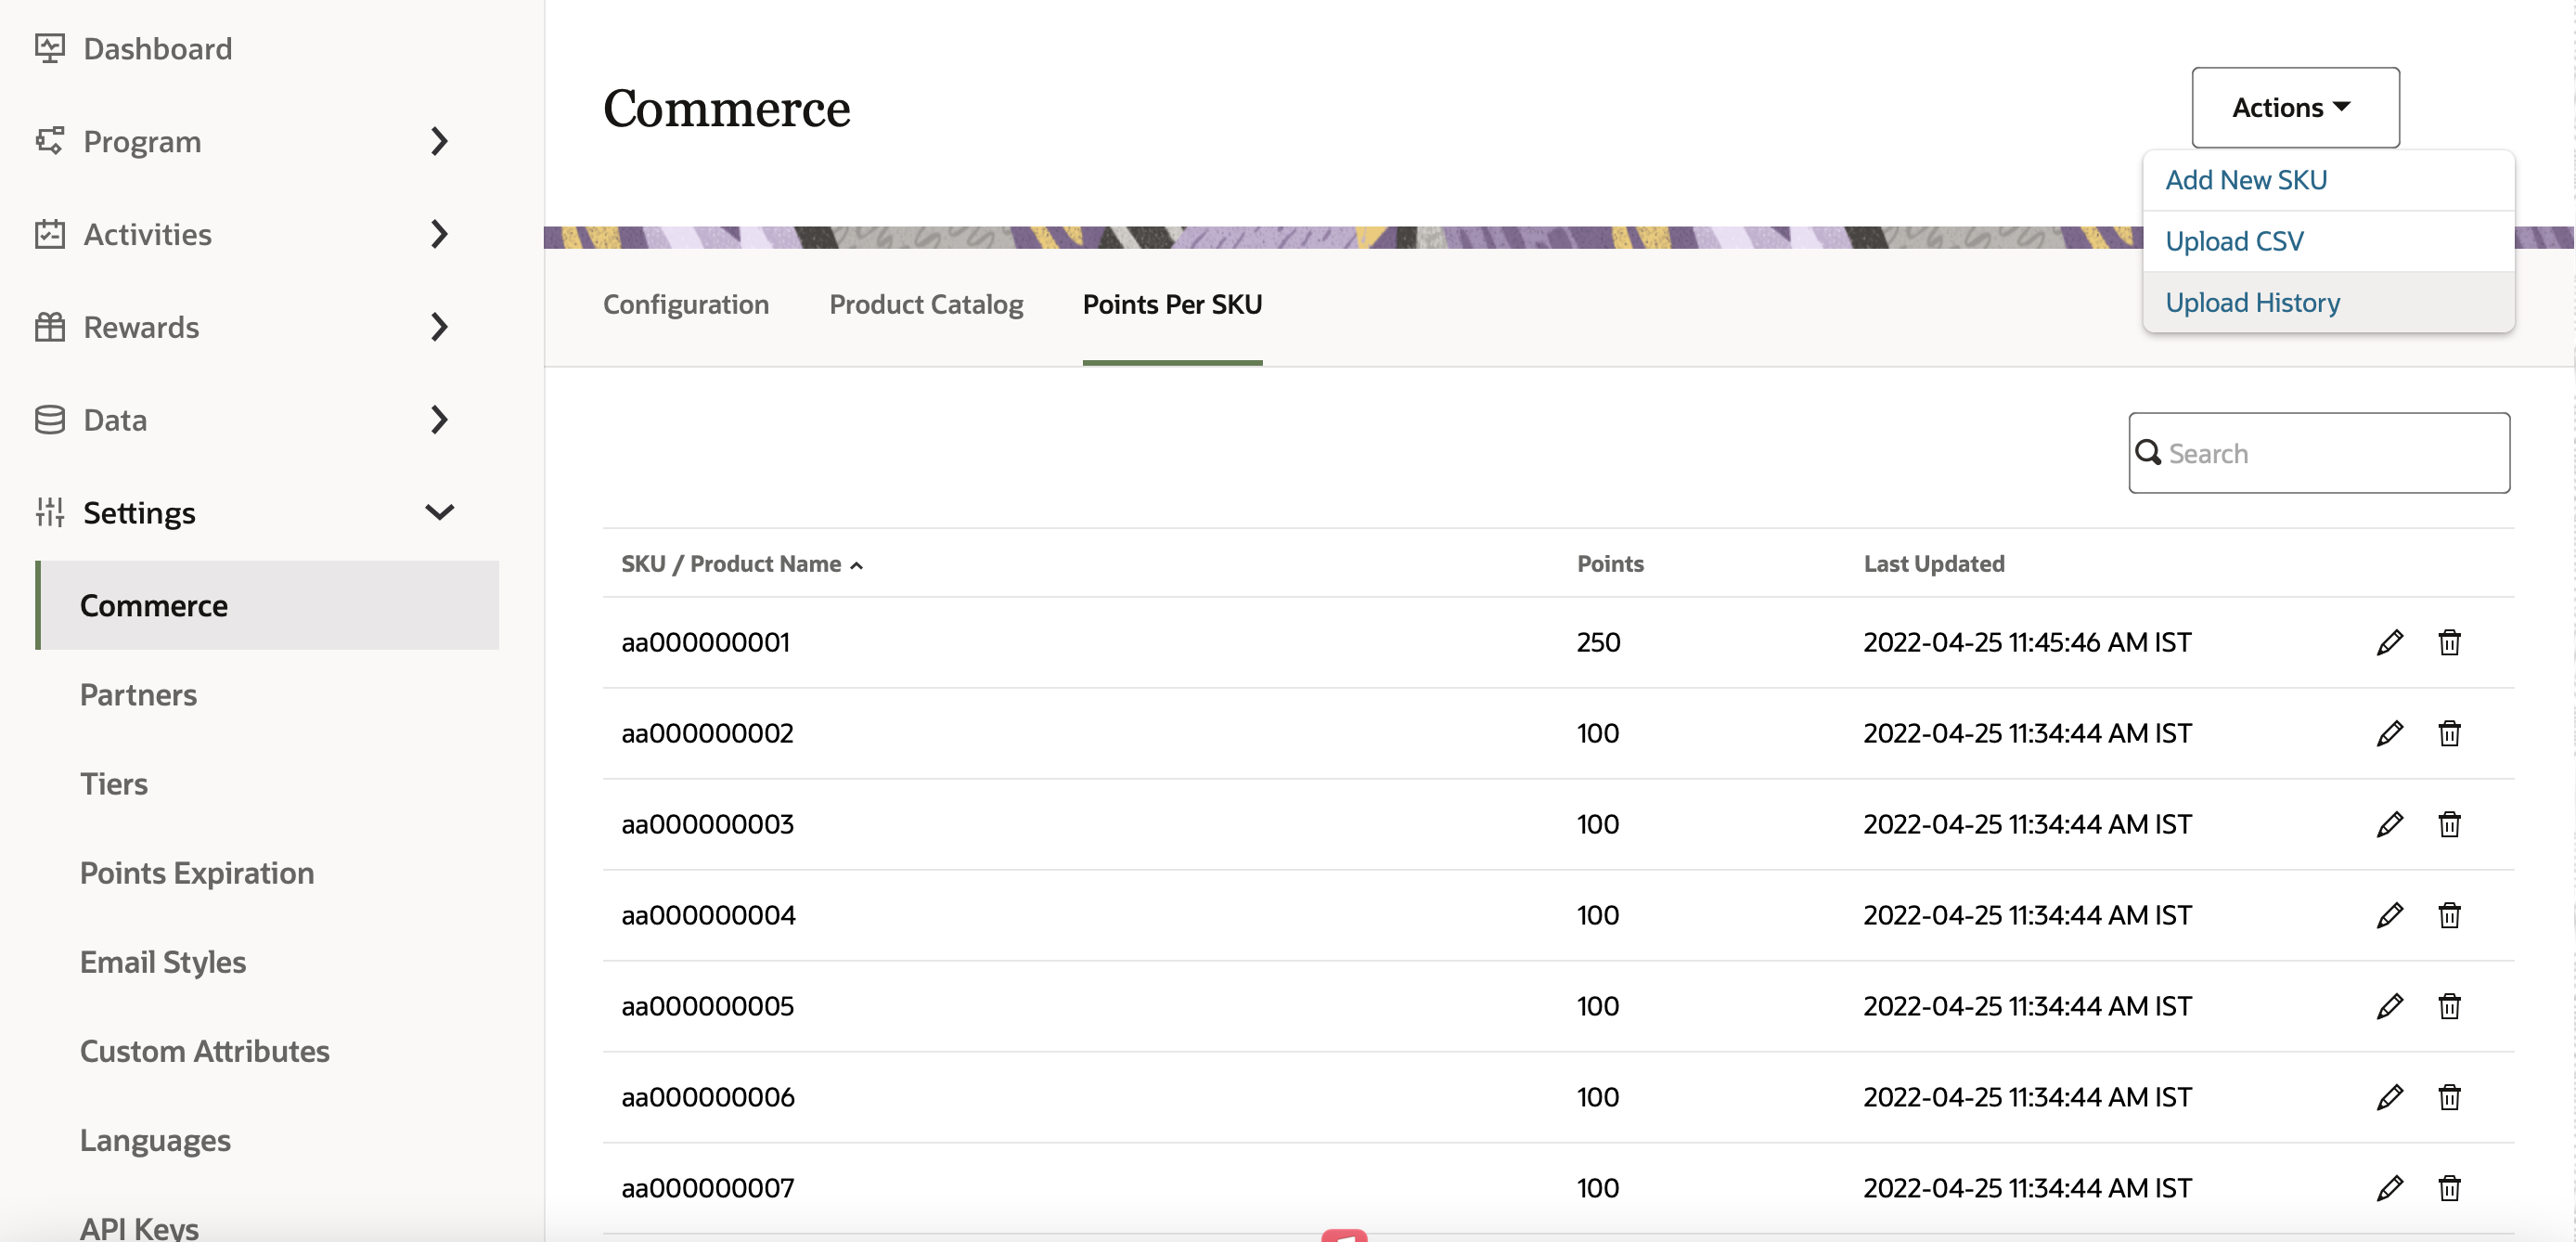
In Control Center, navigate to Settings > Commerce> Points Per SKU.
-
Click Actions and select Add New SKU.
-
In the Add SKU panel, enter the SKU or product name and the points.
-
Click Add SKU. If there is more than one SKU to be added, click Add another.


Upload SKU file
To upload a list of SKUs:
-
In Control Center, navigate to Settings > Commerce> Points Per SKU.
-
Click Actions > Upload CSV.
-
In the upload dialog, browse to the valid CSV file and select Upload.
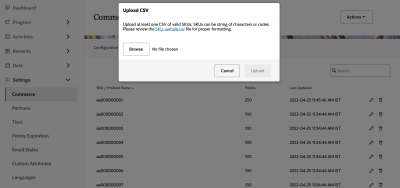


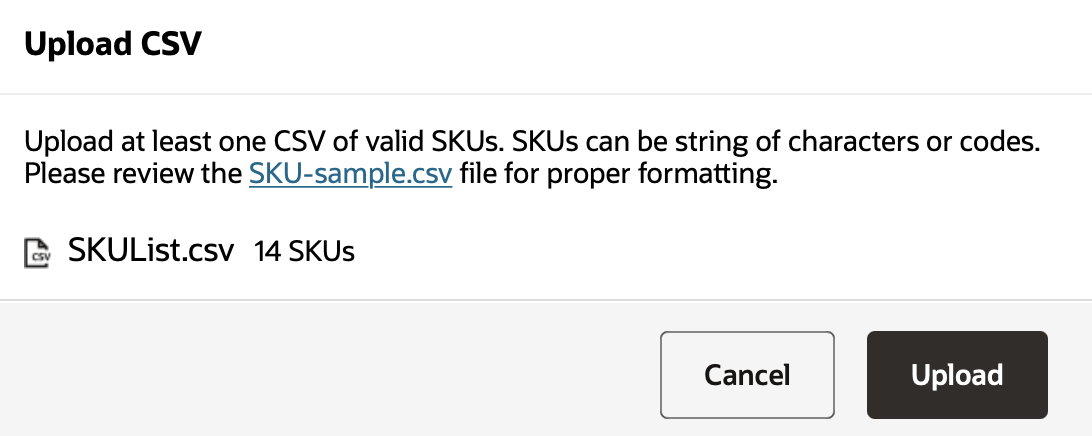
- To avoid upload failures, please validate your file format against SKU-Sample.csv.
- The file must contain only two columns only: one for SKU and one for points corresponding to the SKU.
- The first row of the must contain the header values as per the sample file.
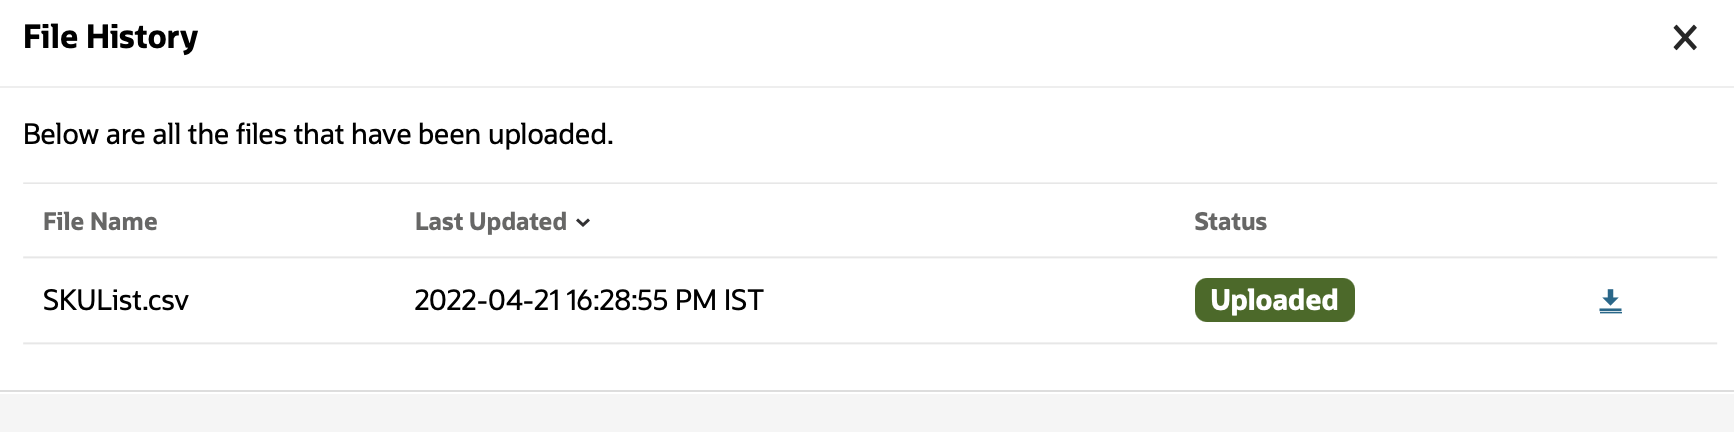
View upload history
To check the status of the upload file:
-
In Control Center, navigate to Settings > Commerce> Points Per SKU.
-
Click Actions > Upload History.

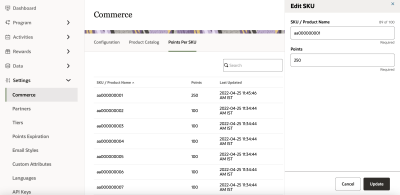
Edit SKUs
To edit a SKU:
-
In Control Center, navigate to Settings > Commerce> Points Per SKU.
-
Search for the SKU you want to edit and click Edit
 .
. -
Edit the SKU or product name, or points, or both. Click Update.

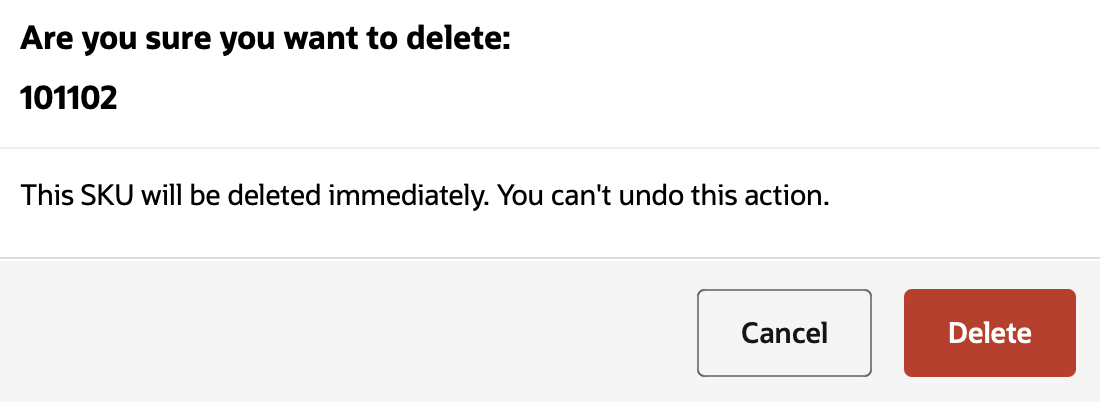
Delete SKUs
To delete a SKU:
-
In Control Center, navigate to Settings > Commerce> Points Per SKU.
-
Search for the SKU you want to edit and click Delete
 .
. -
Review the SKU deletion request and click Delete.