Creating Purchase History widgets
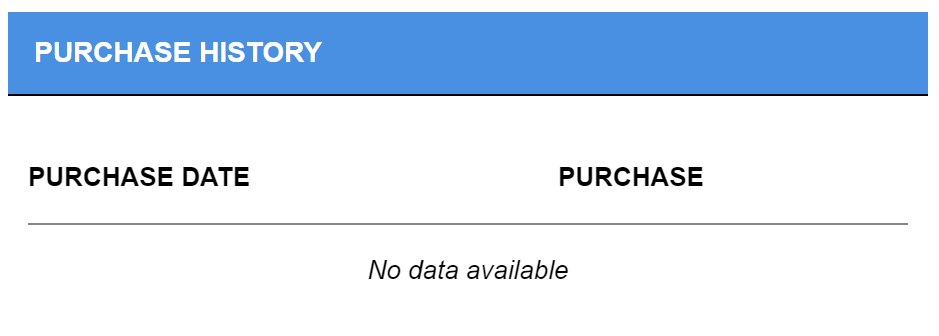
The purchase history widget allows signed-in users to see their purchase history.
While activity history shows how many points are earned for an entire purchase, the purchase history widget shows points pending, canceled, returned, and fulfilled.
To create a Purchase History widget:
- In Control Center, navigate to Program > Widgets.
- Click Add Widget and select Purchase History.
- Configure the details for your widget:
- Basic Information
- Version: Specify the version for this widget. We recommend using the latest version, which is the default.
- Name: Specify a name for this widget.
- Logged In Configuration
- Header Text (Optional): This text is displayed to the user in the header at the top of the widget.
- Custom CSS URL (Optional): Add a link to your own hosted CSS file to style this widget as you see fit.
- Max Height (Optional): Set a maximum height after which the content of the widget will scroll.
- Logged Out Configuration
- When a user is logged out, this widget:
- Is not displayed: The widget is not displayed if the user is not logged into the rewards program.
- Displays a sign up / log in Call to Action:
- Headline Text: Specify the headline text to display in the Sign Up window.
- Sub-headline Text: Specify the sub-headline text to display in the Sign Up window.
- Background Image: Click Select Image to display an image in the background of the Sign Up window.
- Custom CSS URL (Optional): Specify the url to your custom CSS if you want to style the Sign Up window with your custom stylesheet.
- When a user is logged out, this widget:
- Basic Information
- Click Submit.
After creating a widget in Control Center, you can add your widget to a webpage.