Creating Social Connect widgets
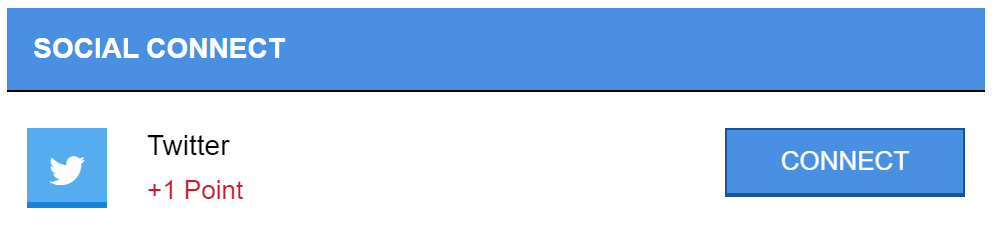
The social connect widget allows signed-in users to connect their social accounts in order to earn points.
To create a Social Connect widget:
- In Control Center, navigate to Program > Widgets.
- Click Add Widget and select Social Connect.
- Configure the details for your widget:
- Basic Information
- Version: Specify the version for this widget. We recommend using the latest version, which is the default.
- Name: Specify a name for this widget.
- Logged In Configuration
- Header Text (Optional): This text is displayed to the user in the header at the top of the widget.
- Custom CSS URL (Optional): Add a link to your own hosted CSS file to style this widget as you see fit.
- Max Height (Optional): Set a maximum height after which the content of the widget will scroll.
- Logged Out Configuration
- When a user is logged out, this widget:
- Is not displayed: The widget is not displayed if the user is not logged into the rewards program.
- Displays a sign up / log in Call to Action:
- Headline Text: Specify the headline text to display in the Sign Up window.
- Sub-headline Text: Specify the sub-headline text to display in the Sign Up window.
- Background Image: Click Select Image to display an image in the background of the Sign Up window.
- Custom CSS URL (Optional): Specify the url to your custom CSS if you want to style the Sign Up window with your custom stylesheet.
- When a user is logged out, this widget:
- Basic Information
- Click Submit.
After creating a widget in Control Center, you can add your widget to a webpage.