Uploading accounts
Note: We're updating our help center to reflect the new Redwood experience. During the transition, some content reflects the previous version of the UI.
You can use an upload file to add or update accounts in your database or delete accounts from our database.
Tip: To schedule an import or to import from a file stored on an SSH File Transfer Protocol (SFTP) server, you can use the data import tool. See Importing contacts or accounts for more information.
Before you begin:
-
Create your upload file (.txt, .csv, .xls, .xlsx). The upload file should only contain the accounts that you want to update or delete.
- Separate contact fields in a .csv or .txt file using a comma (,), pipe (|), tab, or semi-colon (;).
- Any field may be quoted (with double quotes).
- Fields containing a line-break, double-quote or the selected delimiter must be quoted.
- If double-quotes are used to enclose fields, then a double-quote in a field must be represented by two double-quote characters.
- The first row of the file must be column headings. Oracle Eloqua will attempt to map the headings to existing account fields.
- If you are adding or updating accounts, make sure that you can map the data in your upload file to account fields in Oracle Eloqua. Use similar naming conventions in your upload file to make this mapping easier.
- Make sure that accounts in your upload file have a unique identifier (such as the company name).
To upload multiple accounts from a file:
-
Navigate to Audience
 , then click Accounts.
 -
Click Upload.
Classic UI
Redwood Experience
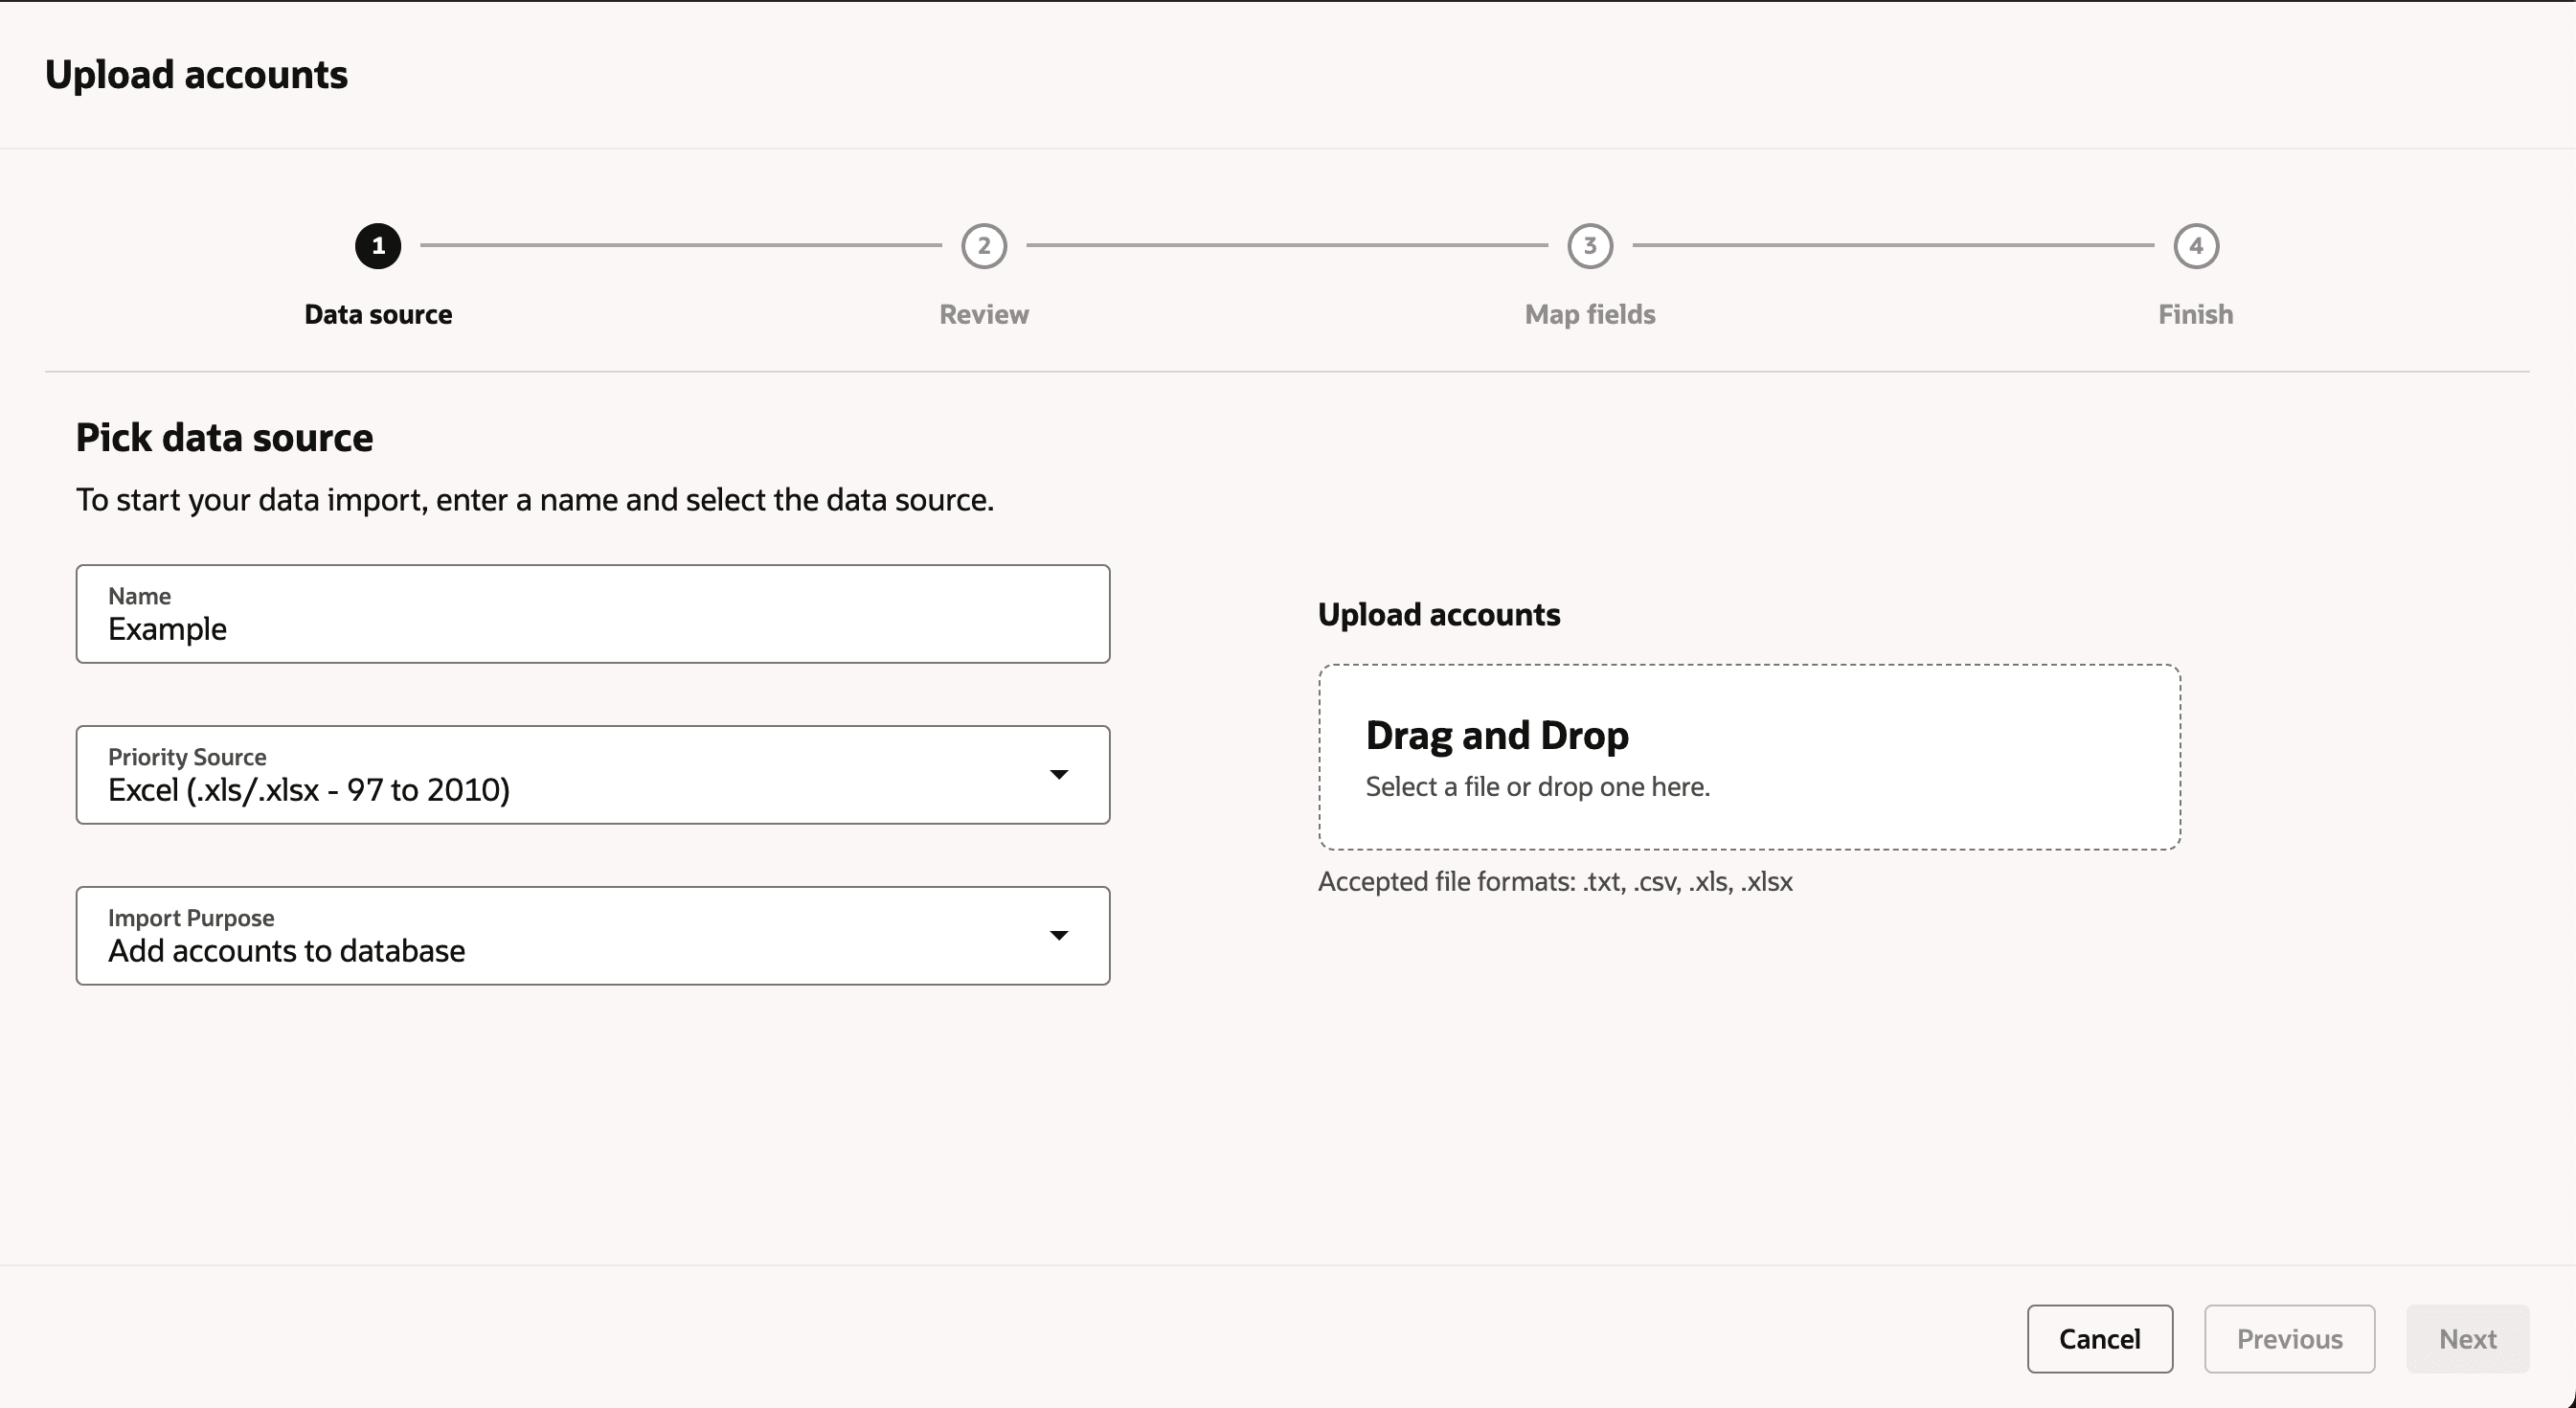
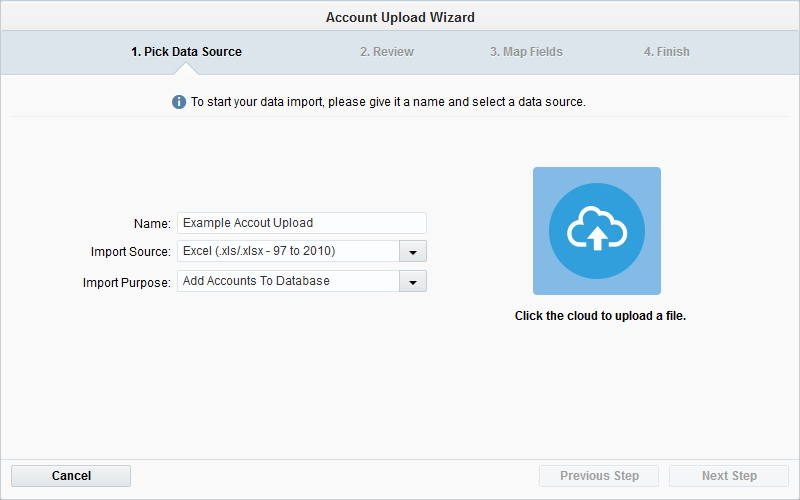
- Complete the information about the upload. You'll want to be sure to click the correct type of upload from the Import Purpose drop-down list.
- Click
 and browse to the upload file.
The wizard continues to step 2.
Classic UI

Redwood Experience
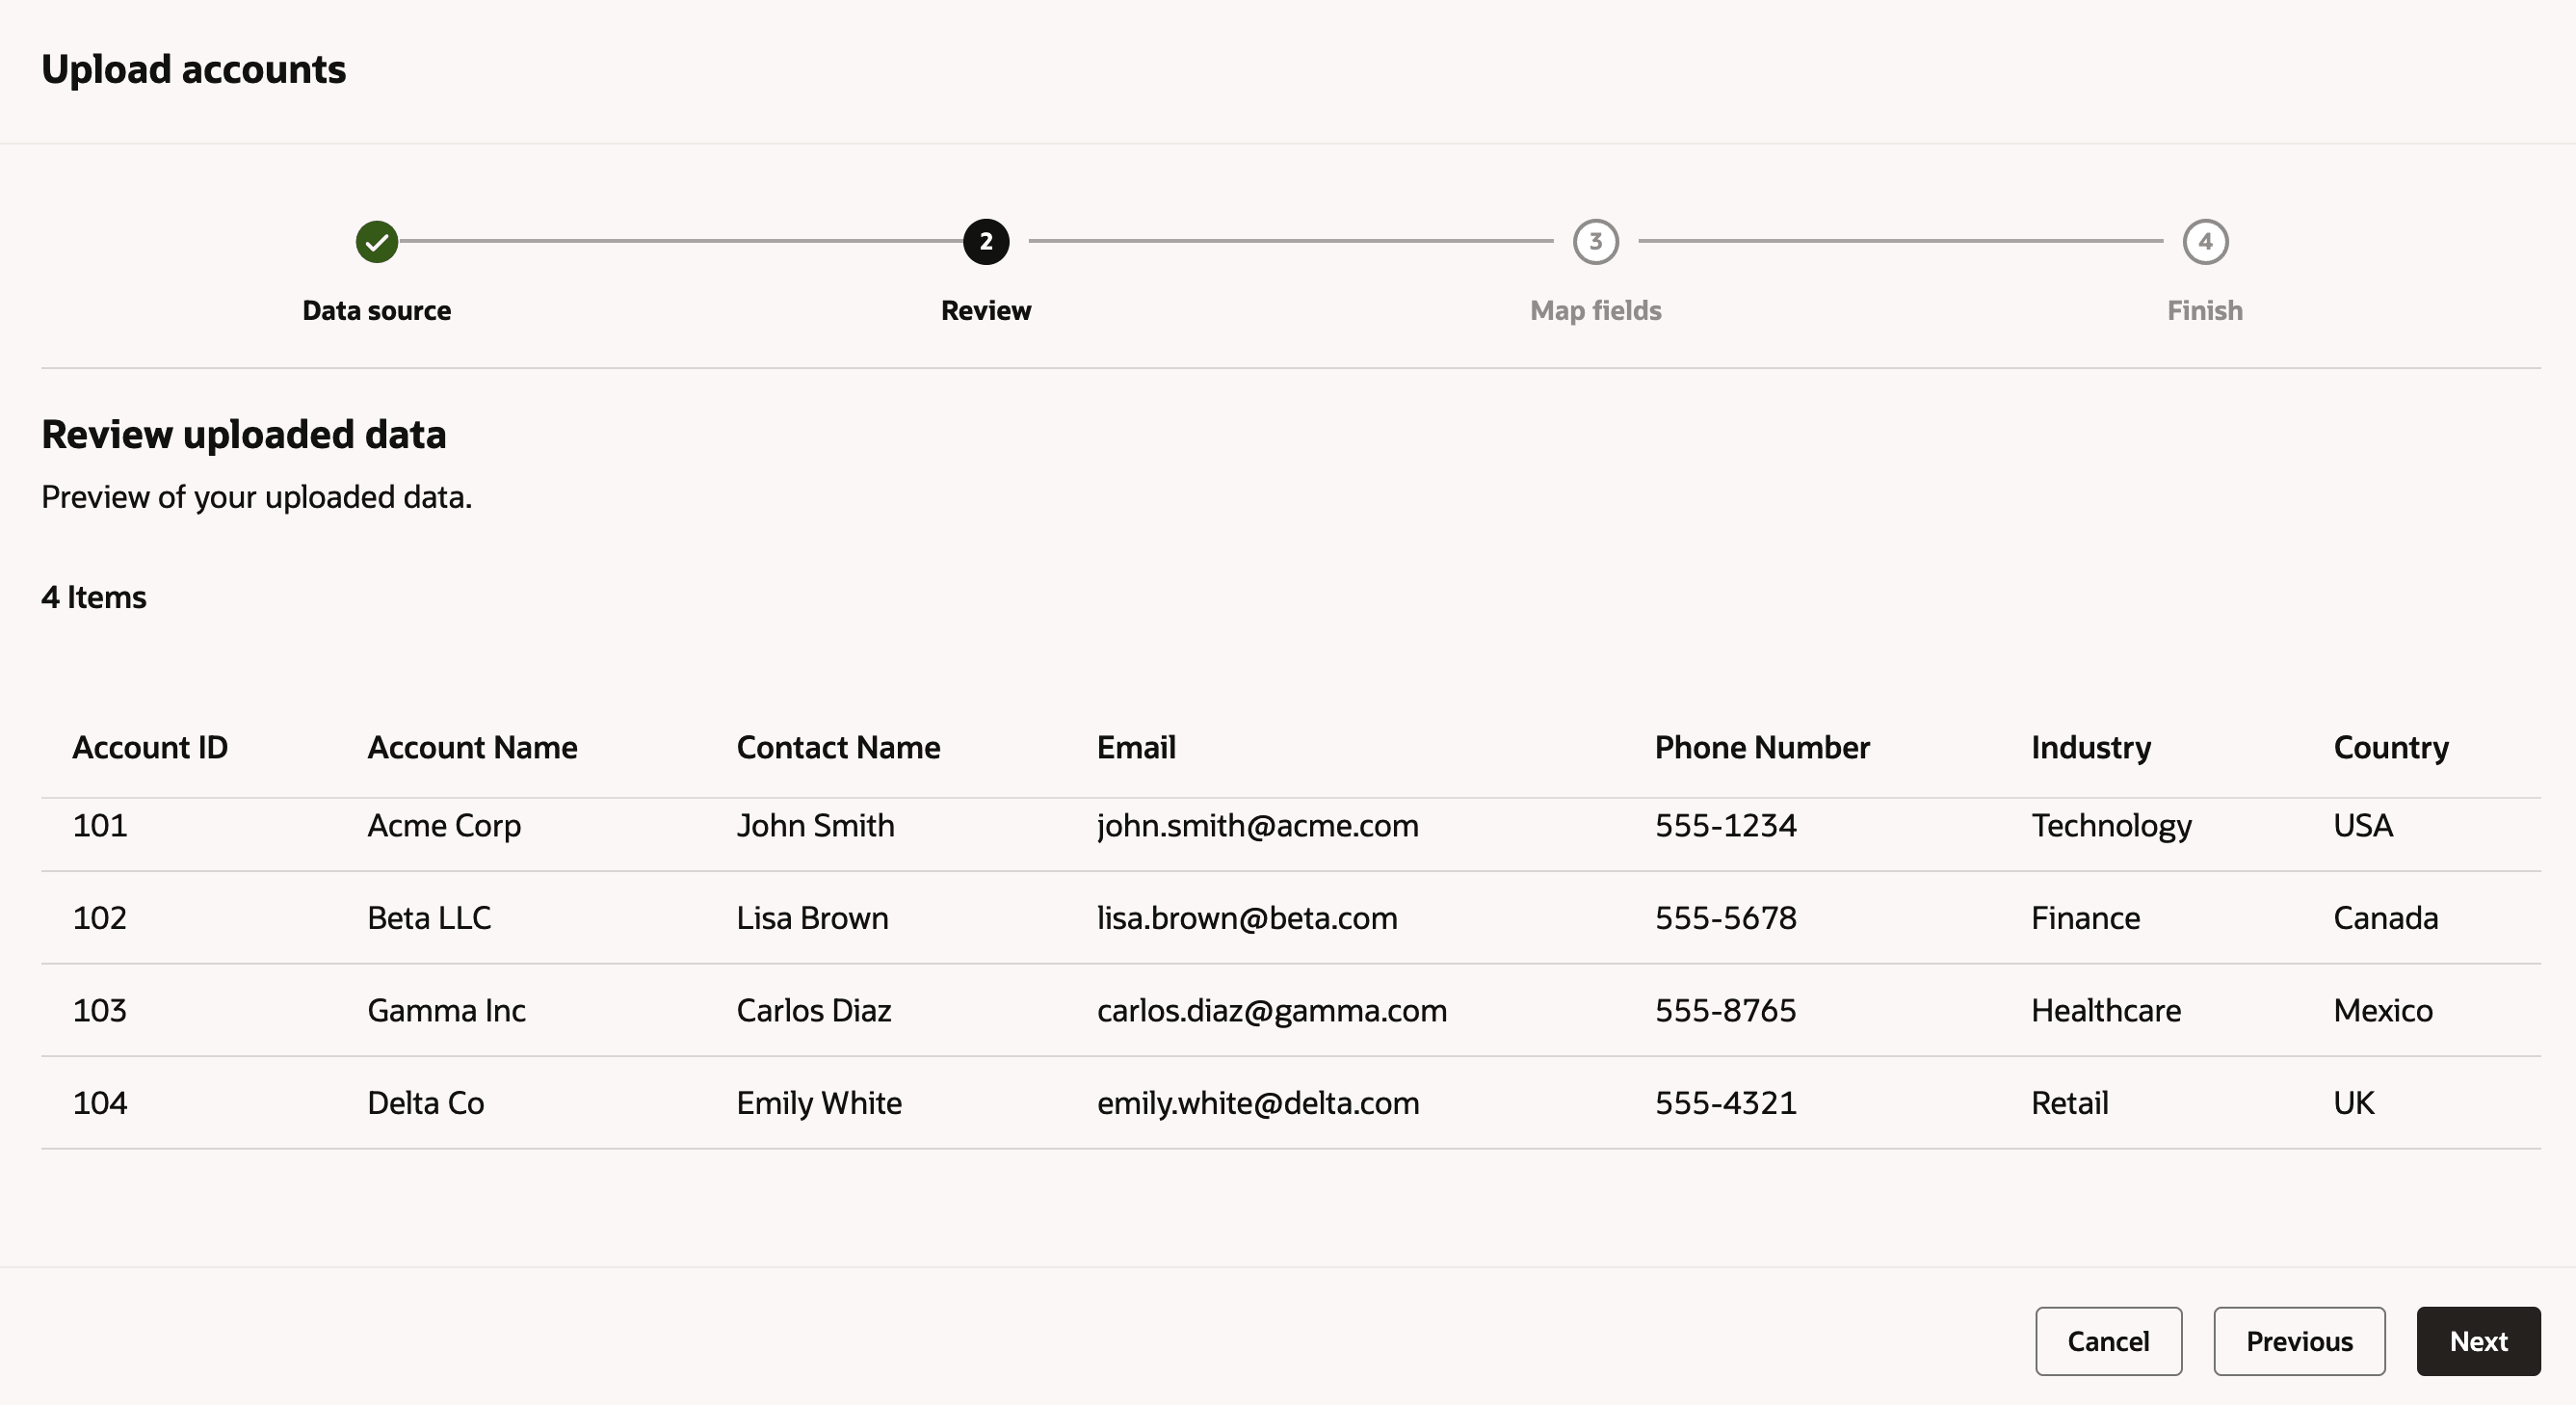
- Verify the contents of the file on the Review tab and click Next Step.
Classic UI
Redwood Experience
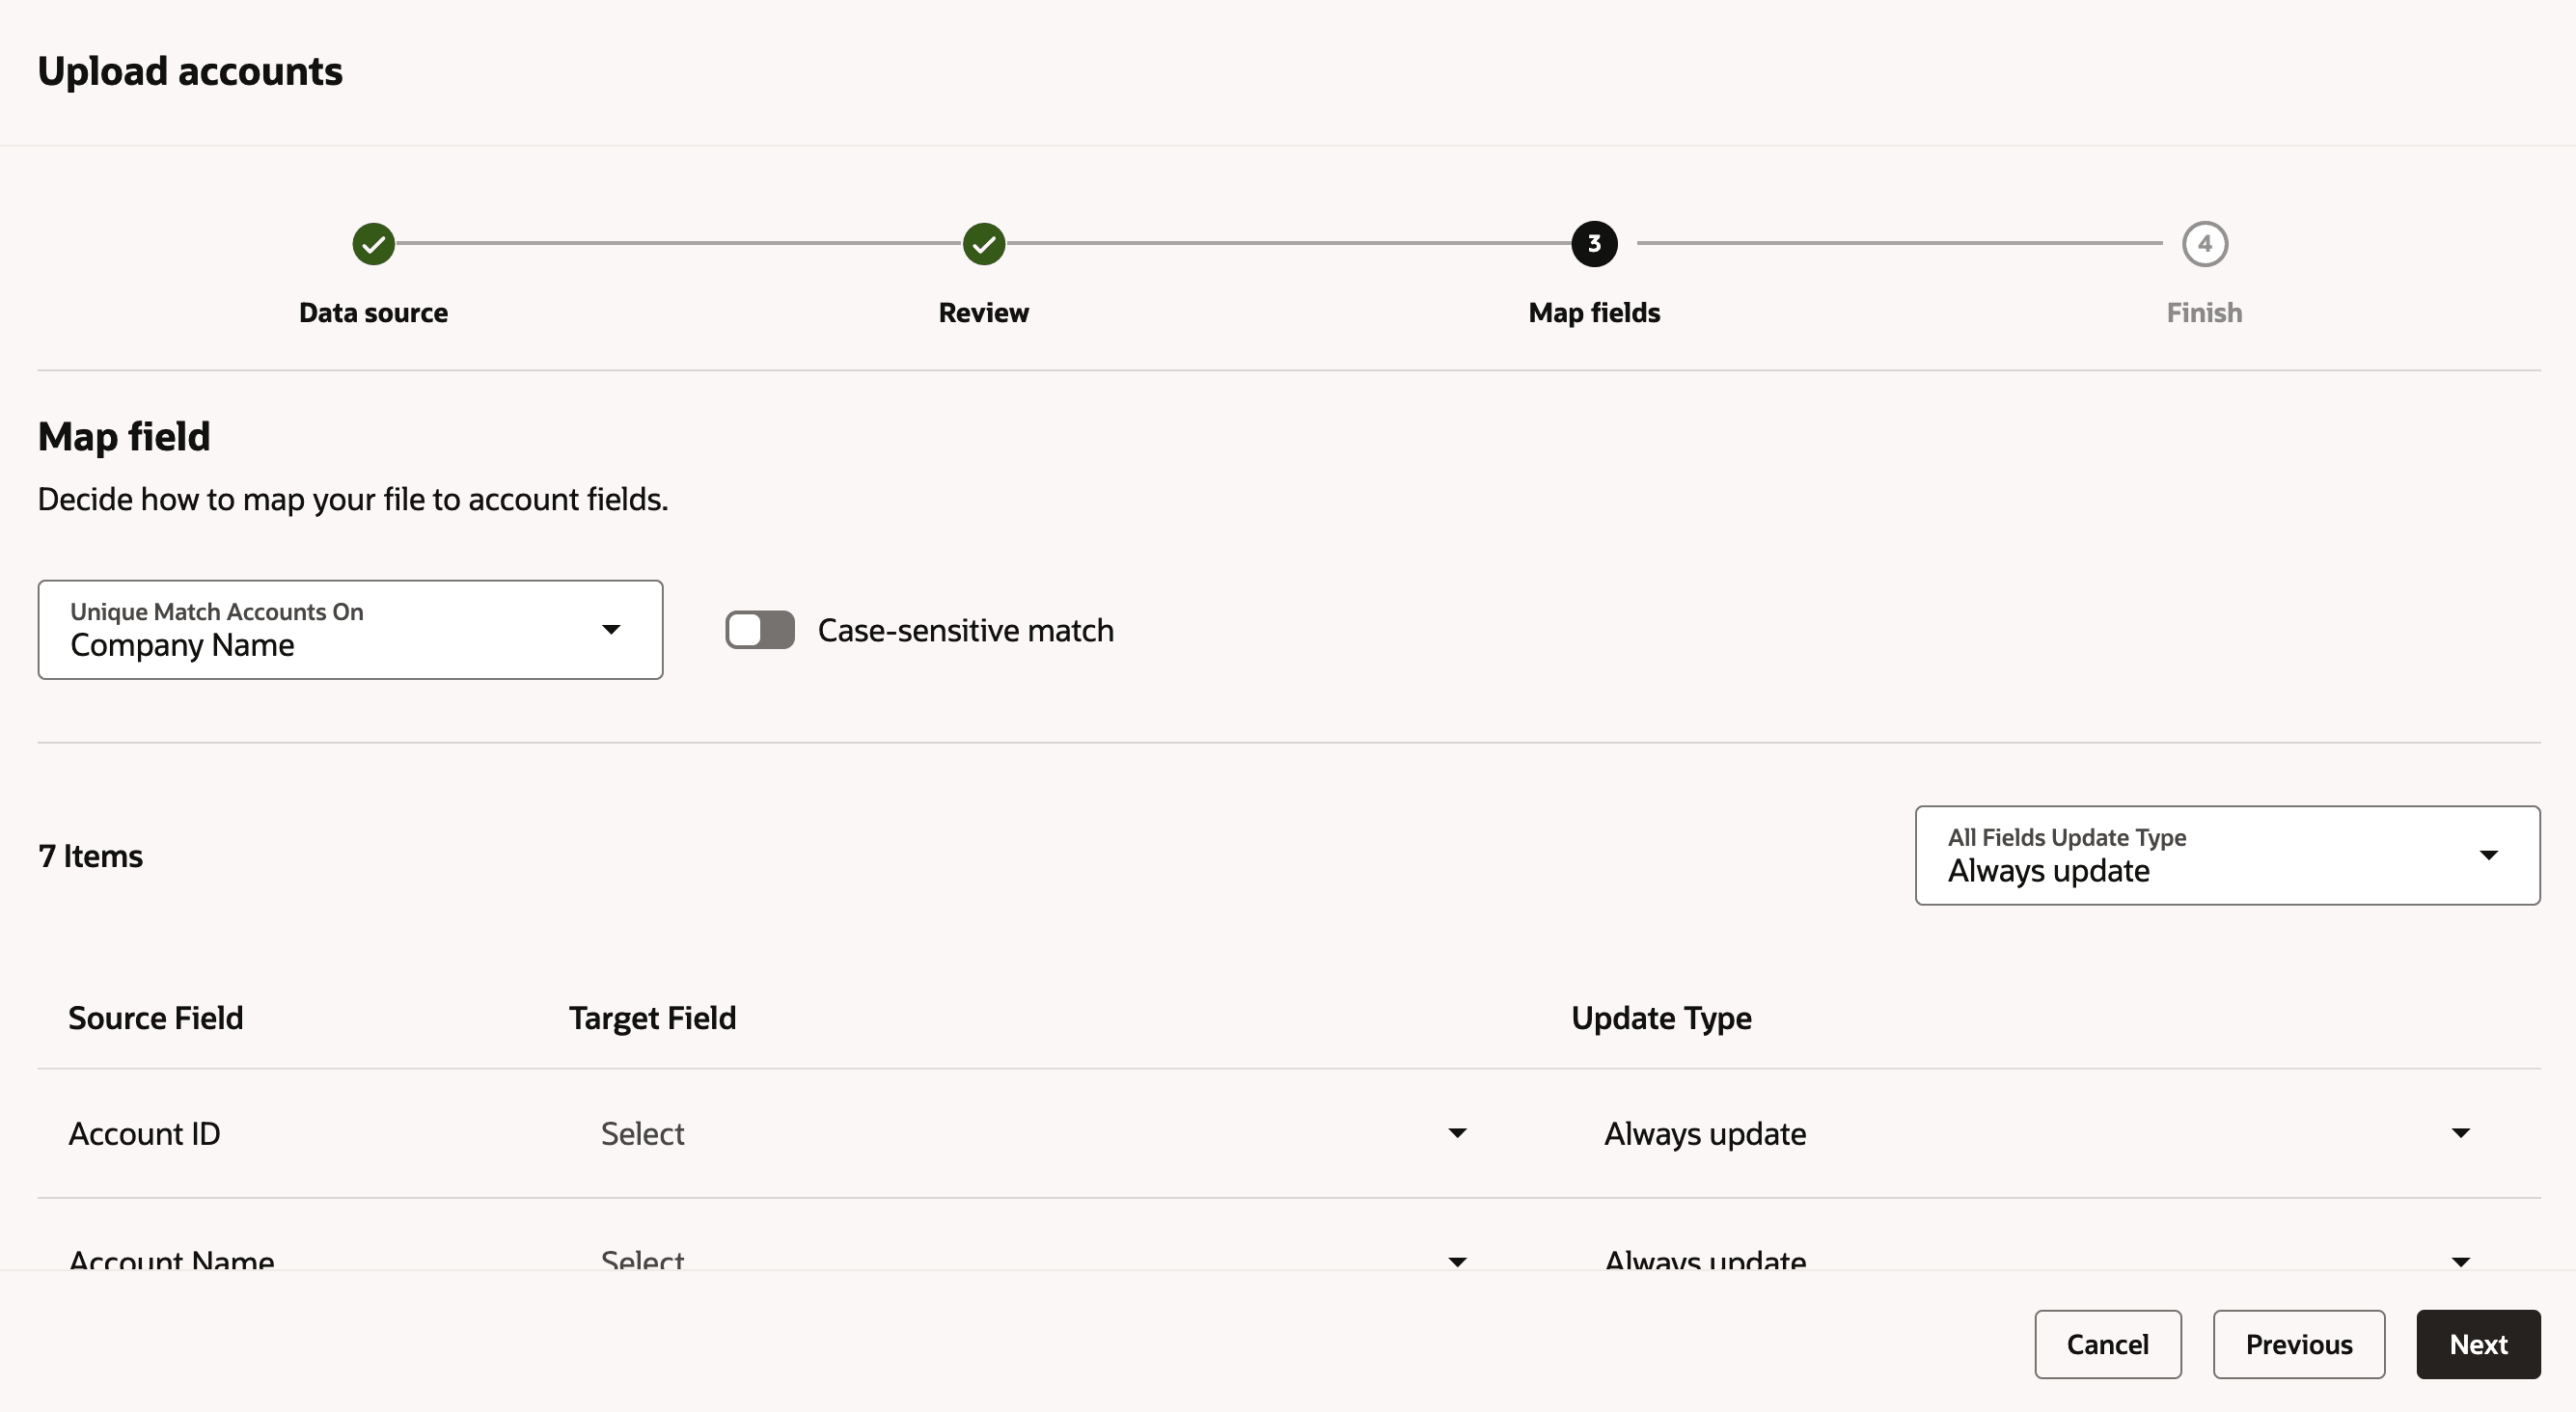
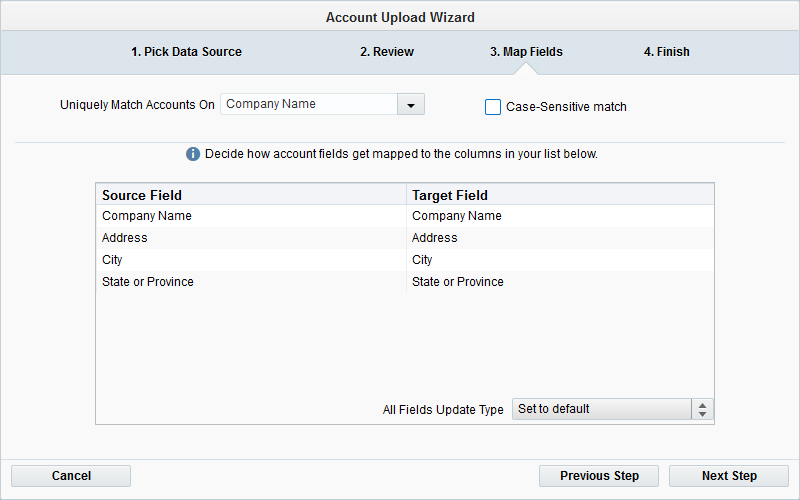
-
Complete the Map Fields tab and click Next Step.
- If you are adding or updating accounts, make sure you map all the data in your upload file to the applicable account field. Also, make sure that you select when you want the account fields to update using the All Fields Update Type drop-down list. For example, update the field if it is blank or not blank. Using Set to default will use the default configuration for each field. If a specific field should be updated differently than the rest, you can double-click the field and configure update type for that specific field.
-
Click Next Step.
Classic UI
Redwood Experience
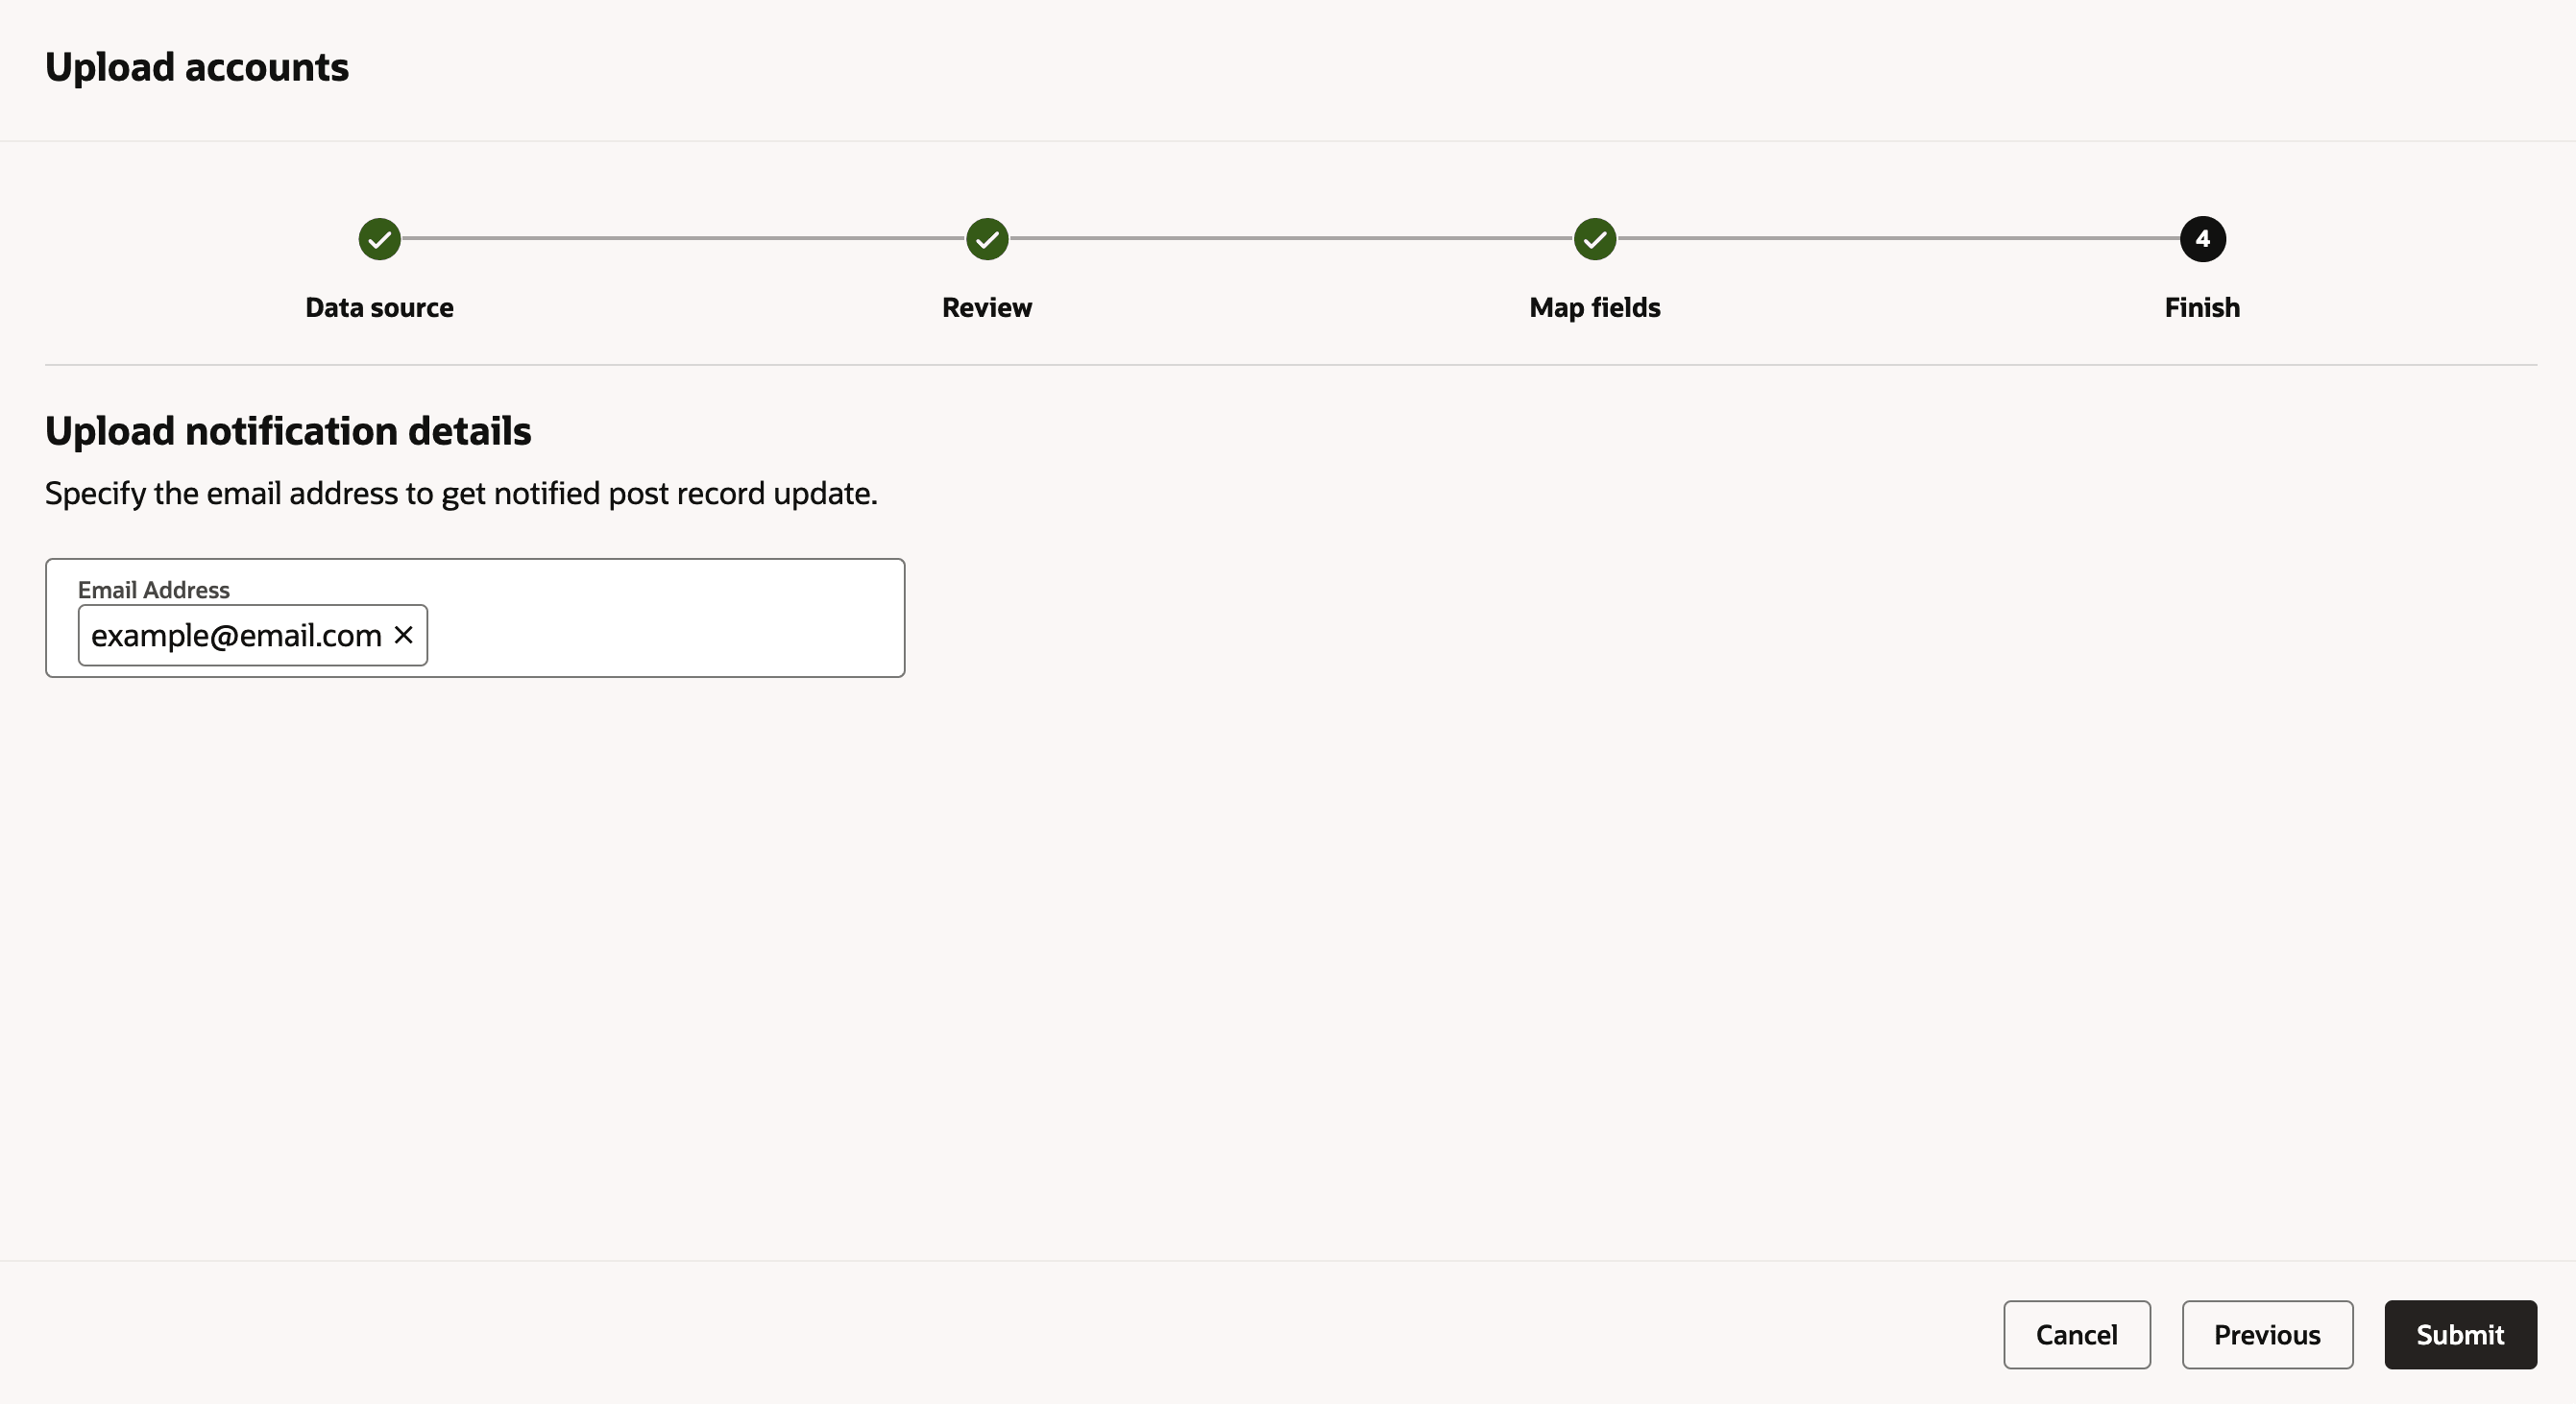
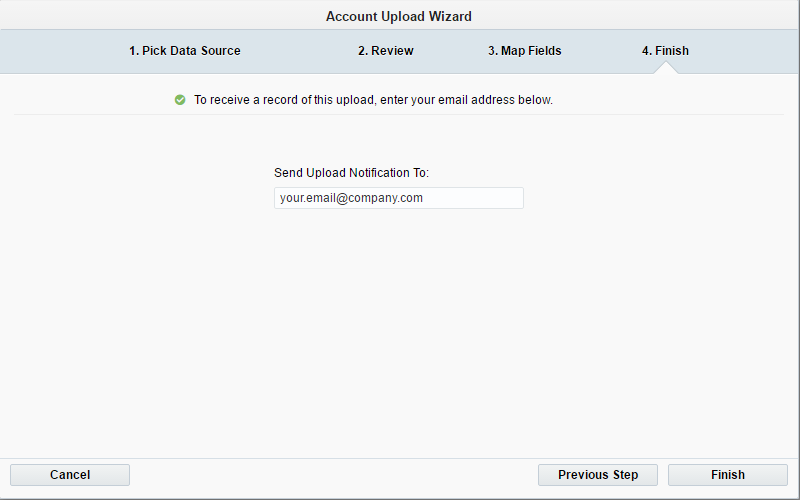
- Complete the final step of the wizard, and click Finish.
Troubleshooting
If your accounts didn't upload as expected, see this troubleshooting information for more help.