Configuring your user profile
Change your general user settings and info, including the timezone, password, and signature fields.
This information may already be set up by your administrator when your account is created.
To configure your User (agent) settings:
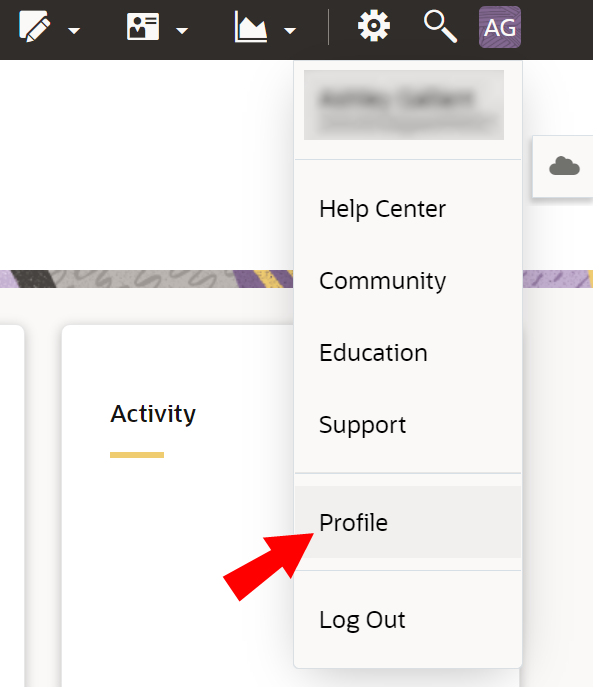
- Click the User Profile icon in the upper-right corner of Oracle Eloqua.
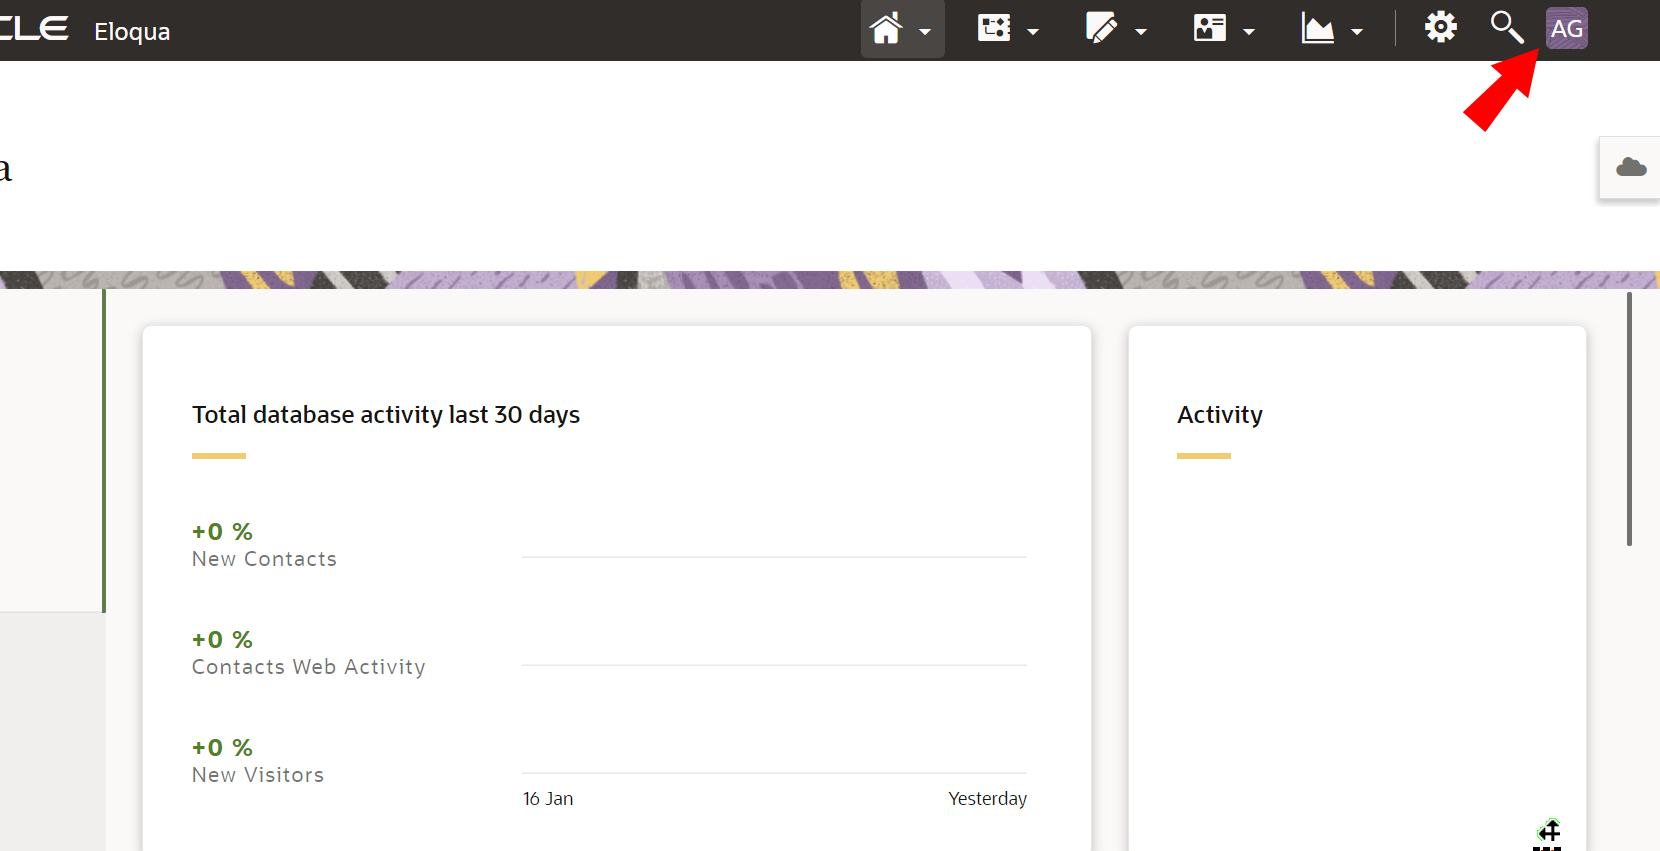
- Click Profile from the drop-down that opens.
- Verify or change your basic user account information in the Login Info section:
- Display Name: Your name as it appears in Eloqua.
- Username: Your account name, used to log into your instance of Eloqua. This field is read-only, and is usually dependent your First Name and Last Name at the time your account is created.
- First Name: Your first name.
- Last Name: Your last name.
- Email Address: Your primary email address associated with your Eloqua user account.
- Click Change Password
 to reset your login password. You will need verify the change with your current password.
 - Set your official timezone in the System Settings section:
- Select a time zone from the Time Zone drop-down.
- You will need to save your profile, log out of Eloqua, and log back in for this change to take full effect.
- If you have an integrated CRM, such as Oracle CX Sales (formerly Oracle Sales Cloud) or Salesforce, enter a User ID in the appropriate CRM field.
Tip: Administrators can assign a User ID to a user for each CRM integrated with the Oracle Eloqua account. To do so, navigate to Settings
 > Users, select a user, and add the User ID via the Edit User page.
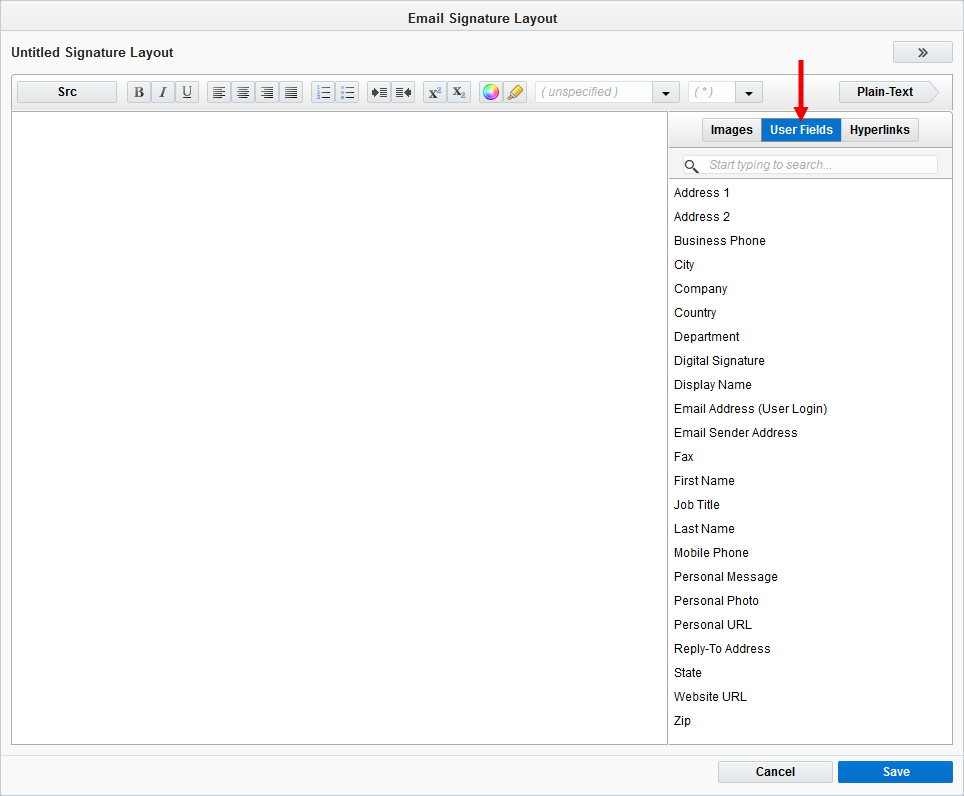
 - Set up your user field values in the General Info (Signature Fields) section.
Note: Some of the following fields may be used to populate email signatures, depending on the options enabled in the Personalize Email Headers section of signature rule definitions. See individual descriptions below for details. See also, Signature rules.
Email Sender Display Name: The preferred display name for your emails. This name will populate its corresponding signature layout user field, Reply-To Display Name, if that check box is selected in the Personalize Email Headers section of a signature rule. This information will also overwrite your email header's Sender Display Name and Reply-To Display Name.
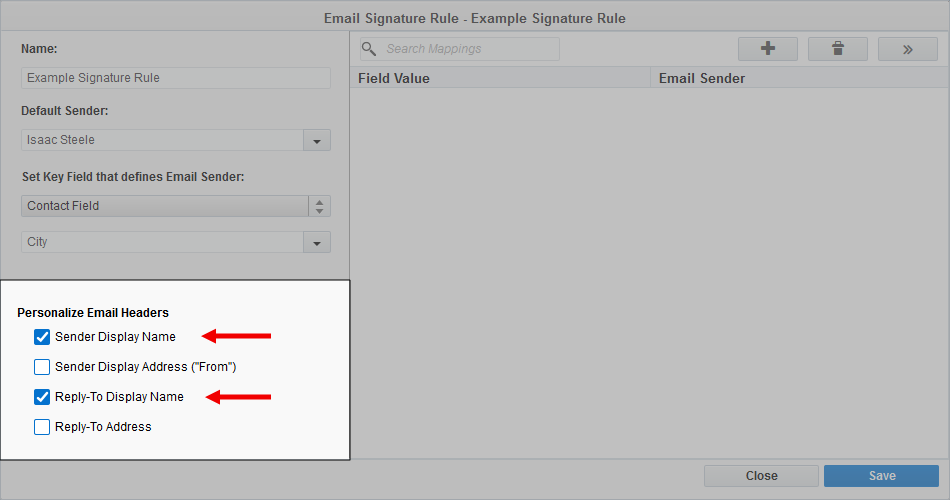
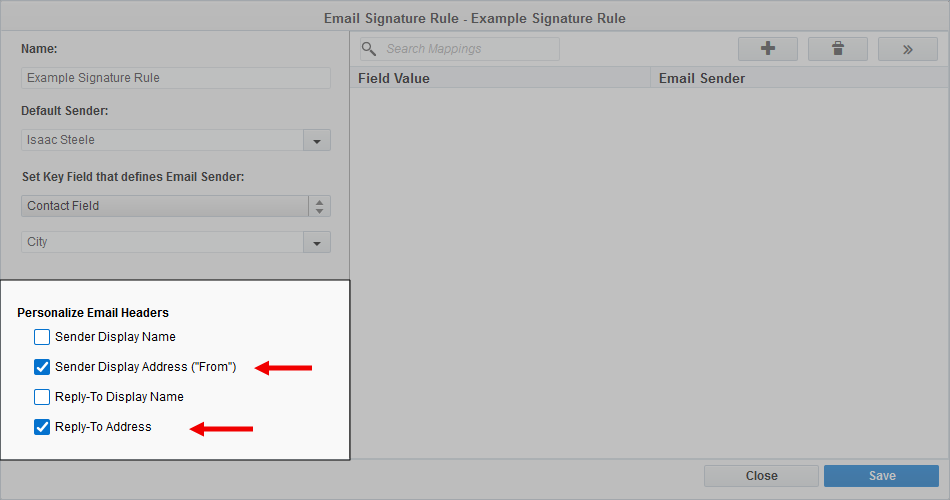
Email Reply-To Address: Your preferred reply-to email address. This address will populate its corresponding signature layout user field. This information will also overwrite your email header's Sender Display Address and Reply-To Address if those check boxes are selected in the Personalize Email Headers section of a signature rule.
- Company: The name of your organization.
- Website URL: The website of your organization, department, or specific product(s).
- Department: Your official department or team name.
- Job Title: Your official role or title.
- Business Phone: Your stationary phone number.
- Mobile Phone: Your mobile phone number.
- Fax: Your fax number.
- Address 1 and Address 2: The street address of your office.
- City: The city in which you are located, or for which you are responsible.
- State: The state (or province) in which you are located, or for which you are responsible.
- Country: Your country.
- Zip: Your zip code / postal code.
- Email Sender Address: The email address you want to be displayed in emails. This address will populate its corresponding signature layout user field, Sender display Address ("From"), if that check box is selected in the Personalize Email Headers section of a signature rule.
- Personal URL: Your own personal website, such as a business-related blog.
- Personal Message: This field can be used for a brief, meaningful, personalized message.
- Personal Photo: An official, professional portrait. Click the adjacent search
 icon to locate and select the relevant asset. You can also upload a new asset from the Search menu that opens.
 - Digital Signature: An image of your personal signature or branding image. Click the adjacent search icon to locate and select the relevant asset. You can also upload a new asset from the Search menu that opens.
- Default Signature Layout: The default signature layout for your emails.
- Click Save when you are done.
Your profile has been updated.
Values in each text field will auto-populate the corresponding user field when used in a signature layout.