Step 1: Creating your first form
Note: We're updating our help center to reflect the new Redwood experience. During the transition, some content reflects the previous version of the UI.
In our welcome campaign, we are using a form to try to gather some additional information about our new subscriber before providing them with their trial download.
To create your first form:
- Navigate to Assets
 , then click Forms.
- Click Create a Form.
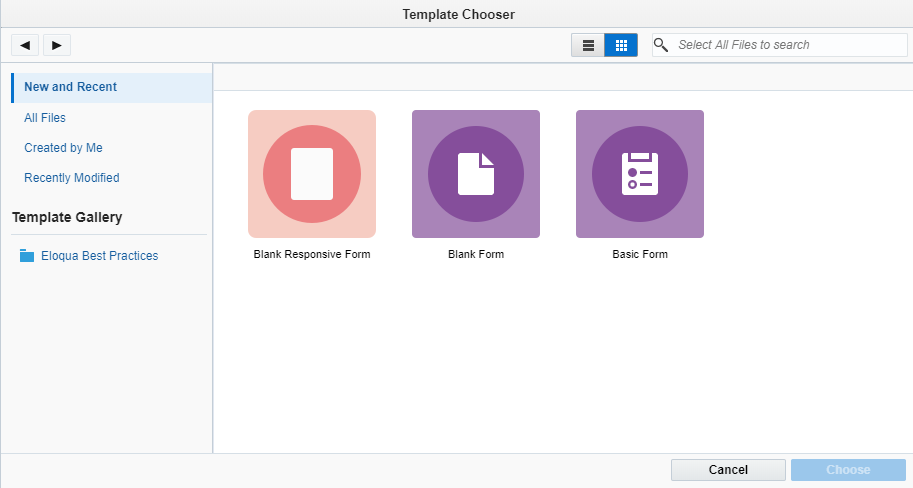
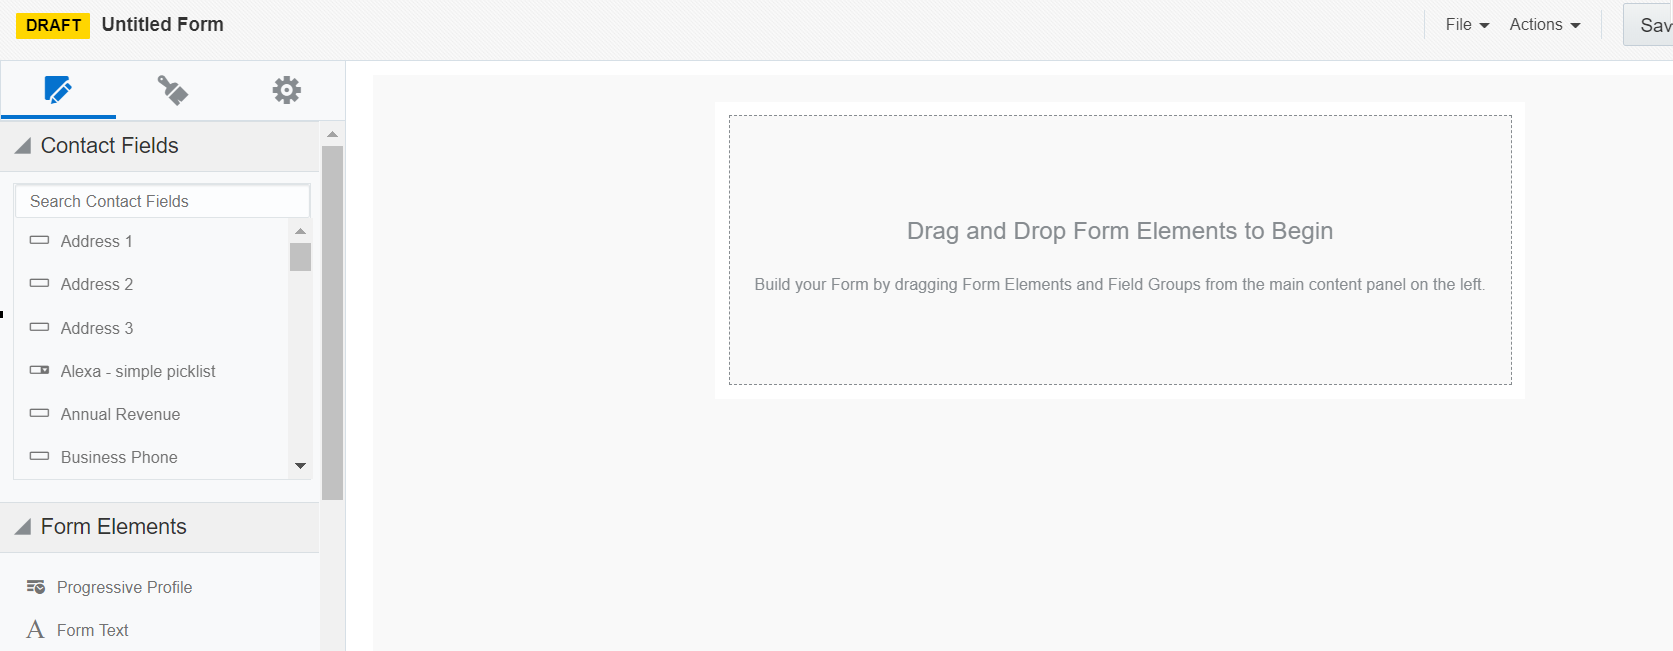
The Template Chooser opens.

- Click Blank Responsive Form, then click Choose.
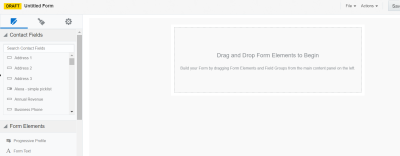
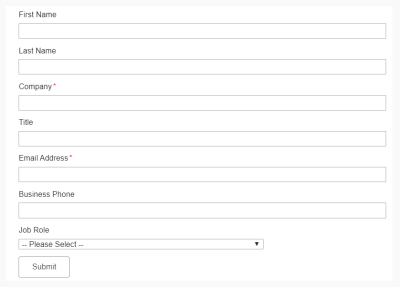
The left pane includes options to add fields to your form. The center pane is the form layout. Drag and drop a field onto the center pane to add it to your form. Once you have dropped a field into your form, click on it to see its settings. The form will be styled when you place it on a landing page.
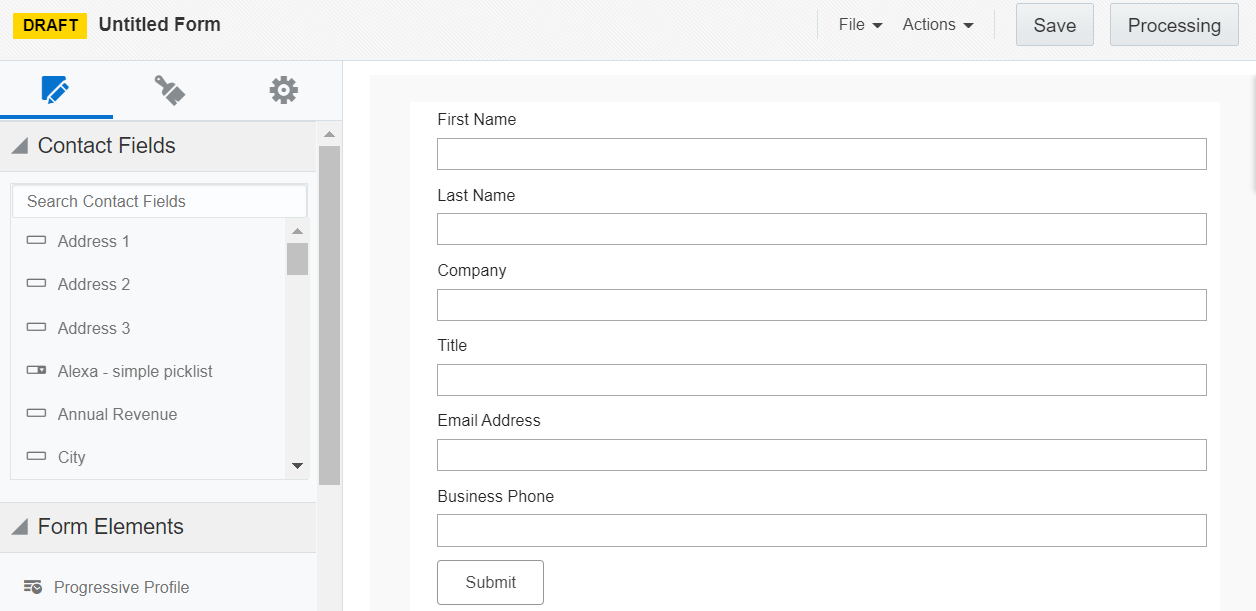
- First, we will add a new field to the form. Add the First Name field.
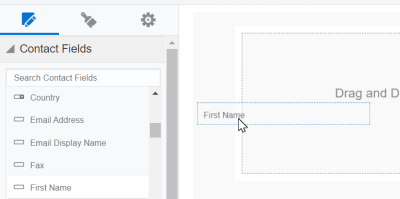
If a field is yellow, it indicates that the field will be pre-populated with known data when a contact loads the form.
- Find the following fields under Contact Fields and add them to your form:
- Last Name
- Company
- Title
- Email Address
- Business Phone

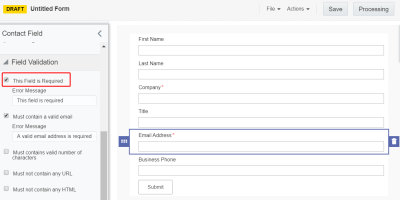
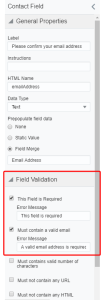
- Click on the Company field in your form.
The Contact Field panel opens.
- Under Field Validation, check the box for This Field is Required.
- Repeat step 7 for the Email Address field.
- Under
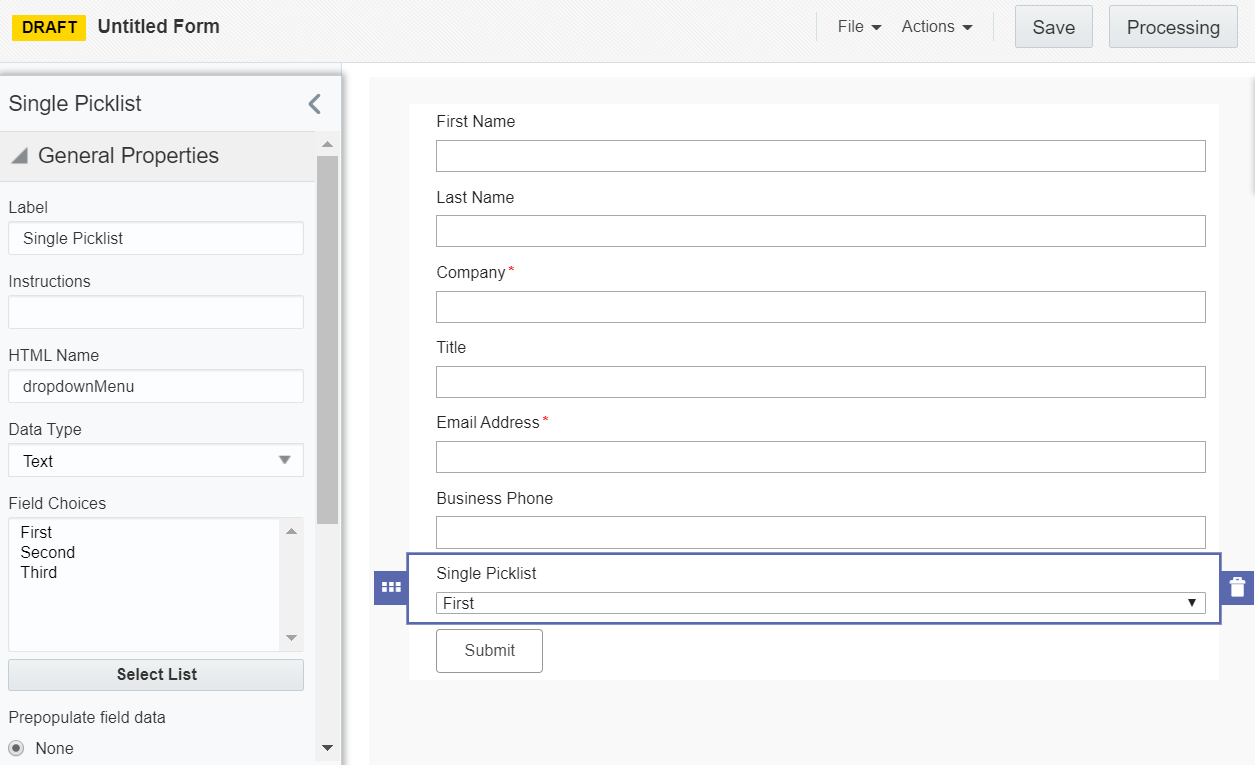
 > Form Elements, double-click Single Picklist.
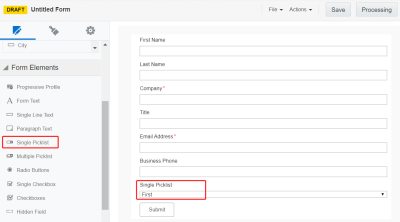
This adds a picklist to the bottom of our form. As you can see, a picklist is a drop-down list options. For a description of form element options available, see Contact fields, form elements, and field groups.
- Click the picklist you just added to open the settings panel. The settings panel allows you to configure the form field.
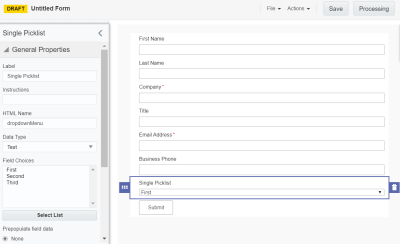
There are multiple tabs of settings in this field panel:
- General Properties
- Field Validation
- Field Properties
The following table describes the tabs.
Tab Description General Properties Display settings for the field such as label, instructions, and data type. You can also set the value that should display by default. You can configure manual text or populate the field with a field merge.
Field Validation Set validation settings for the field. For example, make the field mandatory and configure the associated error message.
Field Properties Set the width of your form field.
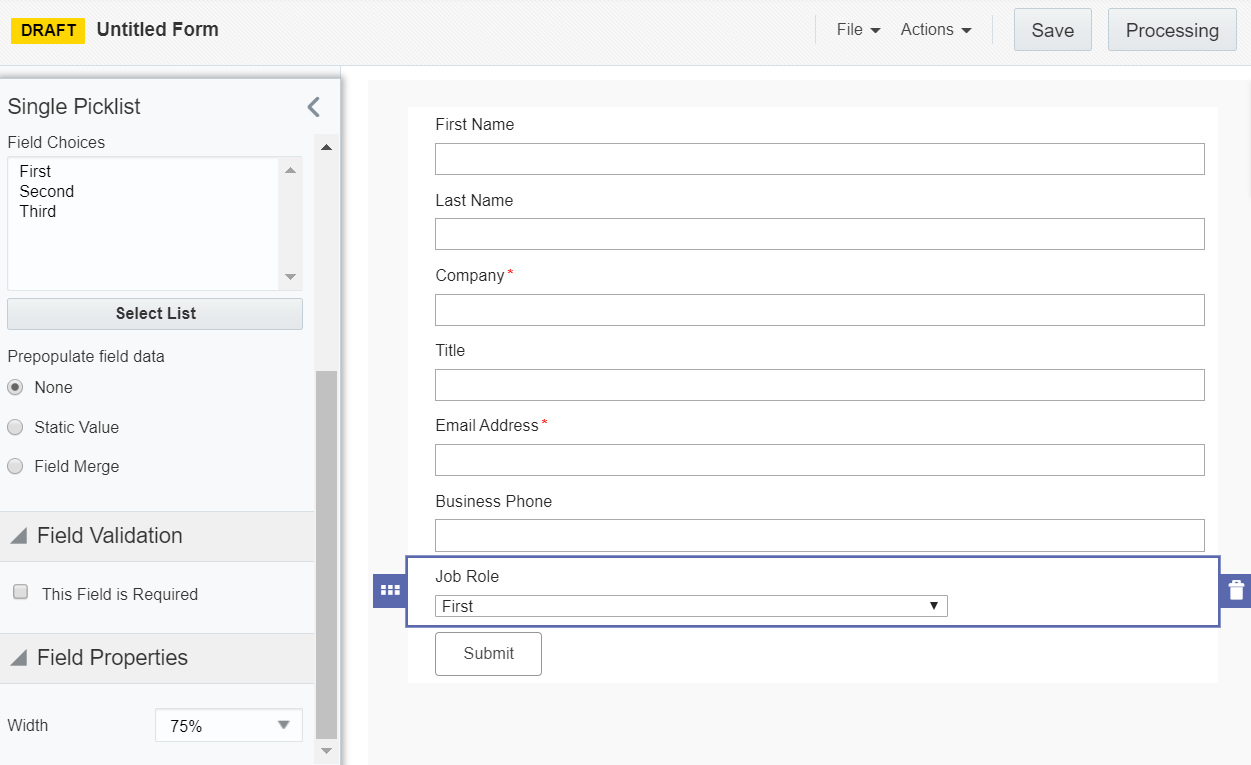
- Under General Properties, enter Job Role in the Label field. Under Field Properties, select 75% from the Width drop-down.
This gives the picklist a descriptive label in the form and adjusts the width of the picklist. You can see the changes immediately.
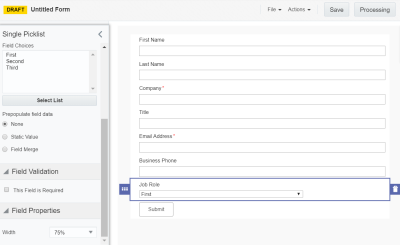
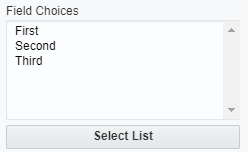
Right now, the picklist contains the default values: First, Second, and Third. Let's update those values to display a pre-configured picklist of job roles we have pre-configured.
- Click Select a List in the Field Choices area.

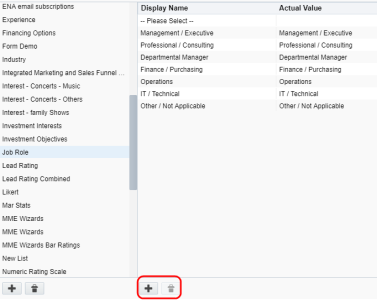
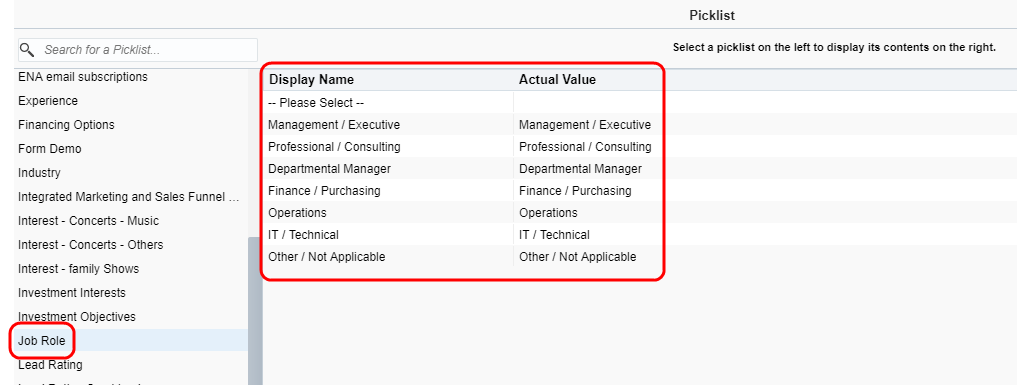
- Select Job Role from the Picklist window.
The picklist options display. The Display Name is the value that displays to contacts in the picklist. The Actual Value is what is stored in your database.

You can add an option to the picklist or delete an option using the buttons at the bottom of the list.
- Click Select to apply the picklist selection.
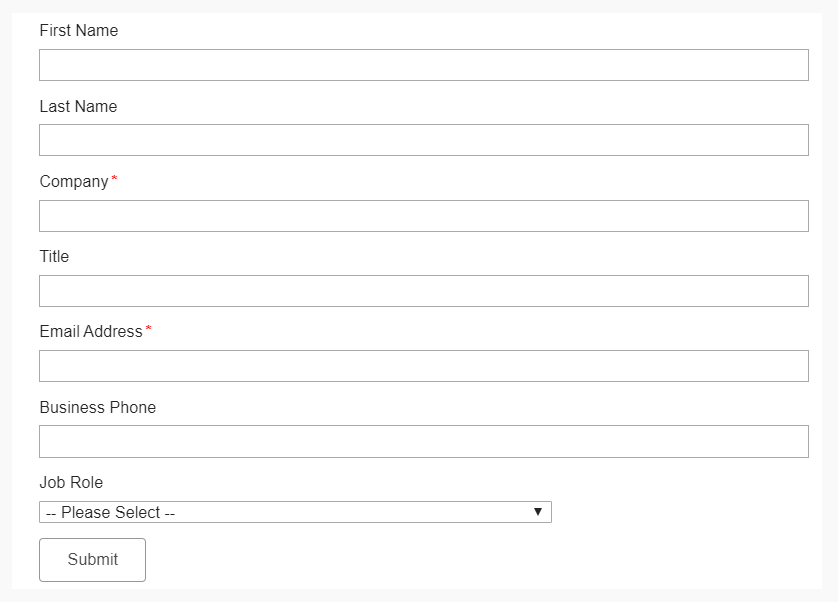
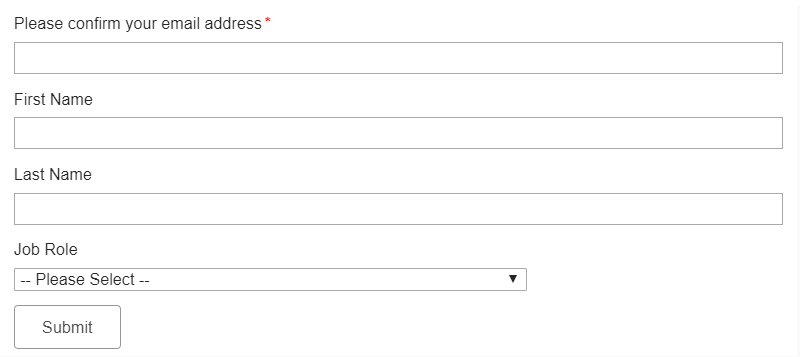
The form now looks like this:
Now, we'll update some of the form fields.
- Hover your mouse over the Email Address field until you see the orange Layout overlay. Click on the overlay.

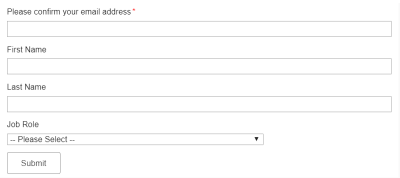
- Drag the Email Address field to the top of the form.
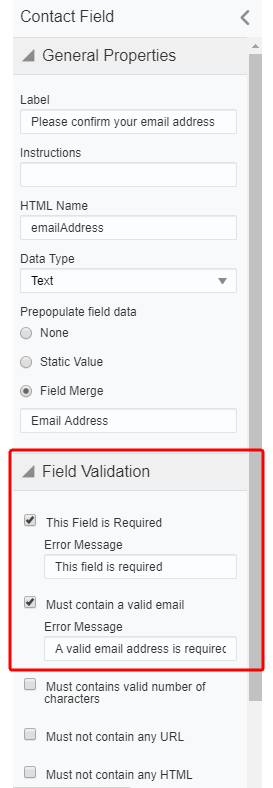
- Click the Email Address field. Using the Contact Field panel, change the label to Please confirm your email address. If the form submitter is a part of our welcome campaign, they have already provided their email. However, this gives us a chance to ensure the contact is known to us. It will be pre-populated with the email address from their contact record. If they are unknown, the new contact can provide their email address.
- Under Field Validation, verify that the Email Address field requires a valid email address.
- Click the First Name field. Under Field Validation, verify that the Must not contain any URL box is checked. This setting helps prevent malicious usage of the form. By default the field also can't have more than 35 characters, which is also a security feature.
- Repeat the First Name settings for the Last Name field.
Now, we'll remove some fields.
- Click the Company field, then click
 . This removes the field from the form.
- Remove the Title and Business Phone fields.
The completed form now looks like this:
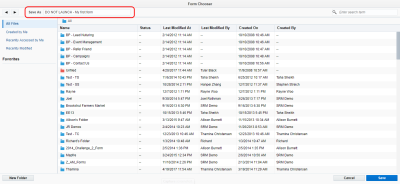
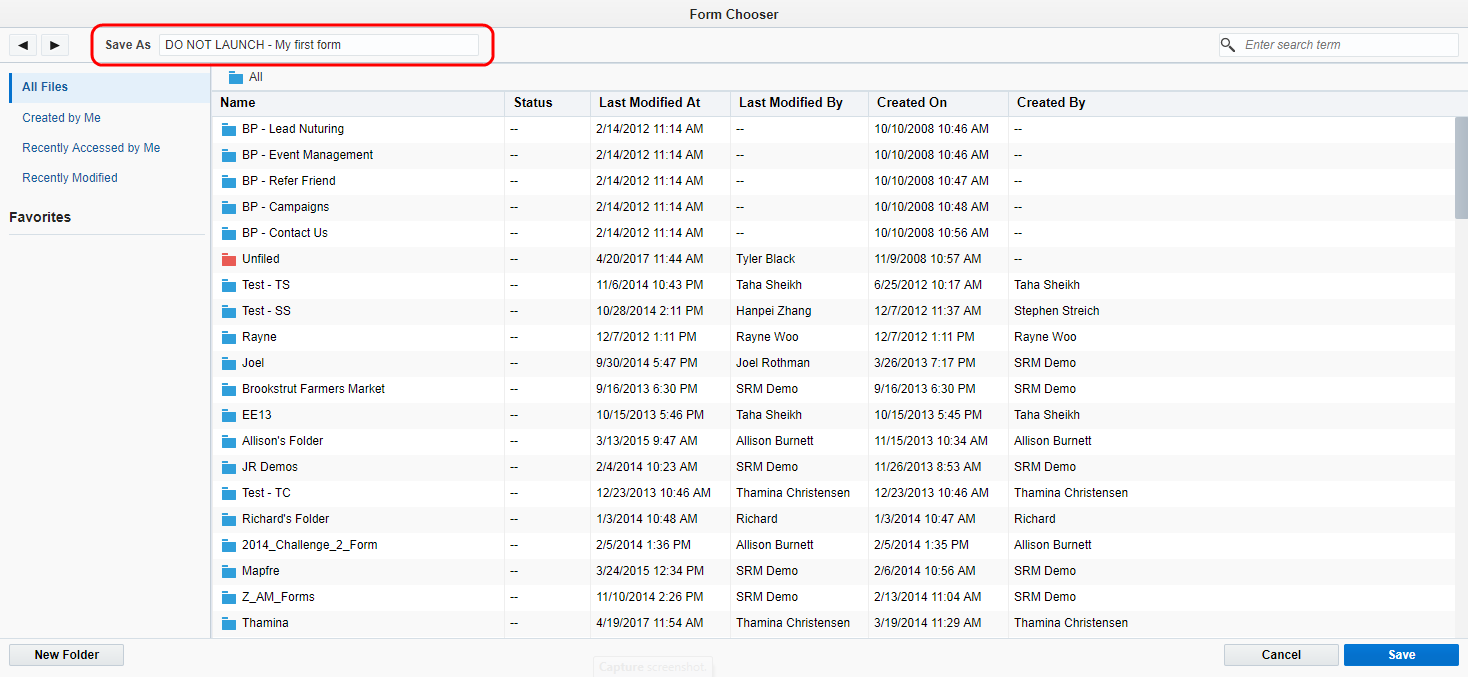
- Click Save.
- Enter DO NOT LAUNCH - My first form in the Save As field.
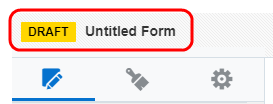
Tip: You can also name your form by double-clicking the Untitled Form text at the top of your form.

- Navigate to the folder you want to save the form to and click Save.
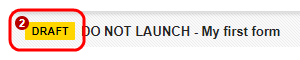
- After saving the form, double-click the Draft status to review any Draft errors.
The Validation Errors window opens if you have errors.
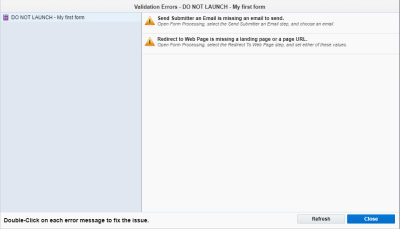
- Click Close.


Your form is almost ready to use! Let's finish up by configuring the form processing steps.