Step 2: Monitoring the campaign members
It's a new day and our campaign has launched! Let's check back in on the campaign canvas to see what has changed.
To review the campaign:
- Navigate to Orchestration
 , then click Campaigns.
 - Open DO NOT LAUNCH - My first welcome campaign.
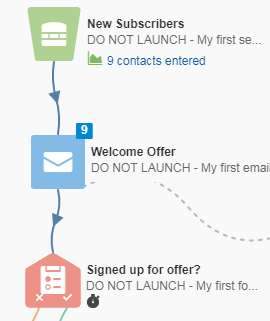
The campaign status is now Active. An active campaign cannot be changed.

The segment step indicates how many contacts entered the campaign. The numbers on the other steps indicate how many contacts are currently on that step of the campaign. In our example, eight contacts entered the campaign. Four campaign members are on the first email step and four are on the wait step. In our example, no contacts have gone past the decision step yet.
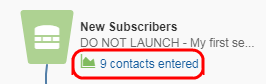
- Double-click the number on the segment step to view the contact information.
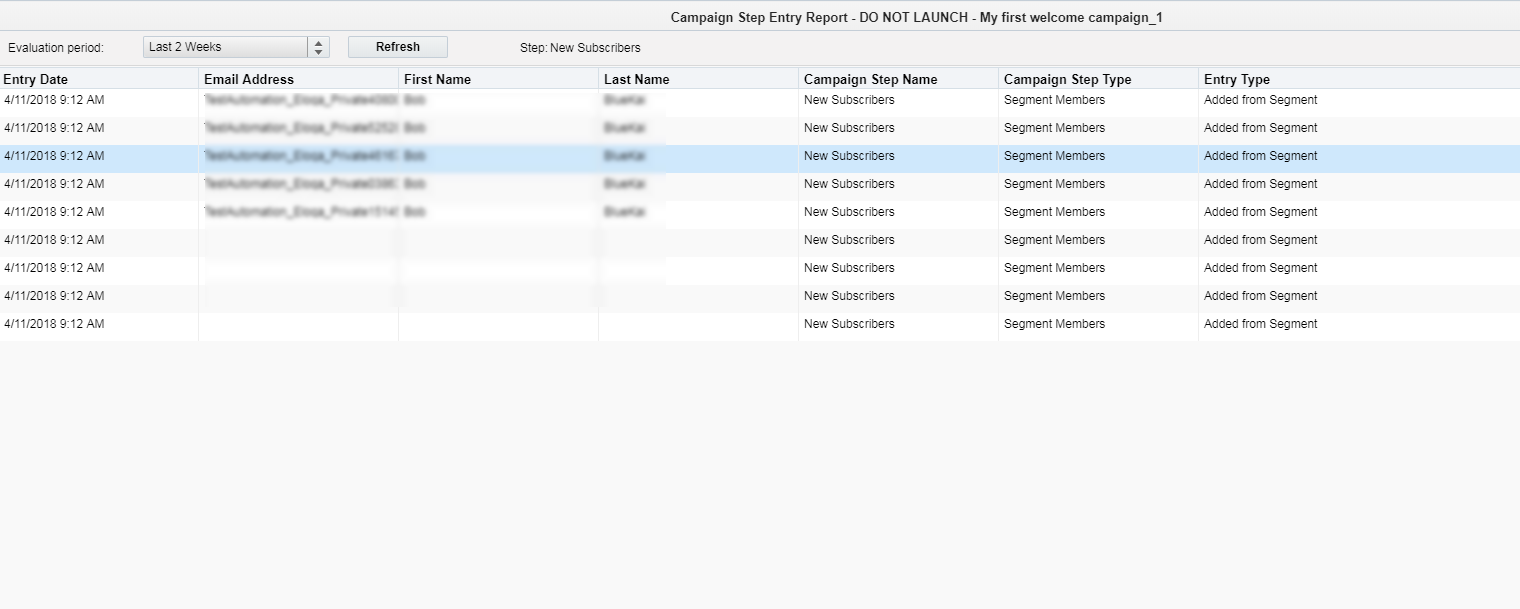
The Campaign Step Entry report appears. This report shows you the contacts who have entered this step. The Entry Type column shows how the contacts entered the step.,
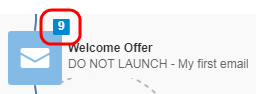
- Close the report and double-click the contact count on the email step.
The View Campaign Step Members report opens. This report shows a list of the campaign members in the step, along with options to refresh, export, move, or remove campaign members.
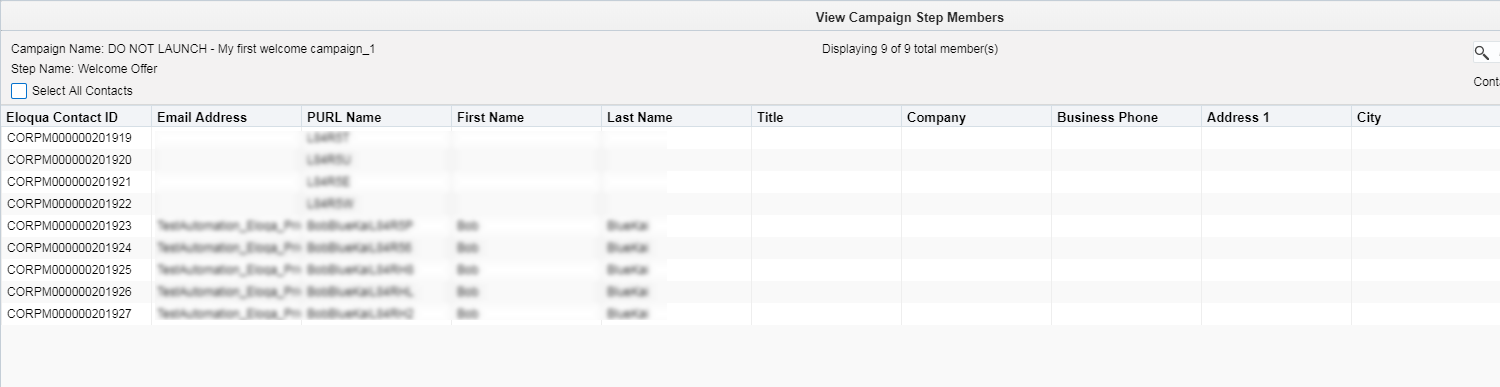
- Scroll to the right to view Status, Entry Time, and Next Evaluation columns.
These columns can help you understand why campaign members are in the step. In this case, the contacts were not sent the email because they had previously been sent the same email. Oracle Eloqua prevents you from re-sending contacts the same email. We're using a test environment, so this is expected.

- Select all the campaign members in this report and click Remove. Click Remove Contacts when the message appears and click OK to refresh the campaign canvas.
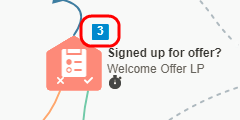
The contacts are removed from the campaign. The updated campaign canvas shows us that no contacts remain in the email step. No new contacts entered the campaign, but a contact has signed up for the offer.

- Double-click the number on the decision step and scroll to the right to review the Status column.
The status indicates that these contacts haven't yet signed up for our offer. The Next Evaluation indicates when the wait step will evaluate again.
