Step 1: Creating your first segment
Note: We're updating our help center to reflect the new Redwood experience. During the transition, some content reflects the previous version of the UI.
Let's create a new segment to feed contacts into our welcome campaign. We're going to build our segment from scratch.
To create a new segment:
- Navigate to Audience
 , then click Segments.
 - Click Create a Segment.
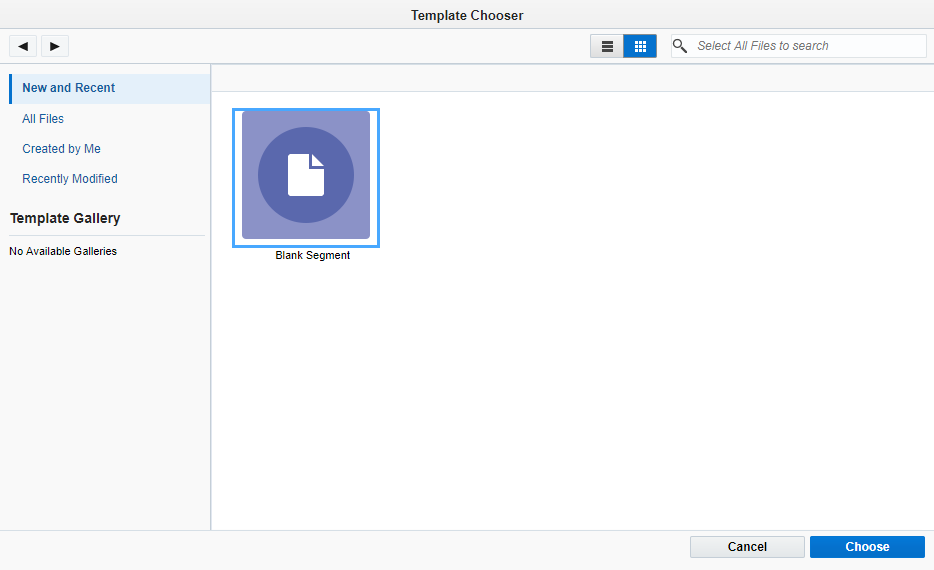
The Template Chooser opens. If your organization uses templates to help build segments, you can access them here. We'll be using the blank segment.
- Select Blank Segment, then click Choose.
A new segment opens.
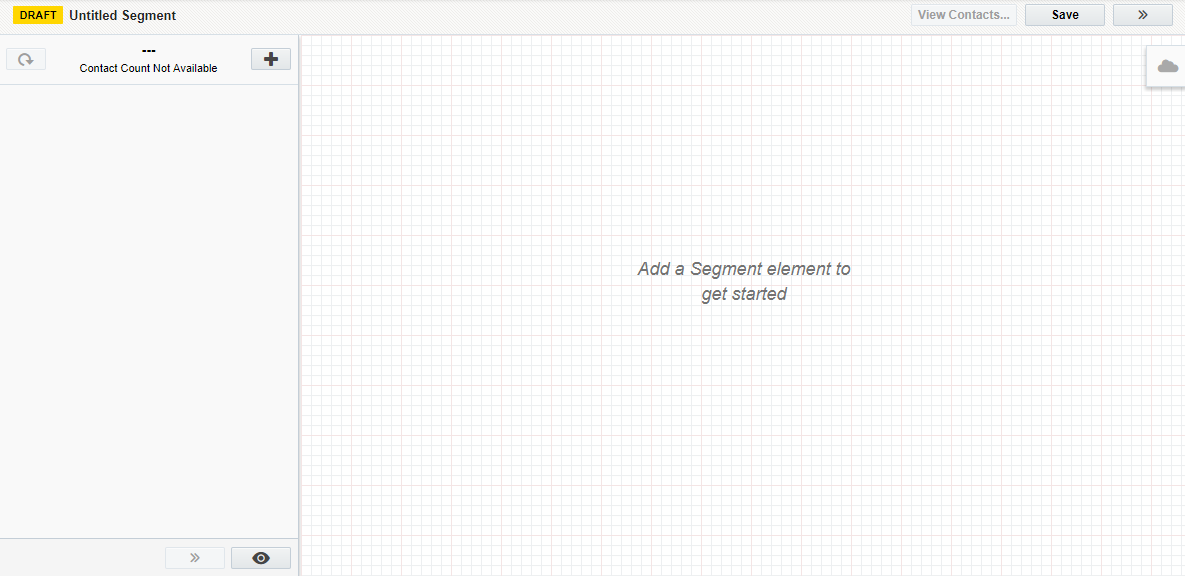
- Click
 to open up a list of options.
The segment building blocks appear. The following table describes the building blocks.
 Filter Criteria
Add contacts to your segment using dynamic filters. Filters can be based on implicit or explicit data about the contact. For example, filter for contacts by job title, purchase history, website behavior, or account information like industry or company size.
By using filters, you can dynamically build your segment whenever the segment is evaluated. Using multiple filters can help you refine your target audience.
If you want to view the contacts in a Filter Criteria, but it's been more than 24 hours since the segment was last calculated, click
 to refresh the segment first. You can then view the filter's contacts in your segment by right-clicking the Filter Criteria then clicking View Contacts...Important: When you filter by activities, the filter can only select dates that are within the last year, and a filter can only return one year of data in total. Additionally our data retention will only retain data from activities for up to two years. However, for Subscription and Bounceback activities, filters can search up to 10 years.
For instance, if today is January 5th, 2025:- If you filter for activities before January 5th, 2025, the filter will search from January 5th 2024, to January 4th 2025.
- If you filter for activities before April 22, 2022, the filter will search from January 5th 2023, to January 5th, 2024.
- If you filter for activities within January 5th 2023 to January 4th 2024, the filter will return no data.
 Individual Contacts
Add individual contacts to the segment from your contact database.
 Upload Contacts
Add contacts to your segment by uploading them from an upload file.
 Shared Filter
Add contacts using a shared filter. A shared filter is a reusable filter that can be used in many segments. You can customize the shared filter.
 Shared List
Add contacts by using a shared list. A shared list is static and can be reused.
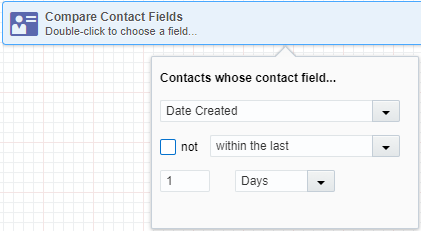
- Click Filter Criteria . From the list of filter criteria that appears, double-click Compare Contact Fields.
The Compare Contact Fields filter appears on the segment canvas.
- Double-click the Compare Contact Fields filter.
The configurations for that element opens.

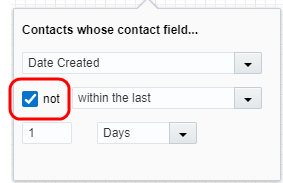
- Select Date Created from the Select a field drop-down. Select within the last from the drop-down below it. Select 1 Days from the last drop-down.
Note: Depending on how your company manages contact opt-in and permission, you may need to filter on additional fields or geography data to ensure you are capturing people who have explicitly opted into your communications.
The complete dialog looks like this:
- Click away from the dialog to see the updated filter.

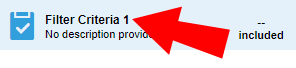
- As you build complex segments, it is important to give your filters descriptive names. Double-click the name of the filter in the left pane and enter New contacts that have subscribed within the last 24 hours. Double-click the description below it and enter Filter for new subscribers.
Now that we have all the filter criteria we want, your segment should look like this:

- Click Save.
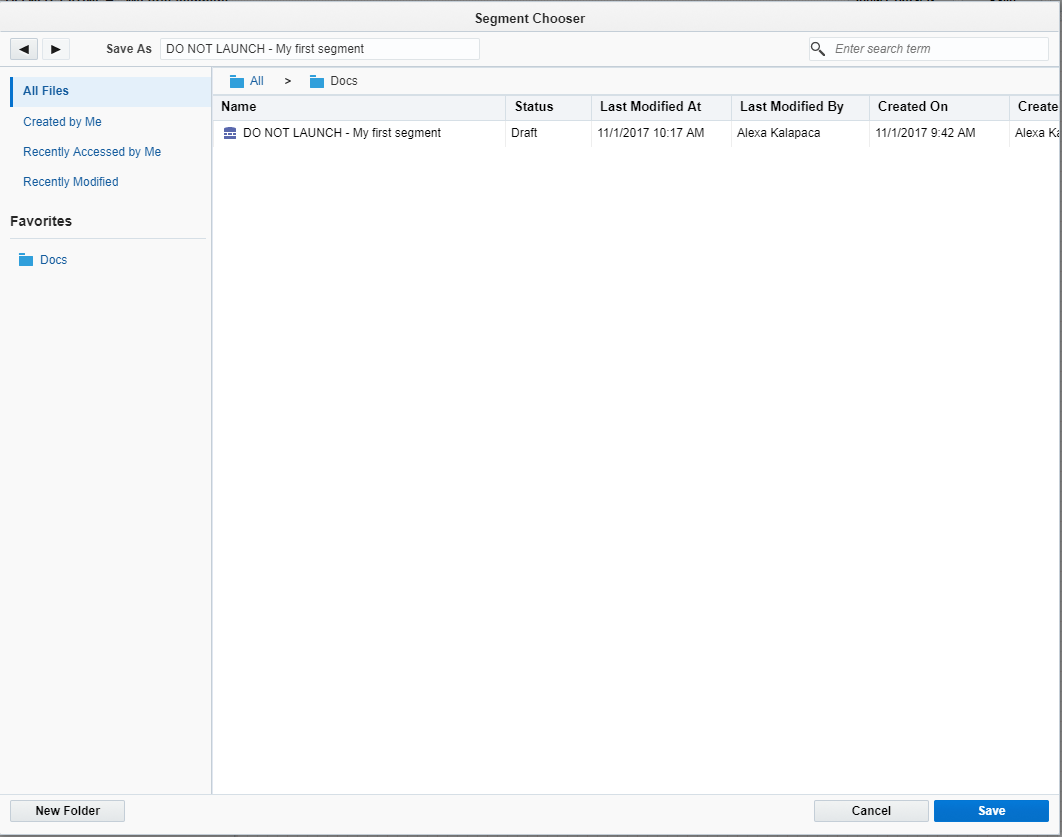
The Segment Chooser appears.
- Enter DO NOT LAUNCH - My first segment in the Save As field. Navigate to the folder you want to save the segment in and click Save.
After you save your segment, you'll notice that Oracle Eloqua starts calculating the number of contacts in your database that meet the segment’s criteria.
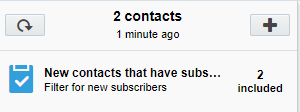
In our case, after the calculation finishes, there are 2 contacts included in the segment. At any time you can click
 to recalculate the contacts. This is a preview of the segment. You can use it to verify your segment's setup. However, it is important to remember that this segment is dynamic. When we launch our campaign, Oracle Eloqua re-evaluates the segment, and the total contacts will vary from this initial evaluation.
 - Click View Contacts.
The View Segment Members dialog opens. Use the All, Included, and Excluded buttons to view the contacts included or excluded by the segment filters.
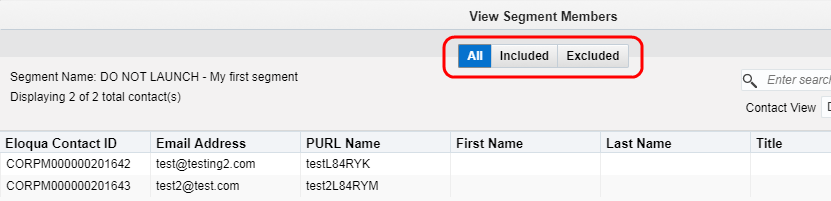
Oracle Eloqua always excludes contacts on your master exclude list, contacts that have unsubscribed from your emails, and contacts that have hard bounced. You won't see these contacts explicitly when you view the segment contacts, but they will always be excluded from campaigns and email sends.
- Click Close. Right-click the filter in the left pane and choose Switch to Exclude. Click Save.
By doing this, the segment has been changed so that the contacts that meet the filter criteria should be excluded from the segment. In our case, this results in 2 excluded contacts and no contacts are included in the segment total. You might use the exclude option to exclude competitors or employees.

- Revert your changes and save the segment.
- Double-click the filter on the canvas and choose the not check box. By making this change, we are indicating we want contacts that are older than one day. Save your changes and notice the difference in contact counts.
- Revert your changes and save the segment.