Step 1: Creating a new dashboard
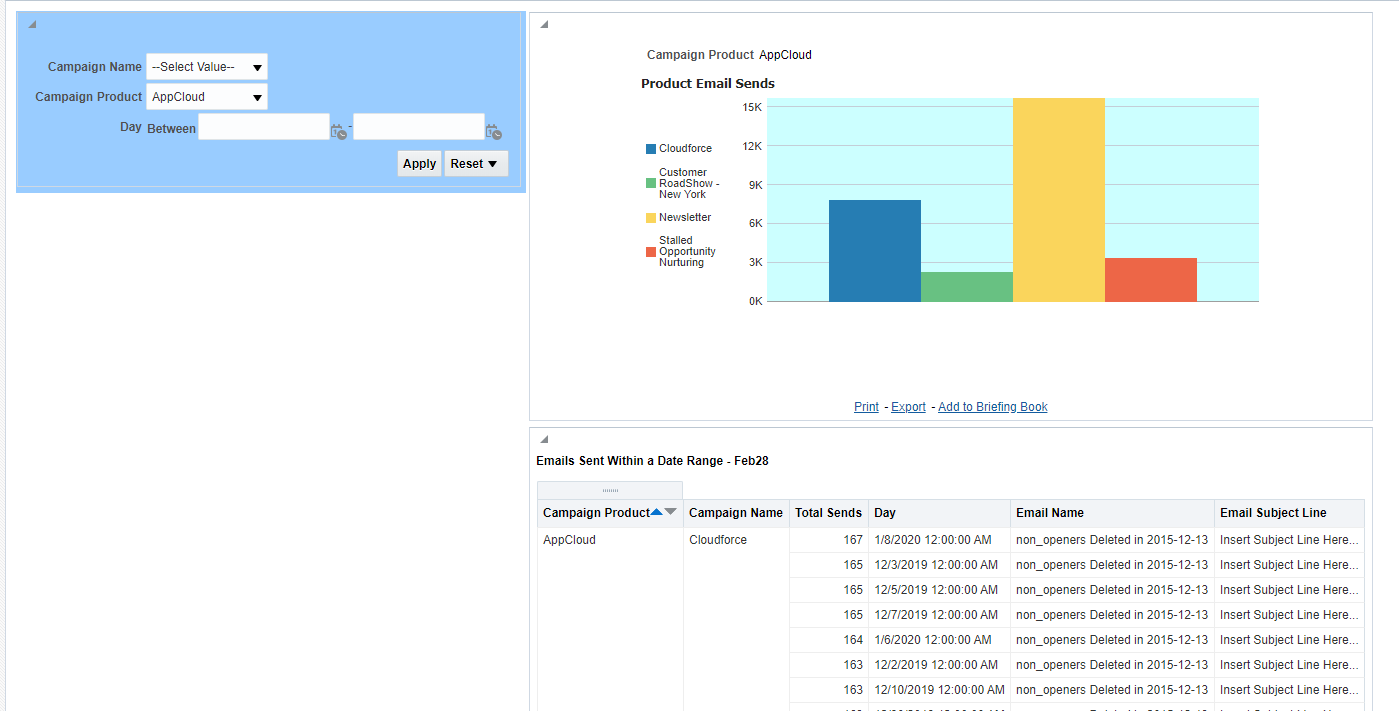
You can create dashboards in Insight to provide personalized views of your Oracle Eloqua data. A dashboard consists of one or more pages that display results of an analysis. For example, you can create a marketing dashboard and add analyses to track your campaign performance. Suppose you create three analyses to review your campaign performance. You can create a dashboard that displays these three analyses. In a later step, we show you how to include prompts on the dashboard to enable users to specify the values to display.
To create a dashboard:
- In Insight, in the menu bar, click New >
 Dashboard.
 - In the New Dashboard dialog, name the dashboard Emails Sent Within a Date Range - Dashboard.
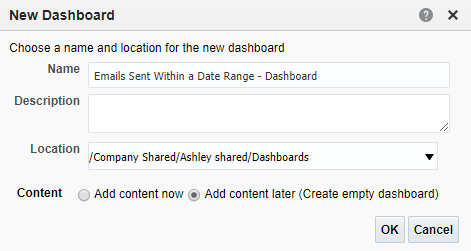
- Select whether to share a dashboard with others or to save it for your personal use. In this tutorial, we will save our dashboard to the Company Shared folder.
- To share a dashboard with others and to list the dashboard in the Dashboard menu in the menu bar, save the dashboard to /Company Shared/first level subfolder (such as /Company Shared/Marketing).
- To share a dashboard with others and to not list the dashboard in the Dashboard menu in the menu bar, save the dashboard to the root of the /Company Shared folder or to /Company Shared/first level subfolder/any other level subfolder (such as /Company Shared/Marketing/EMEA).
- To save for your personal use, save the dashboard in the /My Folders folder.
If you specify a shared folder in which no dashboards have been saved, then a new Dashboards sub-folder is created automatically in the folder. For example, if you select a folder named /Company Shared/Marketing in which no dashboards have been saved, a new Dashboards folder is created. The Location entry changes to /Company Shared/Marketing/Dashboards. (A new Dashboards folder is not automatically created if you choose a folder at any other level.)
- Specify that you want to Add content now to the new dashboard.
- Click OK.
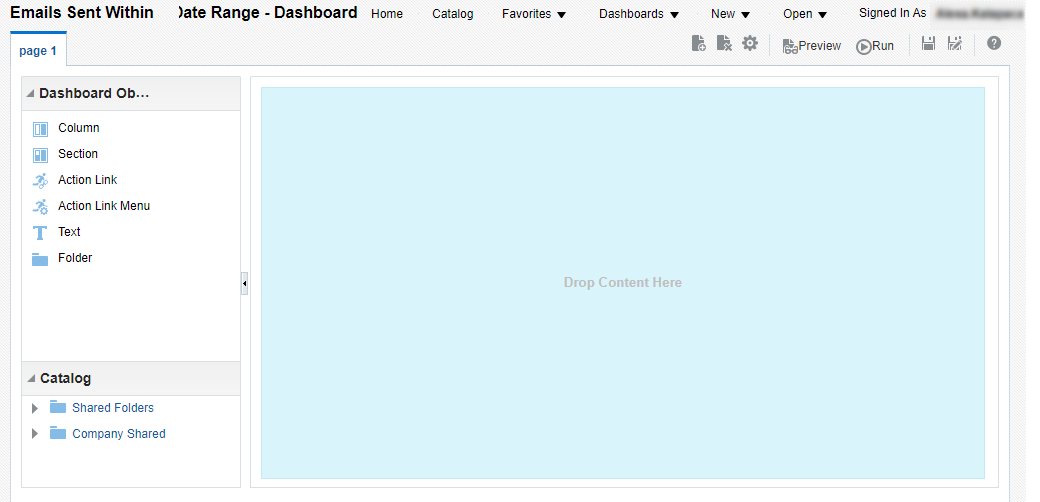
The new dashboard, which contains one blank page, is displayed in the Dashboard builder for editing.