Step 3: Adding dashboard prompts
In this tutorial, we will use prompts in our dashboard so that the analysis can be filtered by product name, campaign name, and email send date. There are two types of prompts: inline prompts (which are embedded within an analysis) and dashboard prompts (which are stored in the catalog). In this tutorial we will create a dashboard prompt. If you create a prompt in an analysis, Insight does not let you alter the analysis's prompt in a dashboard. We're creating prompts for the attributes that are set as is prompted in our analyses. If an attribute is not set as is prompted, then it will not display in the dashboard.

To create a dashboard prompt:
- Click New > Dashboard Prompt.
- Select the Email Send subject area. The subject area you select for your prompt must match the subject area used for your analyses.
- Click
 New > Column Prompt... > Attributes, and add Email Send Calendar > Day.
 - Click OK.
The New Prompt dialog opens.
- For Operator, select is between, and click OK.
- Click New > Column Prompt...
- Open the Attributes folder, and select the Campaign > Campaign Product column.
- Click OK, then open the Options section.
- From the Default selection drop-down, select Specific Values.
- Click
 , select a product for the default view, then click OK.
 In this tutorial, we will select AppCloud.
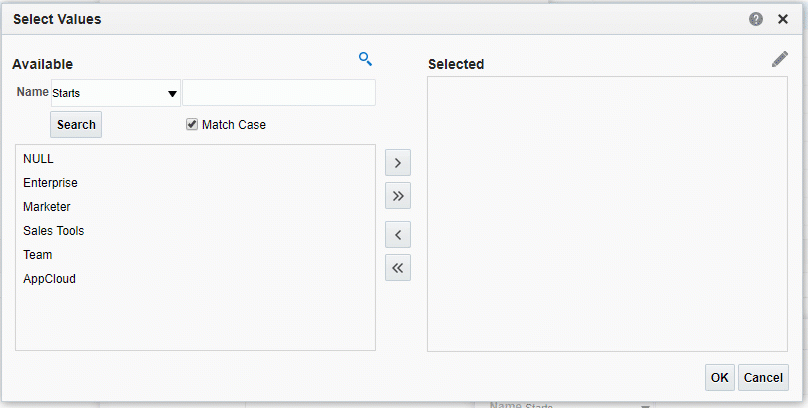
- Click OK.
- Click New > Column Prompt... > Attributes, and add Campaign > Campaign Name.
- Click OK.
- Click
 Save As.
 - Name your prompt Emails Sent Within a Date Range - Prompt and save it in the Company Shared folder.
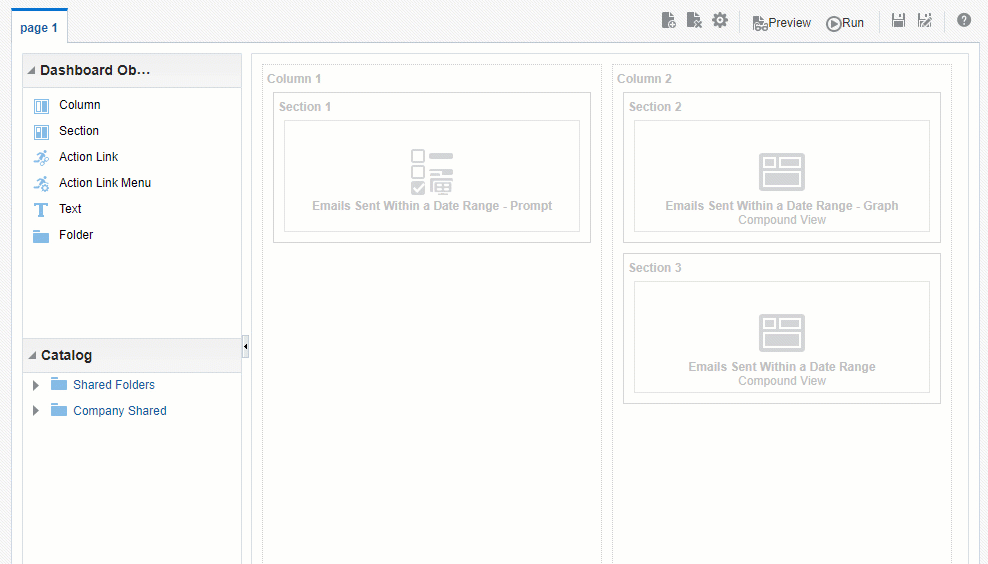
- Return to your dashboard and click
 Page Options > Edit Dashboard.
 - Drag a column to the left of the first column.
-
From the Catalog panel, drag the Emails Sent Within a Date Range - Prompt into the empty column.
- Save and run your dashboard.