Adding prompted filters to Insight analyses
As an analyzer, you can add prompted filters to an analysis so that a user can customize the analysis to be delivered with an agent. Prompted filters can be applied to a column in your analysis.
About prompts vs filters
Prompts and filters work in combination to determine the data in an analysis.
- Prompts allow the end users to specify values to determine the data in an analysis. Prompts are added using the Prompts tab of your analysis.
- Filters are hidden from end users and are applied after prompts to further limit the data in the results. Filters are added using the Criteria tab of your analysis.
When an analysis is to be delivered with an agent, users cannot access prompts to customize the data in the analysis. Only prompted filters allow users to customize the data in the analysis. A prompted filter is a filter whose operator is set to is prompted.
Tip: You can use both prompts and prompted filters in the same analysis. This allows you to create an analysis that prompts users for values when they run it from Insight and also allows for customizations with an agent.
Adding a prompted filter
A filter can be applied to a column in an analysis. The following steps describe how to create an inline filter. An inline filter is created at the analysis level and is not available for reuse. You can also create named filters that are available for reuse. Refer to the Oracle Business Intelligence Enterprise Edition Help Center for more information.
To create a prompted filter:
- In Insight, create a new analysis or open an existing one.
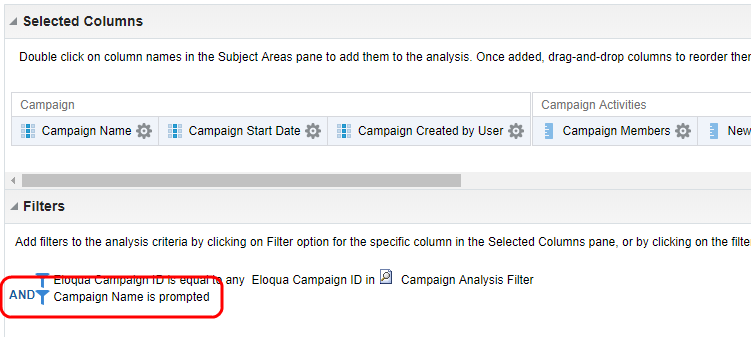
- On the Criteria tab, ensure the column that you want to filter on is added to the analysis.
- In the Filters area, click Filter
 .
.
- Specify the column you want to enable filtering on.
- Select Is prompted from the Operator drop-down list.
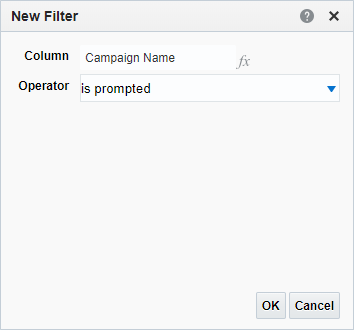
- Click OK.
- Save your analysis.
Customizing an agent using a prompted filter
After you add a prompted filter to an analysis, when you add the analysis to an agent, you can specify a value for the column filter.
To customize an agent using a prompted filter:
- In Insight, create your agent or open an existing one.
- On the Delivery Content tab, select the analysis with the prompted filter.
- Click Customize.
- Click Edit
 next to the prompted filter you want to customize.
- In the Edit Parameter Filter dialog, select the operator from the drop-down list and then specify the value.
The operators available depend on the type of column being filtered.
When specifying the value, you can type in a value or click Show list of values
 to search for one or more specific values.
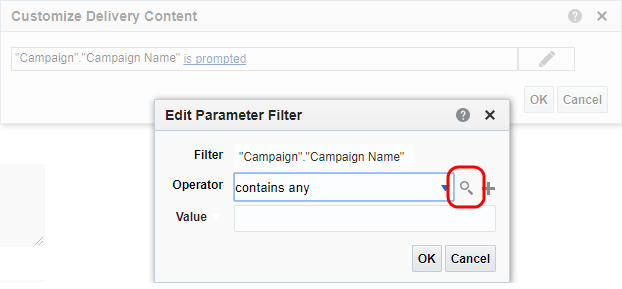
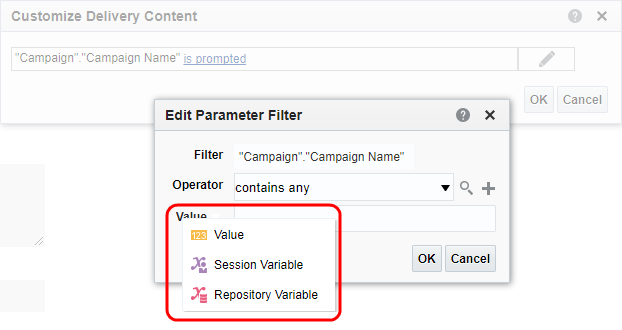
To specify a session or repository variable as the value, click the Value label and select Session Variable or Repository Variable.
For more information about each operator, click Help
 .
. - Click OK to save your filter settings.
- Complete the rest of the agent settings and save your agent.