Step 3: Sorting columns
You can sort columns to make the analysis easier to read. We will sort our analysis first by campaign name and then by the total sends. When a user runs this analysis, the sorting can be changed. After we sort the analysis, we will preview the results.
To sort columns:
- Next to the Campaign Product column, click
 Options and click
  Sort. Then click Sort Ascending.
The sort icon
Sort. Then click Sort Ascending.
The sort icon  appears next to the column name.
- Next to the Day column, click Options and click Sort. Then click Add Descending Sort.
The sort icon
 appears next to the column name.
Now that we've added all the columns and the sorting, let's preview the results.
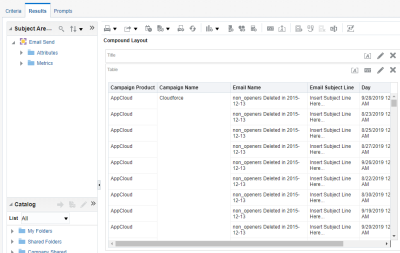
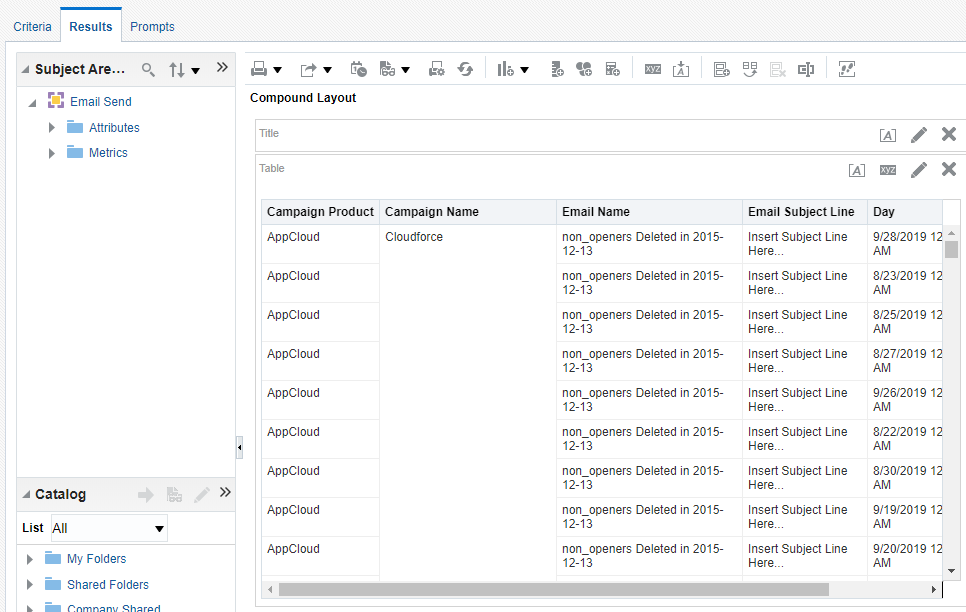
- Click the Results tab.
The default Compound Layout is displayed. The default layout includes two views:
- A title view which displays the name of the analysis.
- A table view which shows the results of our analysis.
Using the Results tab, you can add a title to the table view, re-order columns, and change other display properties of the table view. We'll work more with this tab later in this tutorial.