Step 4: Filtering the analysis
You can use filters to limit the results that are included in the analysis. Filters allow you to limit the amount of data displayed in the analysis and are applied before the analysis is aggregated. Filters can be applied directly to attribute columns and measure columns.
We will filter our analysis so that it only includes information for emails that were actually sent.
To filter the analysis:
- Click the Criteria tab.
- In the Filters area, click
 Filter then click Total Sends.
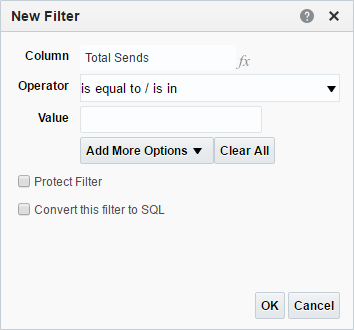
The New Filter dialog appears.
Filter then click Total Sends.
The New Filter dialog appears.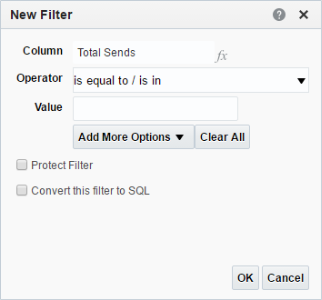
- Select is greater than / equal to from the Operator drop-down list.
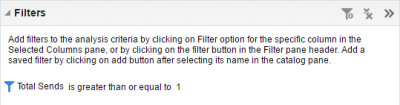
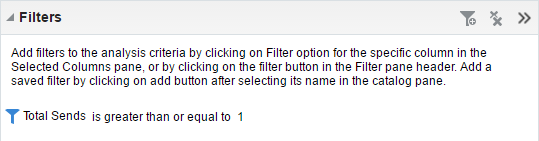
- Type 1 in the Value text box and click OK. The filter is added to the analysis.
- Click Filter and select Campaign Product.
- For the Operator, select is prompted, and click OK.
- Repeat steps 5-6 for Campaign Name and Day.
Once an attribute has the is prompted filter, it can be used in dashboard prompts.
Tip: Spaces are treated as characters in filters. Avoid spaces if they are not part of your filter criteria. For example, the following two filters are treated differently because of spaces:
- "example1.com; example2.com"
- "example1.com;example2.com"