Step 5: Changing the display of the analysis
You can use the Results tab to change the views of your analysis. We will add a title to the table view and limit the number of rows that the table displays. You could do other things like remove columns or add calculations. We will make our changes by changing the default views. A view controls the presentation of your analysis.
To change the display of the analysis:
- Click the Results tab.
The default Compound Layout is displayed. The default layout includes two views:
- A title view which displays the name of the analysis.
- A table view which shows the results of our analysis.
- In the Title view, click
 Edit View .
The view becomes editable.
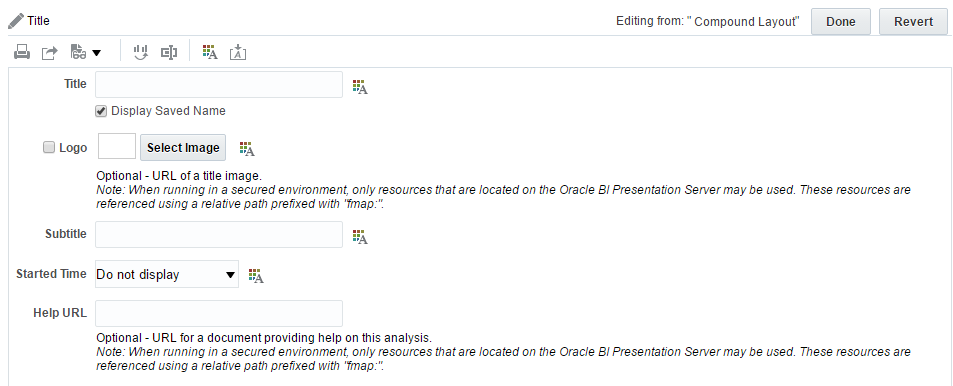
- Type Emails Sent Within a Date Range in the Title field.
- Clear the Display Saved Name check box. If you leave this selected, the title that we use to save the analysis will also appear in this view.
- Click Done.
- In the Table view, click
 View Properties.

The Table Properties dialog appears.
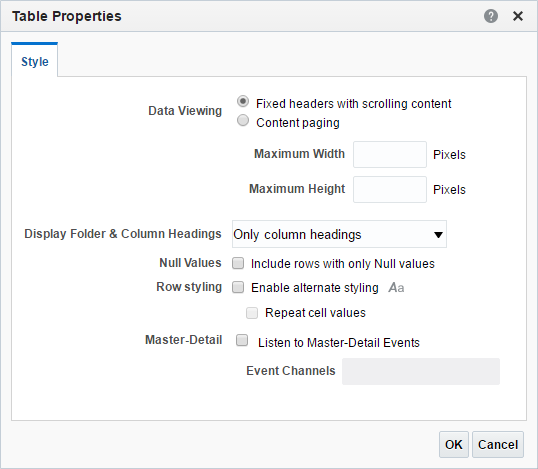
- Set the following properties:
Property Value Content paging Selected Paging Controls Bottom Rows per Page 25 Note: The Paging Controls and Rows per Page options only appear after you select Content paging.
- Click OK and review the results.