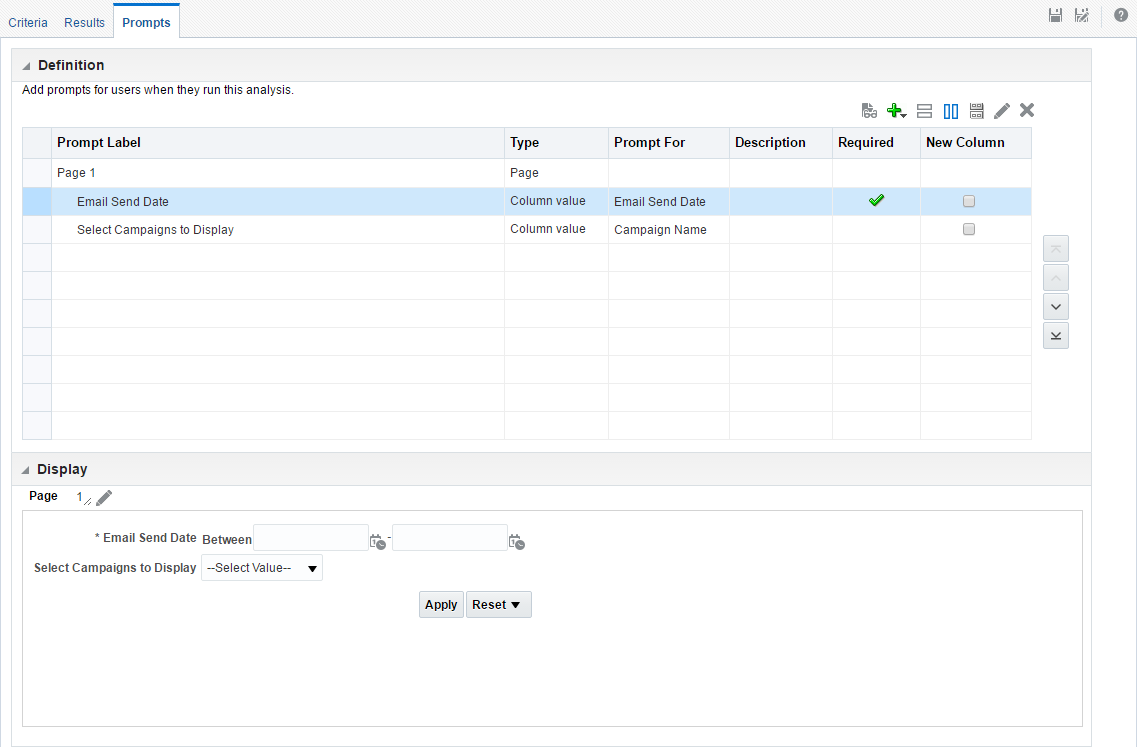
Step 6: Adding prompts to the analysis
Prompts allow users to select values that dynamically filter the analysis. We will add a prompt to our analysis so that a user who runs this analysis must specify a date range. We will also allow the user to optionally limit the results to specific campaigns.
Tip: If you are creating this analysis as part of the the Dashboards Tutorial, skip Step 6: Adding prompts to the analysis, or delete the prompts in your analysis before beginning the Dashboards Tutorial. To delete a prompt in an analysis, click on the prompt in the Prompts tab and click ![]() .
.
To add prompts to the analysis:
- Click the Prompts tab.
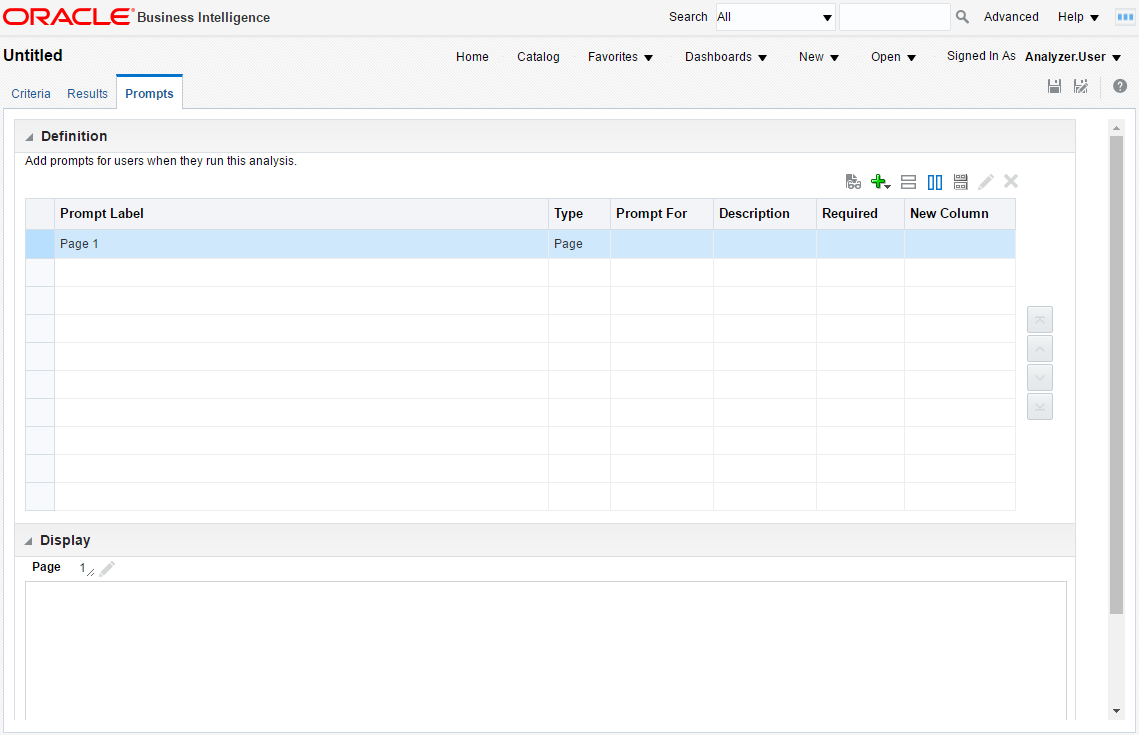
- Click New
 > Column Prompt. Then click Day.
The New Prompt dialog appears.
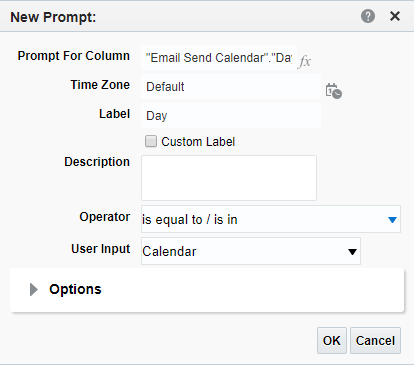
- Select is between from the Operator drop-down list.
- Expand Options.

- Click the Require user input check box and click OK.
- Click New > Column Prompt. Then click Campaign Name.
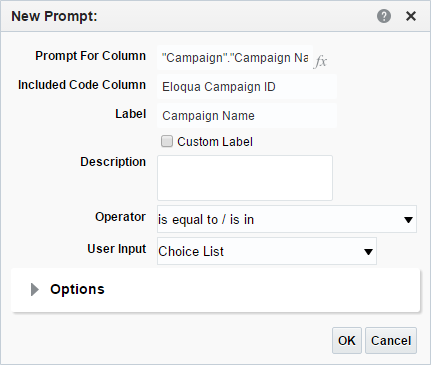
- Click the Custom Label check box.
- Type Select Campaigns to Display in the Label text box.
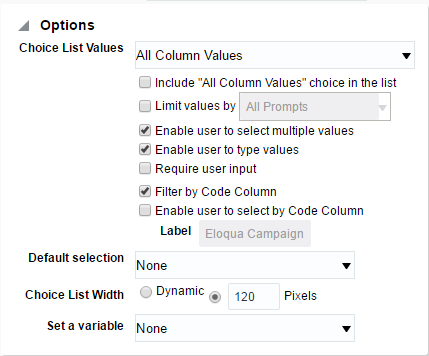
We won't change any other settings for this prompt. By default, the operator, user input, and options are set so that the user can select more than one campaign to include in the analysis. You can expand the Options section so that you can see all the default settings.
- Click OK.
The Display area shows the prompts that we added.
You can interact with the prompts to test them out.