Step 7: Saving the analysis
We're now ready to save our analysis. We will save the analysis to a shared folder so that any user can run the analysis. You can save analyses to a personal folder (called My Folders) or to the shared folder called My Company Shared. The personal folder contents are only visible to you. The My Company Shared folder contents are visible to all of your organization's report users.
To save the analysis:
- Click
 Save.
Save.The Save As dialog appears.
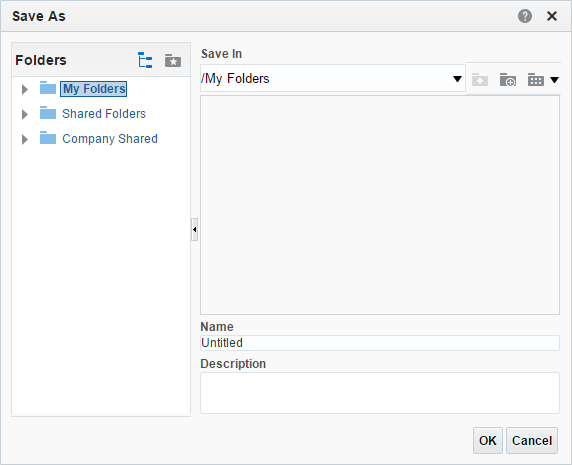
- Expand Company Shared.
Since you cannot save an analysis to the root of this folder, we will create a new folder for our analysis.
- Click
 New Folder.
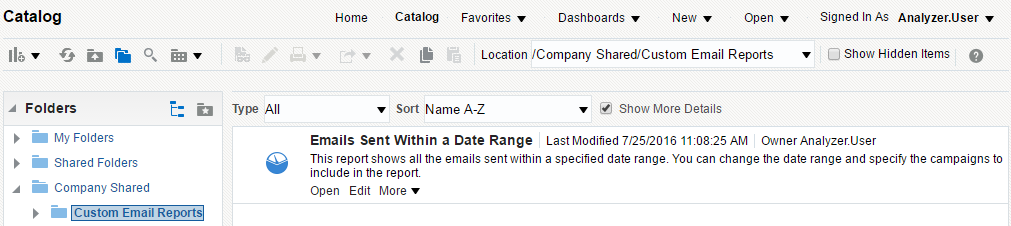
- Type Custom Email Reports and click OK.
- Type Emails Sent Within a Date Range in the Name text box. This is the name that is used in the report catalog.
- Type a description of the analysis in the Description text area. This description will help users understand what the analysis contains.
- Click OK. Your analysis is now available in the Insight catalog.
Note: The folder paths only support ASCII characters.
Congratulations! You've created your first analysis!
Now that you're done
Now that you have created your first analysis, check out these additional tutorials:
- Adding totals to your analysis is a tutorial outlining how to add totals to your analysis.
- Adding formatting to your analysis is a tutorial outlining how to apply some formatting to your analysis.
- Adding a graph to your analysis is a tutorial showing how to add a graph to your analysis and make it more visual.
- Creating analysis with a pivot table and Formatting a pivot table and adding calculations are tutorials showing you how to work with pivot tables in a new analysis.
Oracle University offers the following instructor-led courses to help you achieve success:
- Oracle University - B2B: Insight for Analyzers
- Oracle University - B2B: Insight for Analyzers - Groups
- Oracle University - B2B: Insight for Analyzers - Dashboards
Also be sure to checkout the Oracle Business Intelligence Enterprise Edition Help Center where you can find more resources on using Oracle BI Enterprise Edition. Remember though, not all of the features included in a stand-alone version of Oracle BI EE are available in Insight.