Preliminary Oracle Eloqua setup for your integration
Important: The Salesforce native integration was deprecated February 1, 2021. We recommend using the
Before you begin the Salesforce integration, complete these preliminary tasks in Oracle Eloqua:
- Confirming access to Oracle Eloqua integrations
- Run the integration wizard for the first time
- Disabling the internal and external queues
- Disabling auto synchs
Note: Before you complete the preliminary integration setup in Oracle Eloqua, complete the tasks in Preliminary Salesforce setup for your integration. You must be a member of the Customer Administrator security group in Oracle Eloqua to access the integration functionality and perform the configuration tasks.
Confirming access to Oracle Eloqua integrations
You must confirm that you have access to Oracle Eloqua's integration functionality. If you discover integration is not enabled in your Oracle Eloqua instance, please log in to My Oracle Support and create a service request.
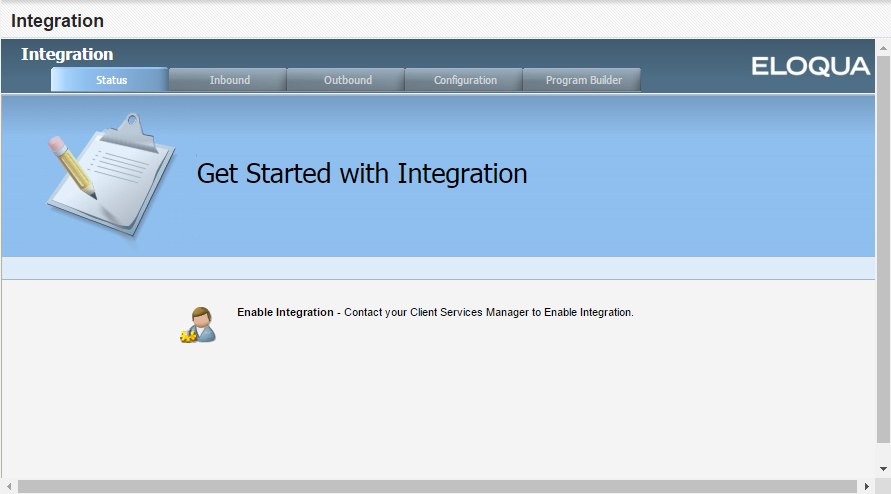
To confirm access to the integration area in Oracle Eloqua
- Click Settings
 .
. - Click Integration under Platform Extensions.
If the feature is not available, the screen indicates that you have to contact support.
Run the integration wizard for the first time
The CRM Integration Setup Wizard helps start the integration process. The wizard will verify the connection to Salesforce and setup the default configuration. Later, you disable some of these default configurations so that you can customize the integration with Salesforce.
Note: The CRM Integration Setup Wizard only needs to be run one time.
Before you begin:
- Confirm that you have access to Oracle Eloqua's integration functionality
- Complete the preliminary setup in Salesforce. See Preliminary Salesforce setup for your integration for more information.
To run the integration wizard:
- Click Settings .
- Click Integration under Platform Extensions. If you have not run the CRM Integration Setup Wizard yet, the CRM Integration Setup window is displayed.
- Click the Configuration tab.
- Enter the user name and password for the Salesforce user created for the integration. This is the user that Oracle Eloqua will use to connect with Salesforce.
- To use a testing environment for the integration instead of your production instance, select the Use Sandbox check box. After you complete the integration, reset the user to your production environment and resend the data.
Note: If you are using the Enterprise trim of Oracle Eloqua, you can request a sandbox. If you have the Basic or Standard trims, this is an add-on function. For more information on how to request access to the Replication Sandbox, please contact your account representative.
- Enter the email address for the administrator who should be informed of critical errors in the Notification Email field. You can enter multiple email addresses by separating them with a semi-colon (;).
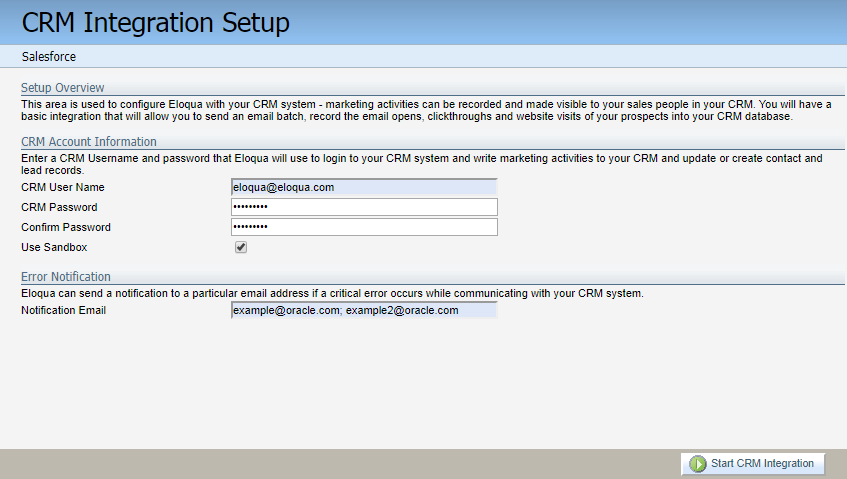
- Click Start CRM Integration.
The wizard sets up a standard CRM integration with Salesforce. Oracle Eloqua displays the progress of the setup. The following table provides details about each setup step.
Setup step Details Validate CRM login Checks that the CRM user name and password are accurate and that Oracle Eloqua can communicate with the Salesforce system. Setup Eloqua business logic Sets up the integration logic in Oracle Eloqua, which dictates the following: - When a lead in Salesforce doesn’t exist, Oracle Eloqua creates a new lead in Salesforce.
- When a lead in Salesforce exists, Oracle Eloqua updates the lead in Salesforce.
- When a contact in Salesforce exists, Oracle Eloqua updates the contact in Salesforce. It is recommended that you do not create contacts or accounts from Oracle Eloqua.
Note: This logic will be updated and customized using automated programs in Program Builder.
Examine CRM system configuration and field names Pulls all of the data objects and associated fields from Salesforce for integration purposes. Note: The wizard attempts to create the necessary external calls to set up your integration and presents errors for fields that are not accessible. Ensure that the specified fields are accessible to the Salesforce user as readable and writable fields. You cannot re-run the wizard, but you can manually update the external calls to select and map the fields. If these fields are not part of your set of integrated fields, then you can ignore this error.
Setup Eloqua data push and pull settings Sets up external calls in Oracle Eloqua to update Salesforce and synchronize data back from Salesforce to Oracle Eloqua. Setup Automatic Data Syncs from CRM system Sets up the auto synchs to pull data from Salesforce.
Create web links Creates the Oracle Eloqua web links Contact Activity Overview and Lead Activity Overview, which can be added to page layouts in Salesforce. This step also detects the current custom links on the lead and contact entities within Salesforce.
Enable CRM integration Completes the CRM integration process and enables internal events and external calls.
After you finish: Disable the internal and external queues and auto synchs.
Disabling the internal and external queues
The CRM Integration Setup Wizard set up the processes to support the transfer of data between Oracle Eloqua and Salesforce. You must disable these processes so that you can customize the integration. Disabling these processes stops importing and exporting data during the configuraiton.
To disable the internal and external queues:
- Click Settings .
- Click Integration under Platform Extensions.
- Click the Status tab. Click Reporting, then click Integration Reporting. The statuses of the internal and external event queues are displayed.
If Pause is displayed for either of the queues, the data transfer is active.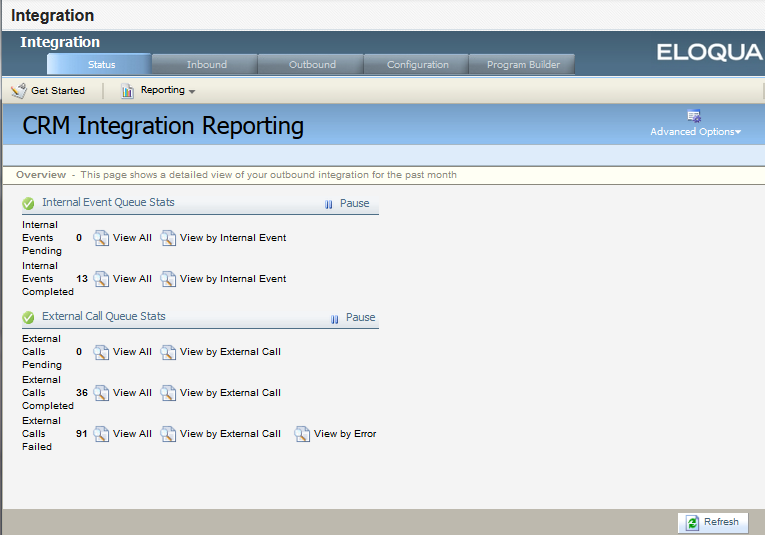
- Click Pause.
Disabling auto synchs
The CRM Integration Setup Wizard set up the processes to import data from Salesforce. You must disable the auto synchs to stop the imports during the configuration.
To disable auto synchs:
- Click Settings .
- Click Integration under Platform Extensions.
- Click the Inbound tab. Click Management and then click Auto Synchs.
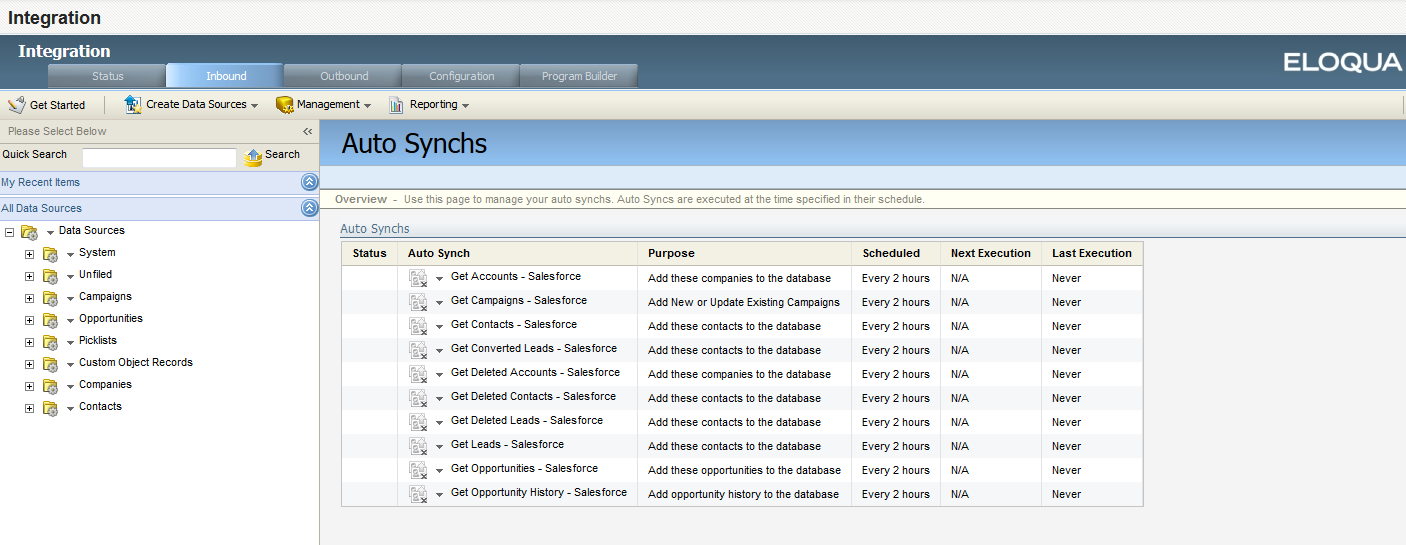
- For each auto synch in the list, select Disable Auto Synch from the drop-down list.
After you finish: Continue to Configuring data imports from Salesforce
Configuring data imports from Salesforce