Embedding Profiler in CRM onDemand
When embedding Profiler in CRM onDemand, there are two main steps that you must follow:
Note: You will need to create two applets– one for leads and one for contacts. The instructions below are for Contacts but you can follow the same procedure for Leads.
Step 1: Creating a web applet for contact and leads
Prerequisites:
-
In Oracle Eloqua, build an allowlist of the domains that will be hosting embedded Profiler pages. Learn how to configure Profiler.
To create a web applet:
- Login to CRM onDemand with your Administrator credentials.
-
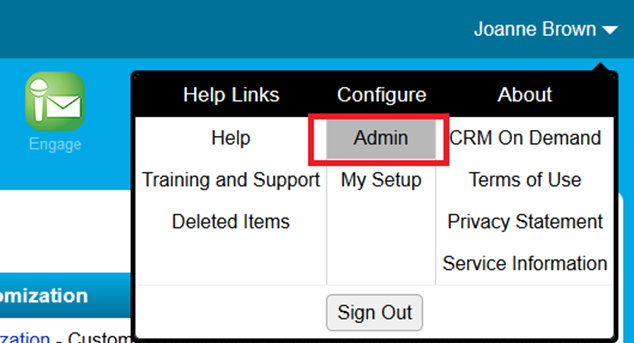
Navigate to User > Configure > Admin.
- Click Application Customization.
- Under Record Type Setup, click Contact.
-
Under Pay Layout Management, click Contact Web Applet, then enter the information below:
- Name: Enter a name. ( Example: Eloqua Profiler)
- Location: Select Detail Page
-
Type: Select URL
- URL: and enter the simplified login URL:
https://login.eloqua.com/siteLogin?SiteName={CompanyName}&ReturnUrl=/apps/embed/salesTools/profiler?emailAddress%3D%%%Email_Address%%%To use the legacy URLs, replace the URL value above with the Legacy login URLs.
- Height: Enter 800
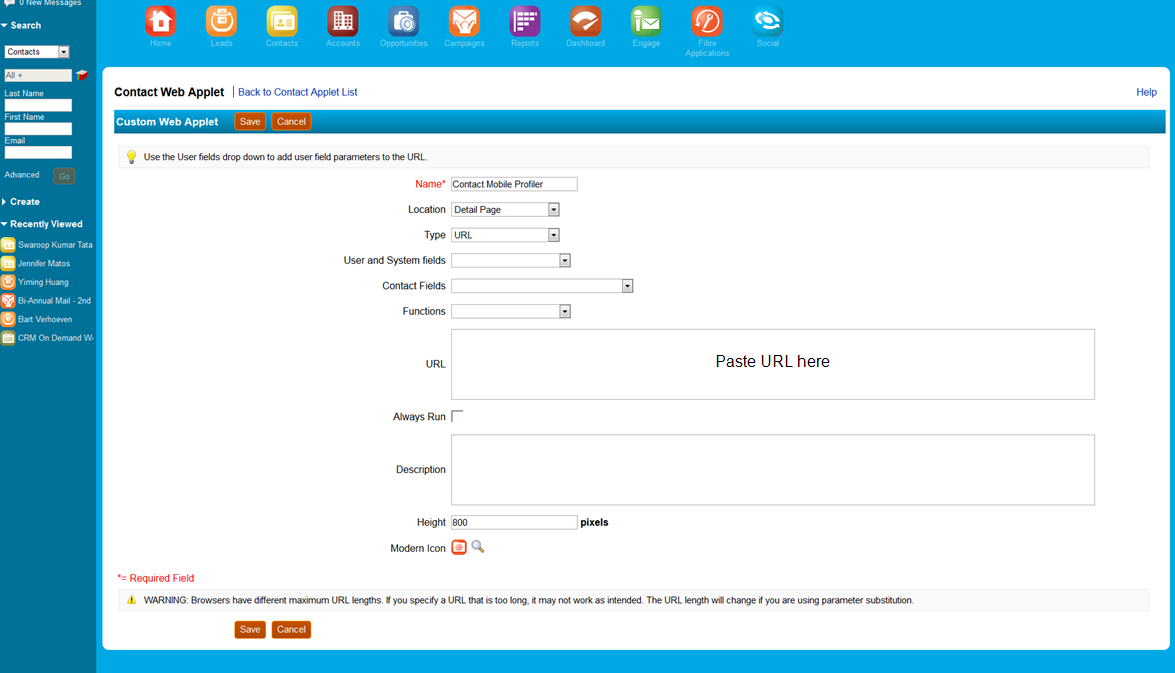
- Click Save.
Step 2: Adding webs applet to page layouts
To add an applet to a page layout
- Navigate to User > Configure > Admin.
- Click Application Customization.
- Under Page Layout Management, click Contact Page Layout.
- Choose the page layout that you want to modify
- It is not necessary to configure Steps 2 or 3. Click Step 4 (Related Information) to continue.
- In the Not Available Information column, locate the web applet that you created, then highlight it (single left-click) and click the > arrow to move it to the Available Information column.
- Select the applet in the Available Information column, then click the > arrow to move it to the Displayed Information column.
- Click Finish.
Important: Repeat the above steps for Leads