Setting Up Inventory for Recommendations
The inventory setup allows the recommendation engine to access metadata and item attributes for all available items.
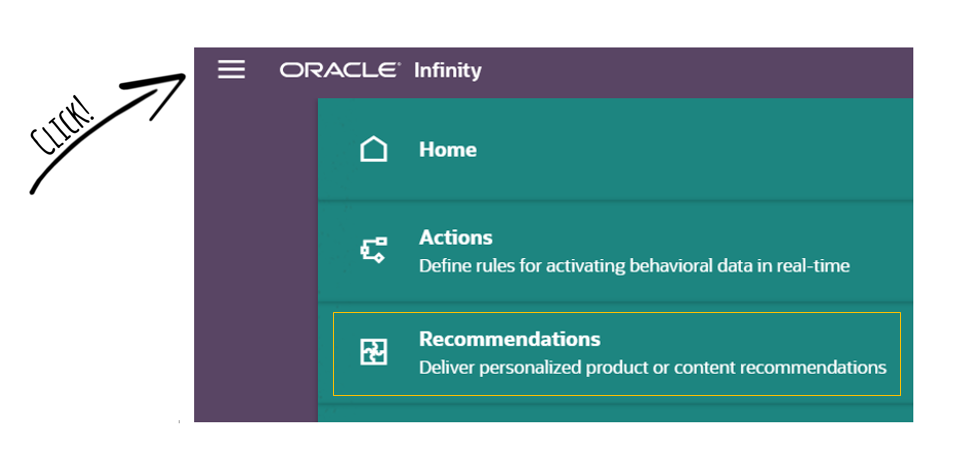
To start the inventory setup process, navigate to the Recommendations Home Screen by either clicking on the Recommendations link on the homepage or in the main menu.
On the Recommendations Home Screen, click Add Inventory.
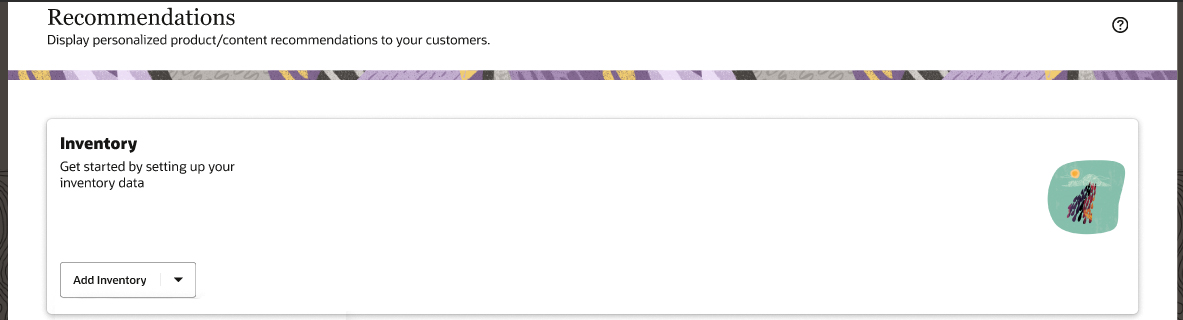
This will bring you to the Import Inventory screen where you can configure the inventory.
There are 3 key steps involved in setting up the inventory:
- Configuring where to get the inventory from, and any update schedules.
- Mapping of inventory fields.
- Reviewing and saving settings.
Step 1: Configuring the inventory file
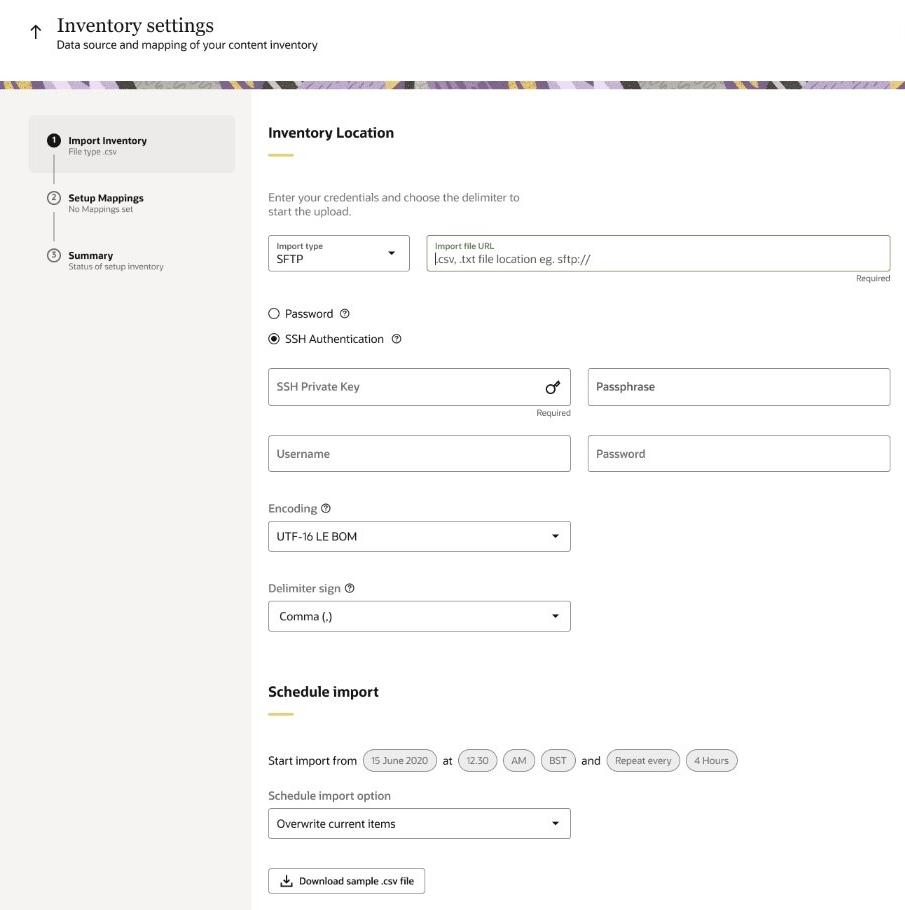
The inventory file has the following requirements:
-
It needs to be in either .csv or .txt format
-
There are several mandatory fields (columns).
To learn more about the technical details and the available options, refer to Additional information - Inventory file format.
The import of an inventory file can be scheduled to happen every 4, 6, 12, or 24 hours.
You have the option of two Inventory modes:
-
Append mode (add new and replace existing items)
-
Add and update inventory items every time a new feed file is received.
-
Products that are present in the database but absent in the current upload should remain unchanged.
-
-
Overwrite mode (replace/overwrite the existing entire inventory)
-
Replace/Overwrite the existing entire inventory feed file every time with the new file.
-
Products that are present in the database but absent in the current upload should be removed from the database.
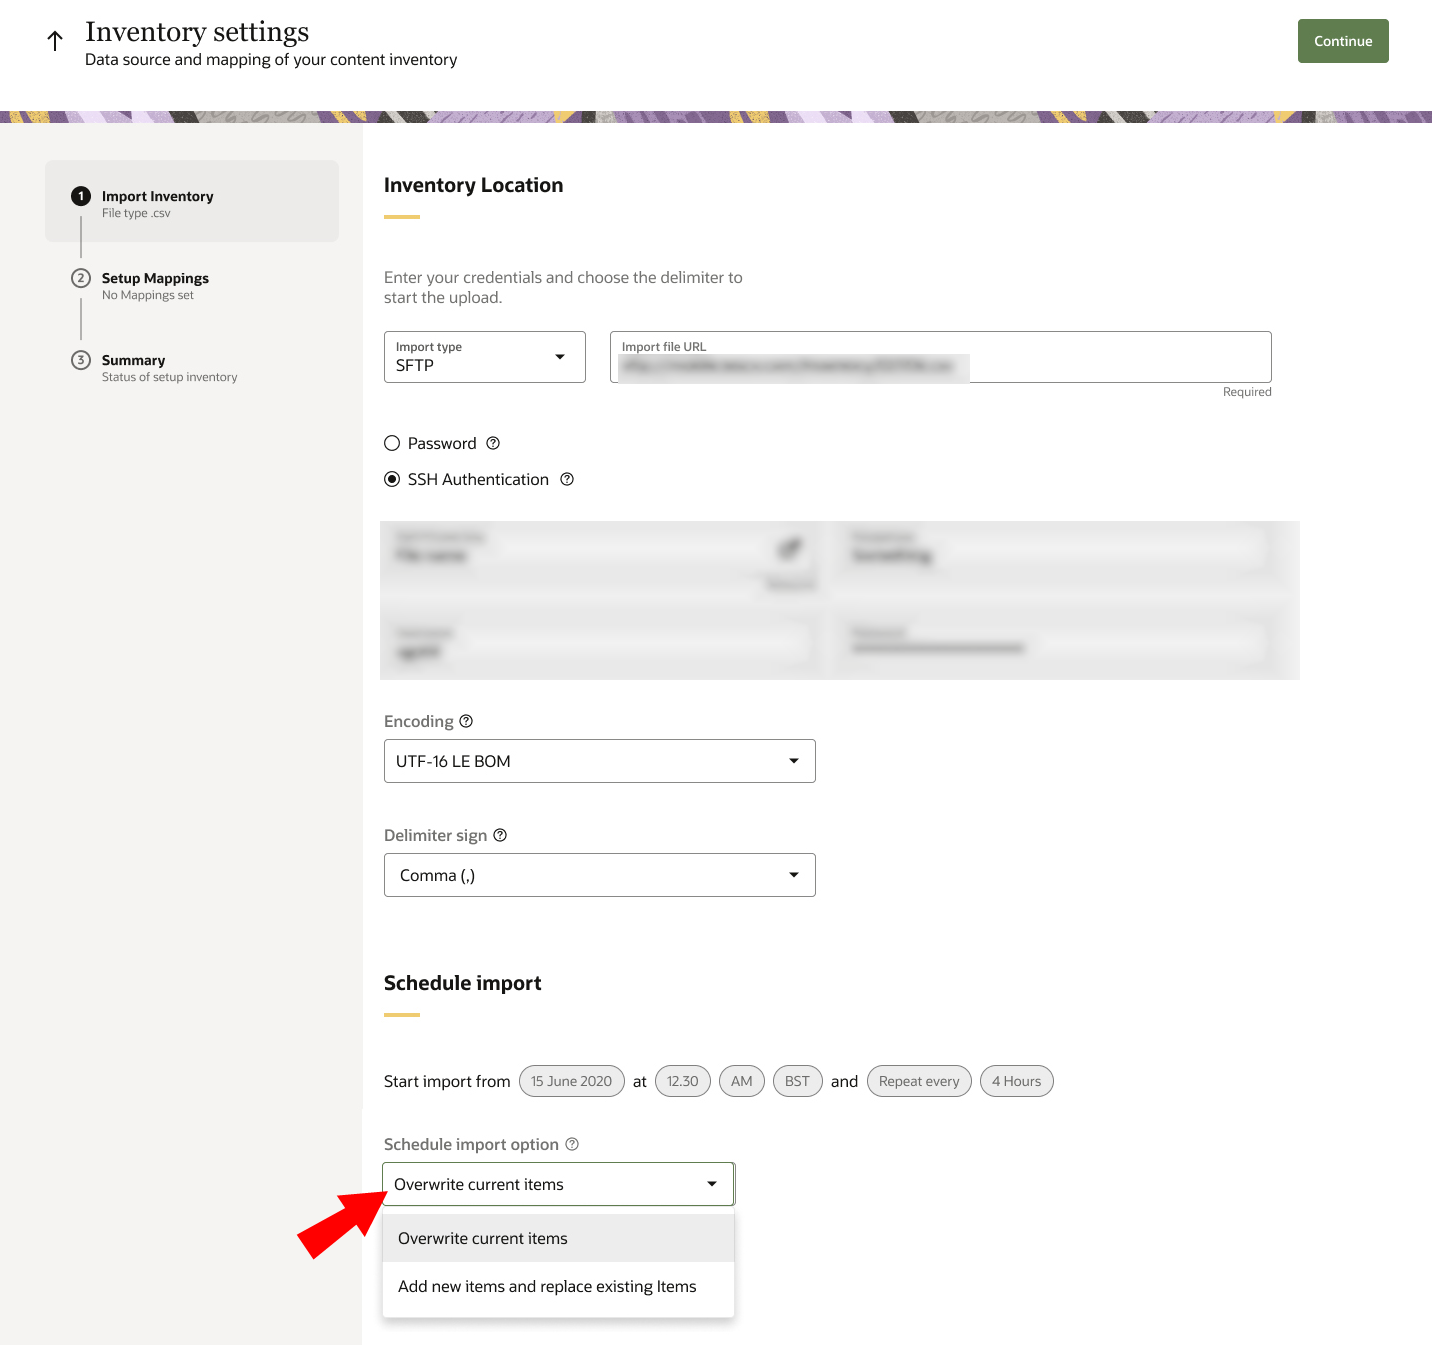
Refer to the image below that displays where to select the Inventory mode.

-
You can use shared links from Dropbox, Google Drive, or host your file in a secure location and import it via SFTP or HTTPS protocols.
To configure the inventory file:
- Select the Import type.
- Enter the Import file URL.
- Select the authentication method for the SFTP location: Password or SSH Authentication.
-
The Username and Password fields can be left blank if your inventory file link does not require credentials to be accessed.
-
To use SSH Authentication:
-
The inventory file needs to be placed in the SFTP secure location.
-
The SFTP location should have the public key in the list of authorized keys.
-
You need access to your private key to set up the Inventory upload.
-
Only Putty .ppk keys are supported. Any other keys will need to be converted to .ppk format before use.
-
Learn more about Creating SSH Keys for Use with Oracle Cloud Services.
-
- Select the data delimiter.
- Click the date, time and select the start date/time and the frequency of the import from the choice of 4, 6, 12, or 24 hours.
- Click Continue.
Step 2: Mapping column headings
Once the file has been set up to be imported, the Recommendations platform needs to understand the purpose of each column. It needs to know which column headings correspond to which piece of information for an item, such as its item ID, title, or price. This can be done by mapping the column headings in the inventory file with the tags in the database.
Auto-mapping Inventory fields
The Inventory mapping screen is auto-populated with smart mapping between the Inventory File attributes and the Recommendation Inventory fields.
• Inventory file fields are listed in the left pane with blank spaces indicating that a field is yet to be mapped.
• Required fields are marked with a Required label. You must map these fields or provide default values for them.
• Recommendations fields are listed in the right pane.
• You can add custom fields by clicking the + icon at the top.
Carefully review the automatic field mappings generated and update any mappings as necessary.
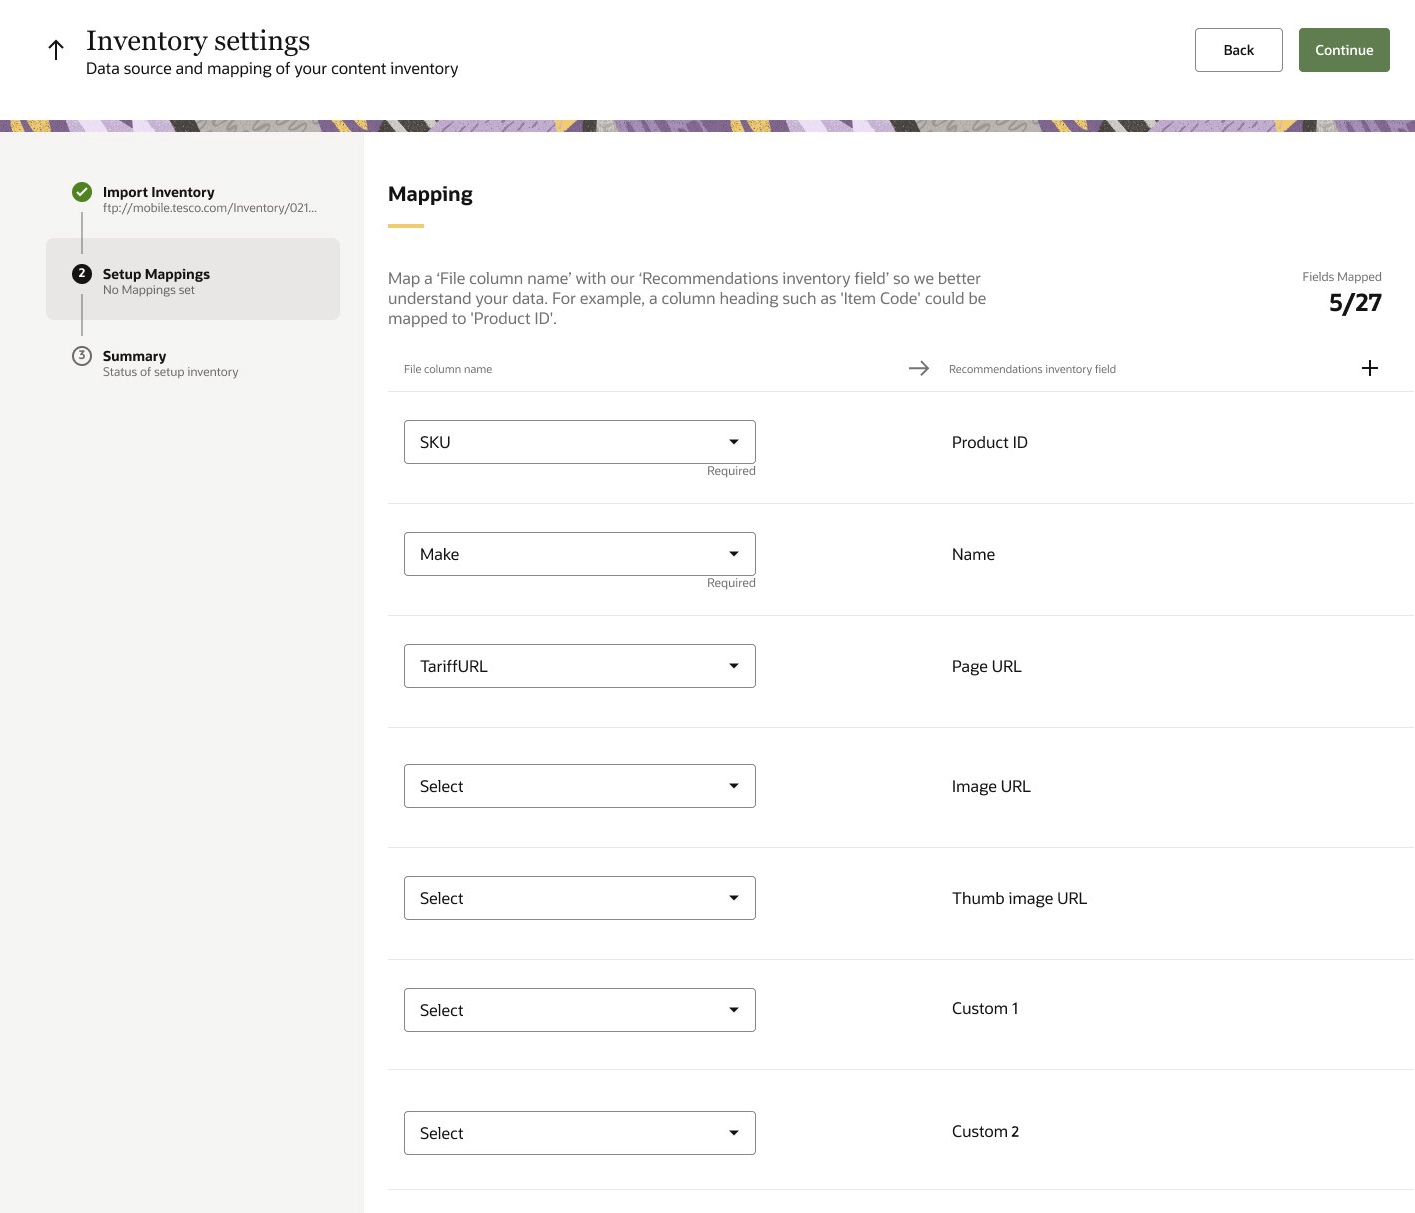
The following mappings are available:
|
Attribute |
Description |
Attribute type |
|---|---|---|
|
Product ID |
Unique item identifier |
Identity |
|
Name |
Item name |
ShortText |
|
Page URL |
Page URL (must include full URL) |
LongText |
|
Thumb Image URL |
Item Thumbnail image URL (must include full URL) |
LongText |
|
Price |
Item price |
Numeric |
|
Sale Price |
Item sale price |
Numeric |
|
Currency |
Currency symbol |
ShortText |
|
Description |
Description of item (short description) |
LongText |
|
Image URL |
Full image URL (must include full URL) |
LongText |
|
Count in Stock |
Stock levels |
Numeric |
|
Custom 1 - 13 |
13 Custom fields are provided to map any additional fields from the inventory files. |
ShortText |
To map the column headings:
- Select the file column that needs to be mapped to the field in the database. You can click + to add mappings to a custom field.
- Click Continue.
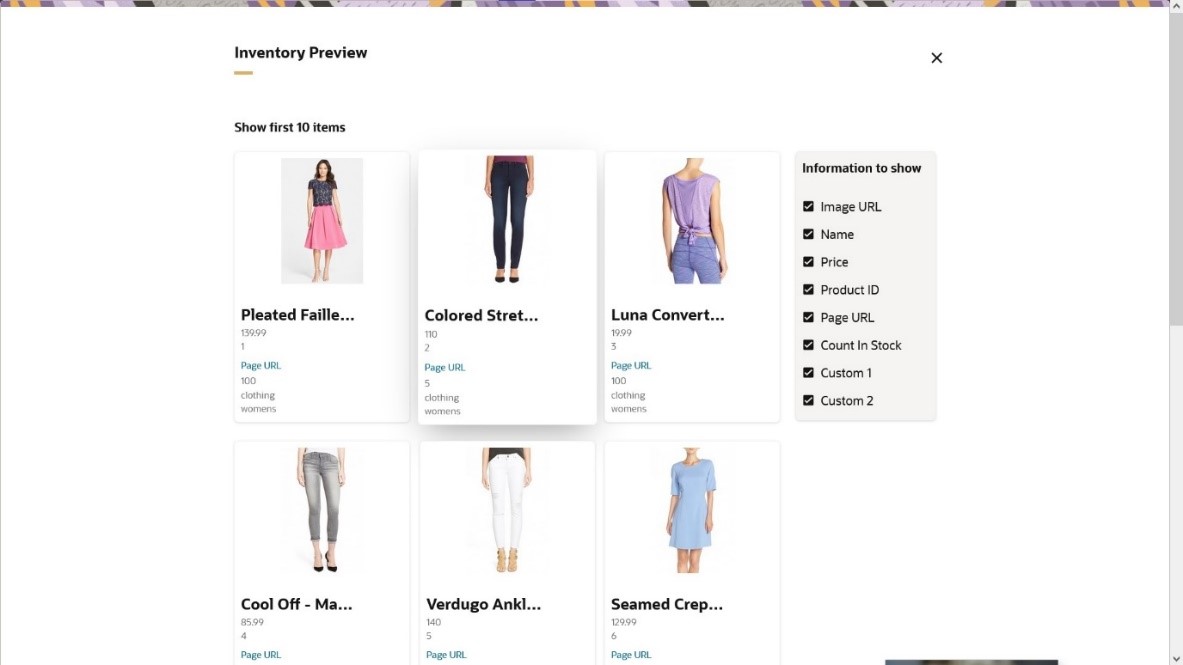
Step 3: Review settings and complete upload
To review settings:
- Review the inventory settings.
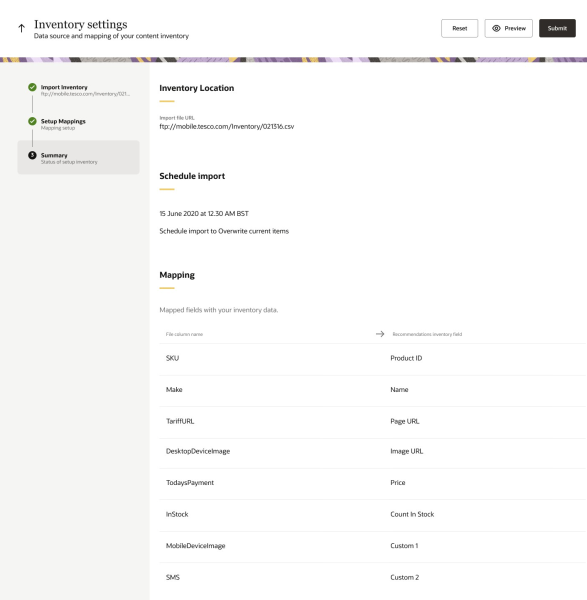
- Click Preview to view the first 10 items in your inventory file. The Preview screen helps you double-check if the inventory file has been configured properly.

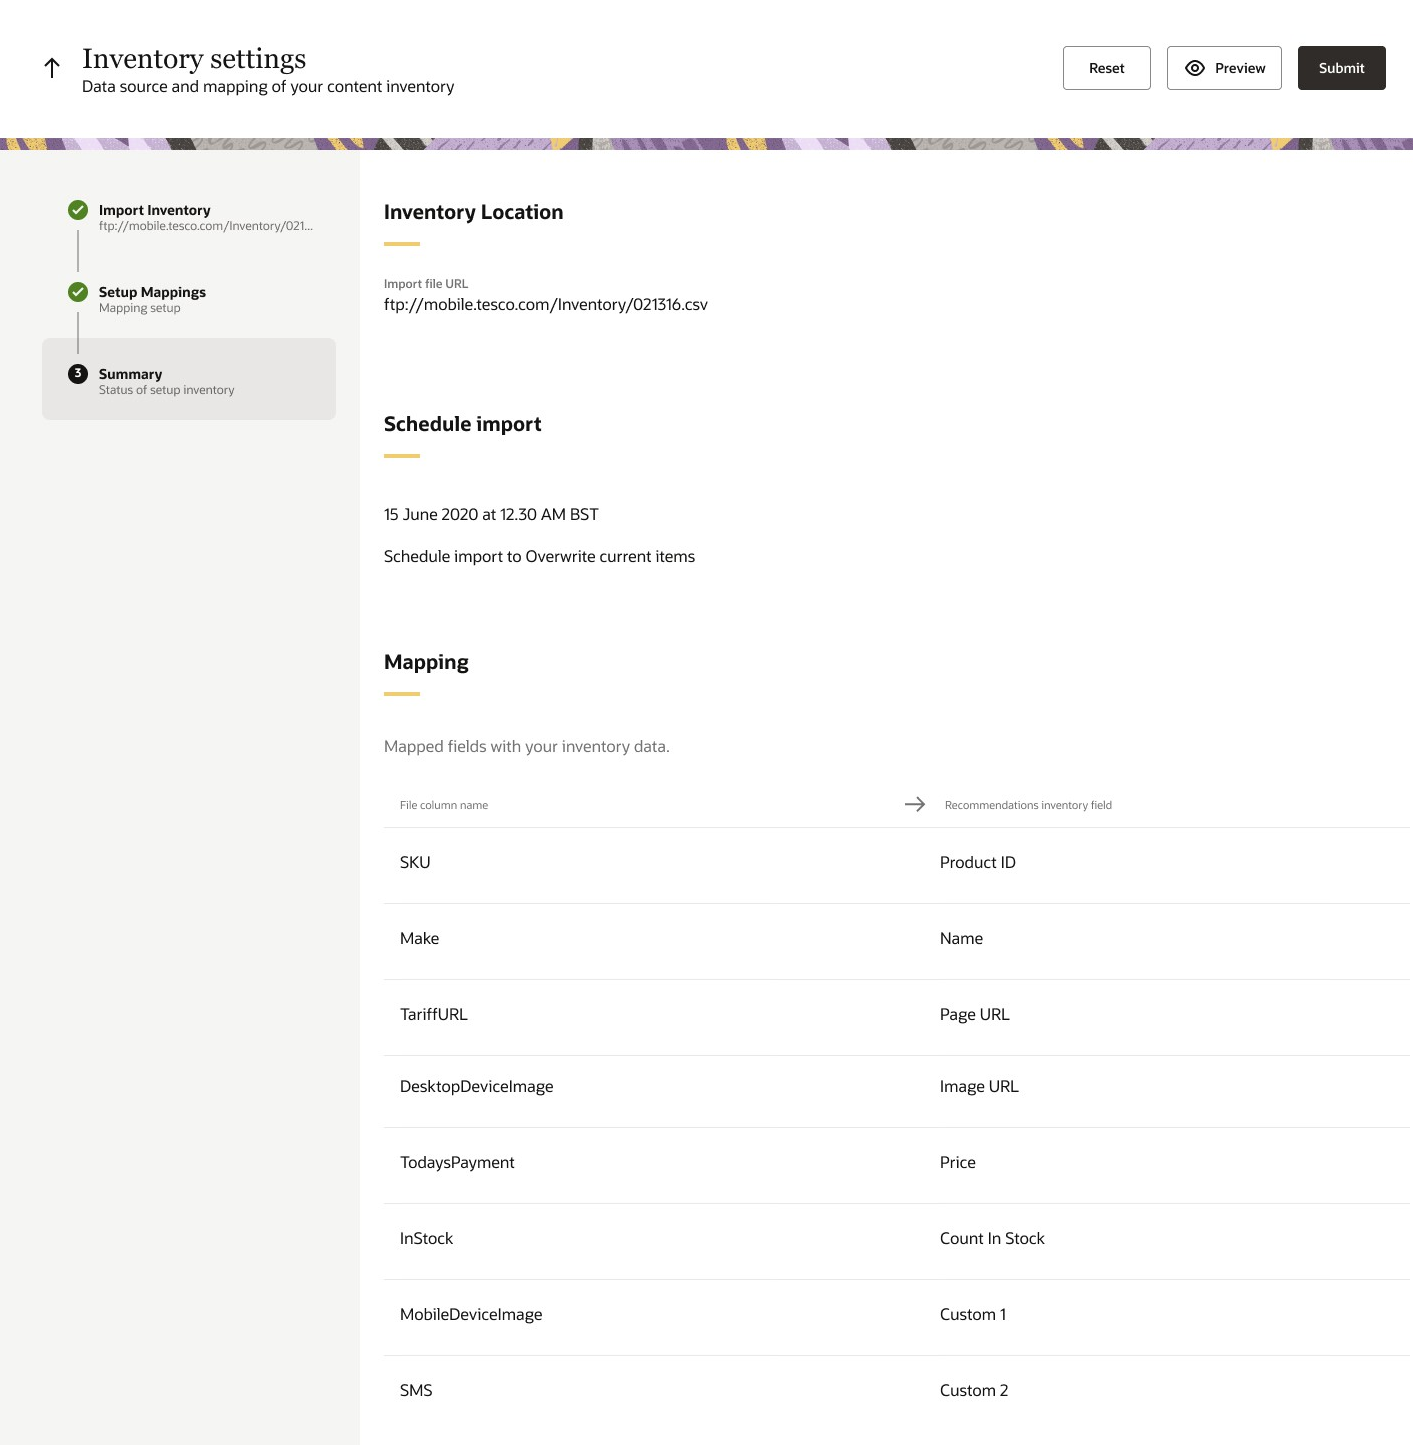
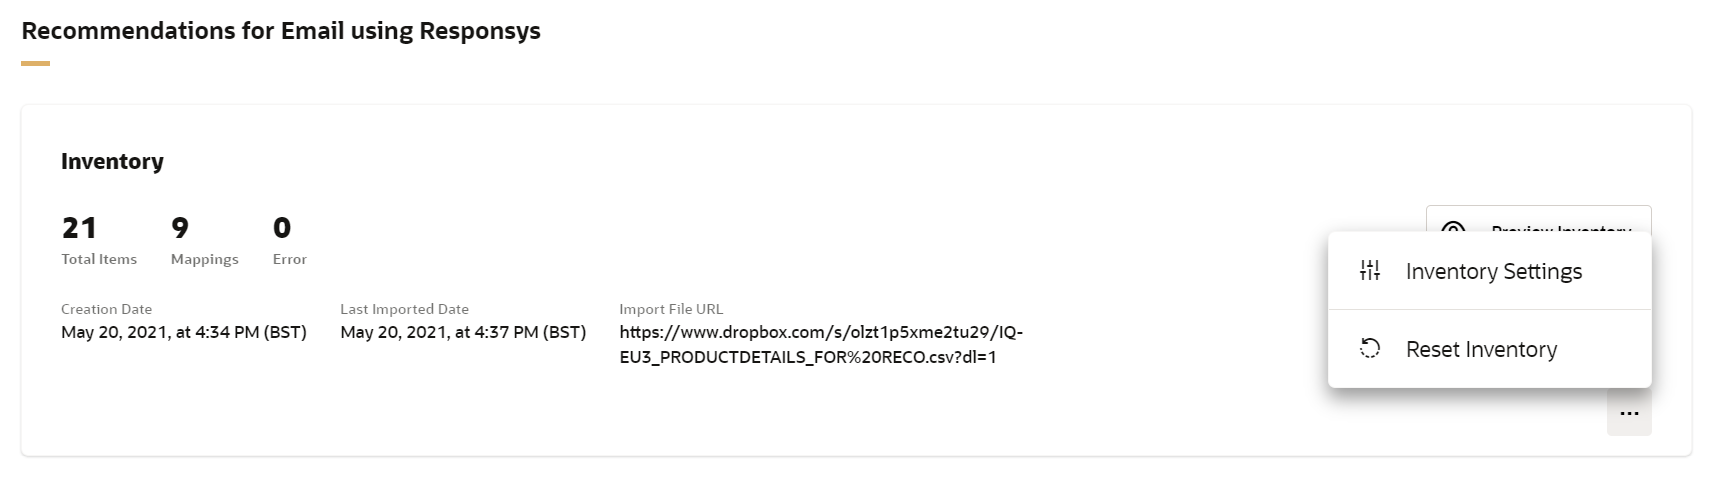
Reset Inventory
To reset inventory:
- Click on Reset in the Inventory Summary screen to reset the inventory settings. This will stop the current scheduling of inventory file upload. The recommendation engine will then rely on the last inventory file import.
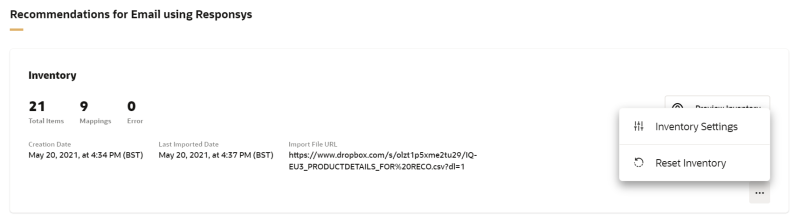
- Click Complete Upload to schedule the upload, or reset the inventory anytime from the inventory options in the Recommendations home screen.


Additional information - Inventory file format
This section provides guidelines to help you create an inventory file that can be used in the user interface.
|
Inventory file format
|
|
| Delimiter support |
|
| Encoding |
|
| File size |
|
|
Headers (the first row of the inventory file) |
|
|
Rows (the second row and any subsequent row of the inventory file) |
|
Mandatory tags
|
Tag |
Description |
|---|---|
|
Product ID |
|
|
Name |
|
Recommendations does not modify any data from the inventory file. It will display values exactly like they are entered in the inventory file. Review the example below.
SKU | Name | Price | Currency |
|---|---|---|---|
1 | Glass vase | 100 | USD |
2 | Glass vase | 100.00 | $ |
For item 1, the price displayed will be USD 100.
For item 2, the price displayed will be $100.00.