Authorizing Applications to Access OpenAir on Your Behalf
Integration applications let you connect OpenAir with other applications and they extend what you can do with OpenAir. Integration applications may use the OAuth 2.0 authorization protocol to gain access to your OpenAir account.
The first time an application using the OAuth 2.0 protocol attempts to access OpenAir on your behalf, you will need to give this application your explicit permission.
To authorize an application, you will typically use the following steps:
-
The application opens a browser and directs you to the same trusted login form you normally use to log into OpenAir — the OpenAir login form or your company Single Sign-on form appears.
-
Enter your login details and click Log in.
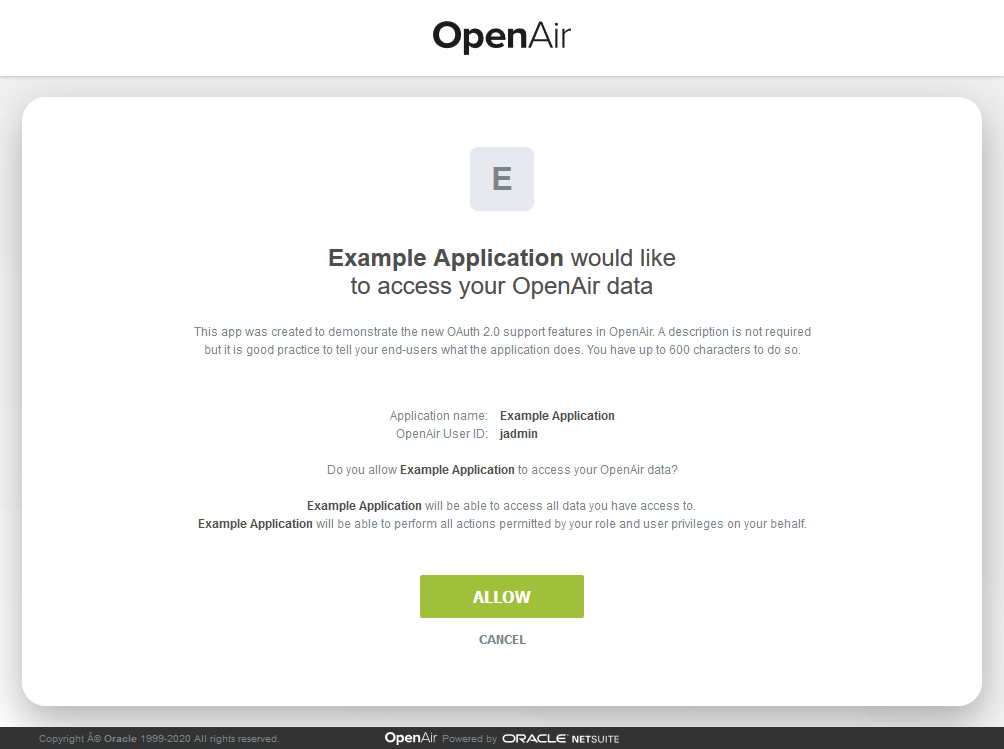
An authorization screen will appear indicating that the application
<application name>would like to access your OpenAir data. -
Read the content of the authorization screen attentively. It should describe what the application does and how it will help you. It should also say what the application can do, for example:
-
The application will be able to access all data you have access to.
-
The application will be able to perform all actions permitted by your role and user privileges.
Important:For Administrators — Business rules configured for your OpenAir account are applied when an integration application interacts with your OpenAir data through the REST API. However, they are not applied when an integration application interacts with your OpenAir data through the SOAP API or XML API — application developers must enforce business rules within their integration application if required. Business rules include OpenAir account configuration settings and access control mechanisms, as well as any user scripts deployed on your OpenAir account.
-
-
Click ALLOW to authorize the application or click CANCEL if you do not want the application to access OpenAir on your behalf.
The steps may vary depending on the method you use to log in to OpenAir:
-
If you normally enter your company ID, user ID and password in OpenAir or if you enter your company ID and user ID in OpenAir and then your password on your company Single Sign-on page, the above steps apply.
-
If you normally need to enter all login details then select OpenAir from your company Single Sign-on solution to access OpenAir without needing to enter any login details on the OpenAir login page (Identity Provider initiated Single Sign-on), you must log in and select to open OpenAir before the application attempts to access OpenAir on your behalf. The authorization screen appears automatically. Follow steps 3 and 4 above. You do not need to re-enter your login details.
Integration applications are registered and managed by your account administrator. They need to be enabled on your account before they can attempt to connect to OpenAir and request your permission.
Integration applications are registered and managed by your account administrator. They need to be enabled on your OpenAir account before they can attempt to connect to OpenAir and request your permission.
Account administrators can disable an application at any time.
-
If you have authorized an application and this application is disabled by an administrator, the application will no longer be able to interact with OpenAir.
-
If an administrator enables this application again, you will need to give this application your explicit permission again before you can continue to work with it in connection with OpenAir.
After you authorize an application, it will be able to interact with OpenAir on your behalf until you revoke the authorization.
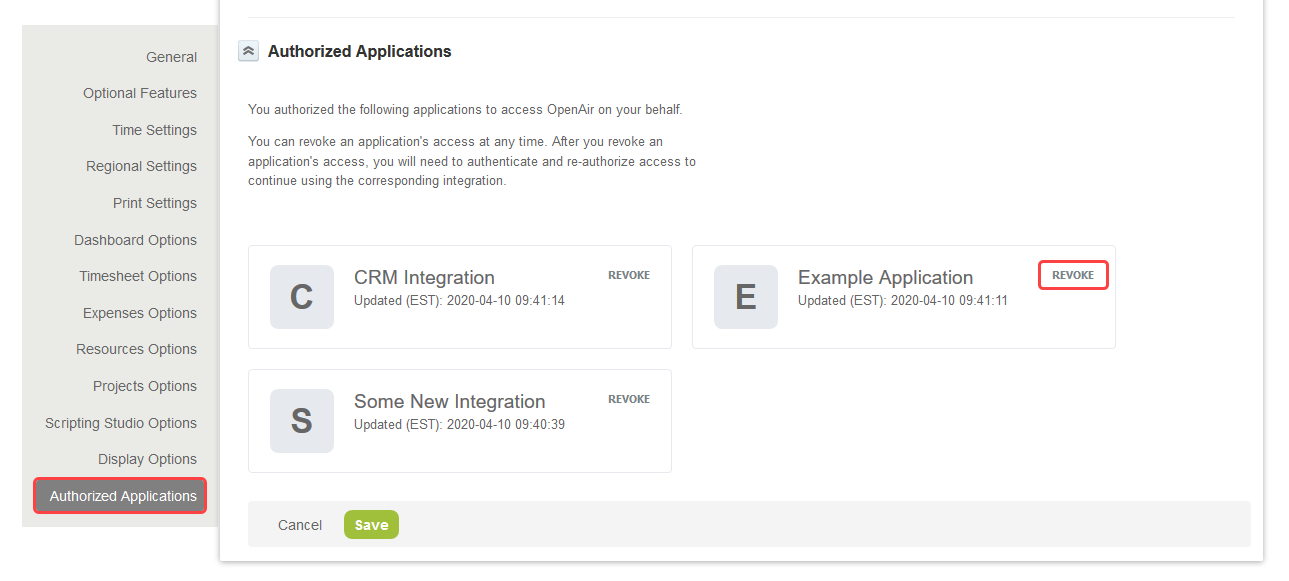
To view the application you have authorized, go to User Center > Personal Settings > Authorized Applications. All your authorized applications are listed in a grid. Details include the name of the application and the date and time when it was last updated.
All times are given as Eastern Standard Time (EST).
To revoke an application, click REVOKE in the top right corner of the corresponding box, then click REVOKE in the confirmation message. The application no longer shows in the authorized applications list. If a revoked application attempts to access OpenAir on your behalf, you will be prompted to give this application your explicit permission again.