Issues
To use the issues feature, you must enable it.
To enable the Issues feature:
-
Navigate to Administration > Application Settings > Projects > Other settings and select the switch Enable project issues.
The Issue functionality within OpenAir provides you with the ability to maintain and manage issues encountered on projects. There are a number of components that are available for the configuration of an issue as well as the tracking needs defined by your business requirements.
Issues can only be created from within the project for which the issue is being entered. Issues may be updated, however, directly from the Issues tab of the Projects application. Action items can be reported upon directly in the application.
Display issues by selecting Issues > and select either pending, completed, or all. Issues are also displayed and linked to a project. Select Projects > Project > Issues.
There are a number of ways to define issues and they include categories, severities, sources, stages, and statuses.
To create an Issue:
-
Go to Projects > Projects and select the specific project.
-
Select Issue from the Create Button.
-
Enter the New issue form information.
-
Click Save.
You can also quickly create new Issues using existing ones’ information. While in the Issues list view, click the Duplicate option next to the Issue you would like to duplicate.
To view and update Issues:
-
Go to Projects > Projects and select the specific project.
-
Select the Issues tab.
-
Click the Edit or Report link for the issue.
Refer to the following for a description of each issue component and guidelines for creating them:
See also Downloading Issue Attachments in List Views and Bulk Actions.
Issue Categories
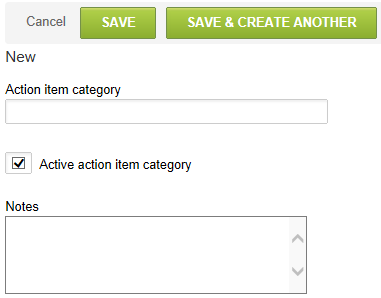
Issue categories indicate the areas within a project that are impacted by the issue or the type of issue identified. The category may be at a very high level such as Issue or Risk. They may also be at a more defined level such as Documentation, Product, Usability, and Training. You can also add notes describing the issue category. Issue categories, after they have been defined, may be inactivated and reactivated at any time.
To create Issue categories:
-
Go to Administration > Application Settings > Projects > Issue categories. Select New Issue category from the Create Button.
-
Complete form information and click Save.
Severities
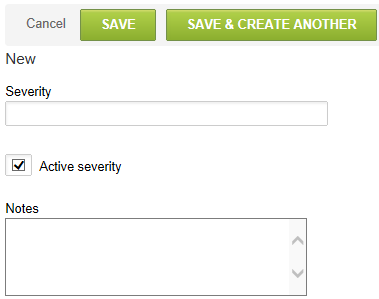
Severities designate how serious or critical the issue is in terms of impacting a deliverable, the project plan or other key elements of the project. Possible values could be Low, Medium and High or use of a numeric scale (e.g., 10 is severe impact and 1 is slight impact). You can also add notes describing the severity. Issue severities, after they have been defined, may be inactivated and reactivated at any time.
To create severities:
-
Go to Administration > Application Settings > Projects > Severities.
-
Select New Severity from the Create Button.
-
Complete form information and click Save.
Sources
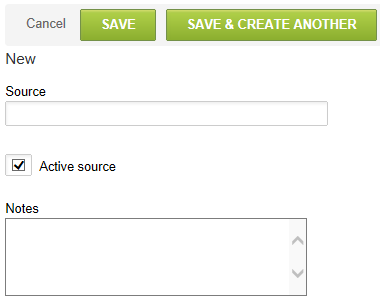
Sources identify the person, team, or area that submitted the issue for the project. Examples are: Project Manager, Team Member, Customer Lead or Test Results. The issue source provides another filter and reporting option for classification of the issues reported. You can also add notes describing the issue source. sources, after they have been defined, may be inactivated and reactivated at any time.
To create sources:
-
Go to Administration > Application Settings > Projects > Sources.
-
Select New Source from the Create Button.
-
Complete form information and click Save.
Stages
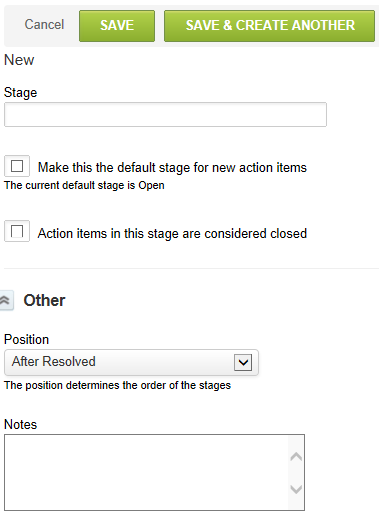
Stages designate where the issue is in the process. Sample stage values could include: Open, Assigned, On Hold, In Work and Resolved. You can select via check boxes whether this stage is the default assigned to new issues and whether issues are considered closed when in this stage. Typically an Open stage is selected as the default for new issues and the Resolved stage is selected as the stage for issues to be considered closed. You also designate where the stage value displays in the list of issue stages. A notes field is available for issue descriptive material.
An issue stage may not be inactivated after it has been defined. It may be deleted altogether provided no issues are in the stage.
To create stages:
-
Go to Administration > Application Settings > Projects > Stages.
-
Select New Stage from the Create Button.
-
Complete form information and click Save.
Statuses
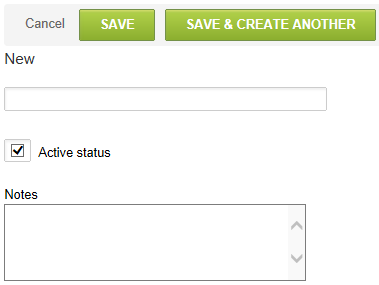
Statuses provide a means to identify the overall health of the issue. Sample statuses are: Red (critical), Amber (on watch list) and Green (no known problems). You can enter as many status values as are necessary for your company's needs. Using the sample values noted above, a Red status could mean that the issue will impact project timelines. An Amber status might mean the issue should be monitored to avoid impact to the project.
You can also add notes describing the status. Statuses, when defined, may be inactivated and reactivated at any time.
To create a statuses component:
-
Go to Administration > Application Settings > Projects > Statuses.
-
Select New Status form the Create Button.
-
Complete form information and click Save.