Creating a Data Integration Record
To be able to export Transaction Matching adjustments, you need to create a data integration record.
To create a data integration record:
-
In your Account Reconciliation application, click the Navigator icon
 , and then, under Application, click Data Exchange.
 -
Click the Add icon
 , and do the following:
-
In the Name field, enter a unique name for this data integration record.
-
In the Source list, select the source application you created in Creating a Source Application in Data Exchange.
-
In the Target list, select the target application you created in Creating a Target Application in Data Exchange.
-
In the Location field, enter the location.
-
In the Category field, select Current.
-
-
Click Save and Continue.
-
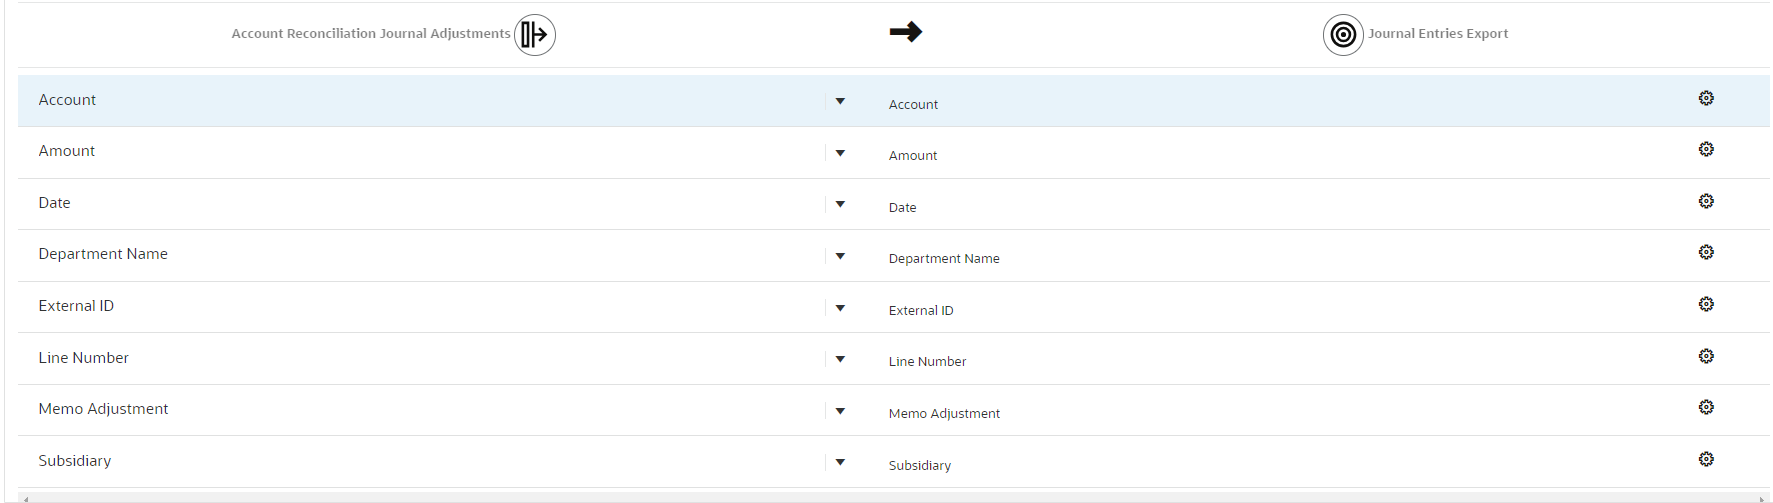
In the Map Dimensions window, from the Source Column list for every target dimension, select the corresponding source column. The following screenshot shows an example of the mapping for the template file you uploaded in Creating a Target Application in Data Exchange:
-
Click Save and Continue.
-
In the Map Members window, click the Add icon
to add mapping rules for each column:-
In the Source field, enter an asterisk *.
-
In the Target field, enter an asterisk *.
-
In the Processing Order field, enter 1.
-
Repeat this procedure for all the other dimensions in the Dimension list.
-
Click Save and Continue.
-
-
In the Options window, do the following:
-
On the Filters tab:
-
In the Type field, select Adjustments.
-
In the Match Type field, enter the Match Type ID that you want to use for exporting journal adjustments.
-
-
On the Options tab, in the Download File Name field, enter the path that you created in Creating a New Folder, for example,
inbox/journal_entries/journal_entry.csv.
-
-
Click Save.