Setting Up SuiteCloud CLI for Node.js
Before you start working with SuiteCloud CLI for Node.js, you need to run suitecloud account:setup in your project folder.
If you don't have a project yet, run suitecloud project:create -i, then run suitecloud account:setup.
Important:
Make sure your role is set up for SDF development. For more information, see Assigning the Developer Role (Administrator Only).
To see how to install and set up SuiteCloud CLI for Node.js, watch the following video:
To set up SuiteCloud CLI for Node.js
-
Launch your preferred command-line interpreter.
-
Go to the folder of an existing project on your machine.
-
In your project folder, run
suitecloud account:setupand answer the questions in SuiteCloud CLI.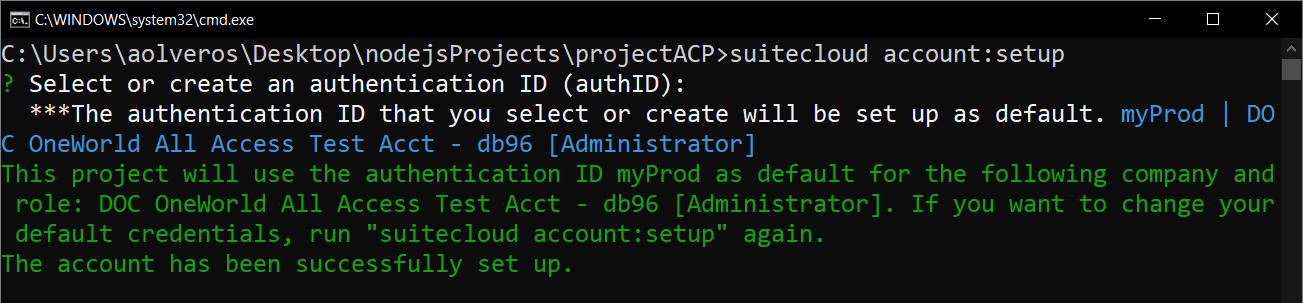 Tip:
Tip:To exit the process at any time, press Ctrl + C.