Uploading Files Through an Online Case Form
You can set up your online case forms to allow customers to upload files, like screenshots, to help your support reps resolve cases. Uploaded files can be up to 10 MB in size. For a list of supported file types, see File Types Recognized in the File Cabinet.
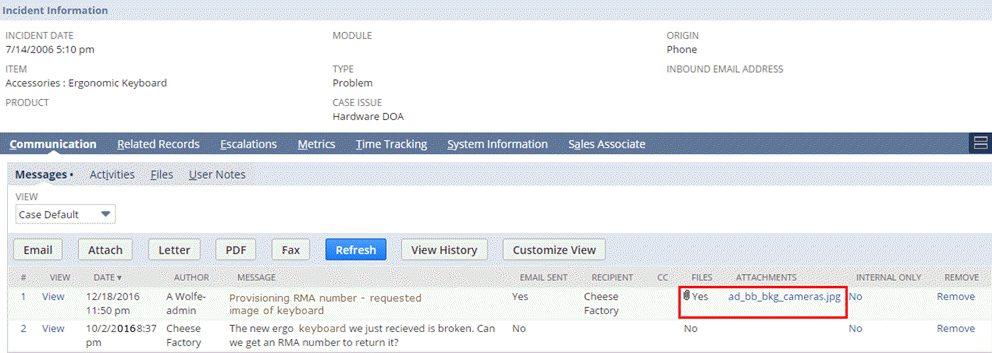
When a file is uploaded through an online case form, it's attached to the case record in the following places:
-
The Attachments column on the Communication subtab of the case record.
-
The Files subtab on the Communication subtab of the case record.
-
The Attachments subtab of the message record.
You can view the message record by clicking View next to the message on the Messages subtab.
Files uploaded through online case forms are saved in the File Cabinet, in the Attachments Received folder, which contains subfolders named after customers who filed the cases. If the file is too large or of an unsupported type, the case is saved but the file isn't uploaded. To upload multiple files, use the .zip format.
Files attached directly to cases can be accessed by external roles, even if they're not visible on the case record.
To share files with case assignees only, attach the files to case messages. For more information, see Entering a Case.
To allow files to be uploaded through an online case form:
-
Open the online case form record.
-
On the Select Fields subtab, in the Field column, select File.
You can also optionally do the following:
-
Enter a new label for the field.
-
Choose which section of your form the field appears on.
-
Change the field width.
-
-
Click Add.
-
Click Save.
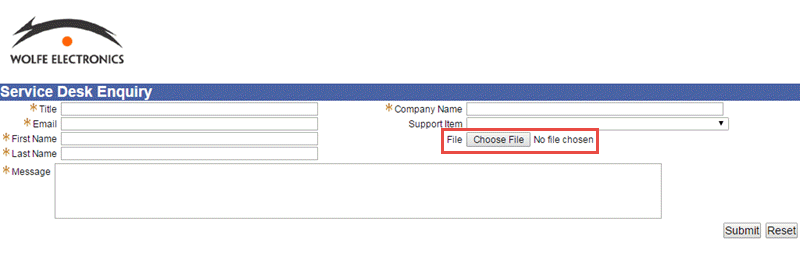
The Choose File field will be added to the case form as shown below: