Grabbing Cases
Grabbing is a quick way to assign a case to yourself, so you can respond to the customer.
You have to be a support rep to be able to grab a case. See Marking Employees as Support Reps for more information.
To grab a case:
-
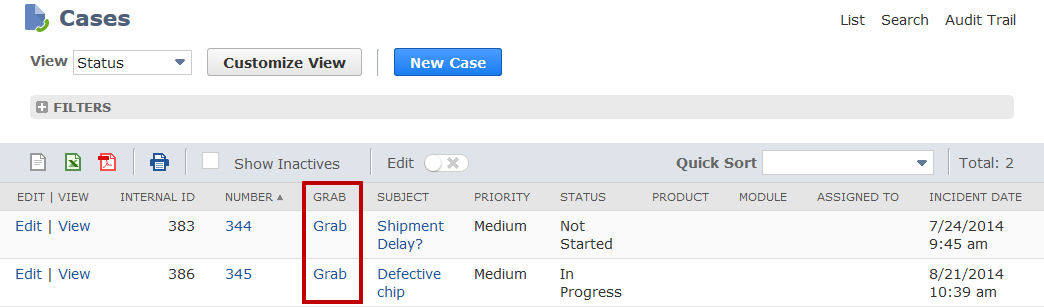
Go to Lists > Support > Cases > Customer Service > Cases.
-
Click Grab next to the case you want to assign to yourself.
Note:Right-clicking Grab to grab the case and open it in another tab or window isn't supported.
The case is assigned to you automatically.
You can't grab a case that's already assigned to someone else.
-
Make changes where needed, like updating the priority or adding a reply to the customer.
If you reply to the customer and mark the case closed, it won't appear on the active cases list anymore. However, you can set the status filter to show closed cases.
-
Click Save.
To avoid grabbing cases manually, an Administrator can set up case rules and territories to automatically route cases to support reps based on certain criteria. For more information, see Creating Case Rules and Creating Case Territories.
If the Administrator lets support reps receive email when a customer responds to a case, reps can receive additional questions or information. These messages are also added to the case record. For more information, see Customer Responses to Cases.
Administrators can let support reps receive customer responses by clearing the Prevent Support Reps from Receiving Customer Replies by Email box. Go to Setup > Support > Preferences > Support Preferences.
From the cases list, click the name of the case to view its details. You can also click Edit to add a message from a customer, or a response from a support rep.