Localize Catalog Captions
As an administrator, you can localize the names of reporting objects, or captions, that users create in the catalog. For example, you might localize the names of dashboards and analyses into Spanish and French.
To localize object names in the catalog:
- Export the default captions from the catalog to an XML file.
- Localize the downloaded XML file.
- Upload the localized XML file to the catalog.
After the translated caption XML file is uploaded, the new strings take effect once the cache refreshes. Translated strings aren't affected by upgrades to OTBI.
Note:
When you migrate content using archive/unarchive, you must update the translations.Export Captions from the Catalog
The following steps describe how to export text strings in the catalog.
-
In the Home page, click the user profile icon and then click Administration.
-
In the Manage Catalog Captions area, click Export Captions.
A captions XML file is generated. Note that when you export captions, the last modified date of the object changes to the time when the captions were exported.
-
Click Browse to display the Catalog browser, select the folder that you want to localize.
For example, you might select
/Shared
                            Folders/Custom
. -
Optional: If you don't want descriptions in the export file, click Exclude Descriptions.
-
Click OK.
-
Save the downloaded XML file.
For example, if you selected the Custom folder to download, you’ll save a file named
_shared_Custom_captions.xml.
Localize Your Captions
After you have exported your captions in an XML file, deliver the
XML file to the localization team. For example, if you selected the Custom folder to
download, you’ll deliver a file named
_shared_Custom_captions.xml.
You and the localization team are responsible for resolving any errors in the translated text strings. Consider that the contents of the catalog are updated whenever objects are added, deleted, or modified.
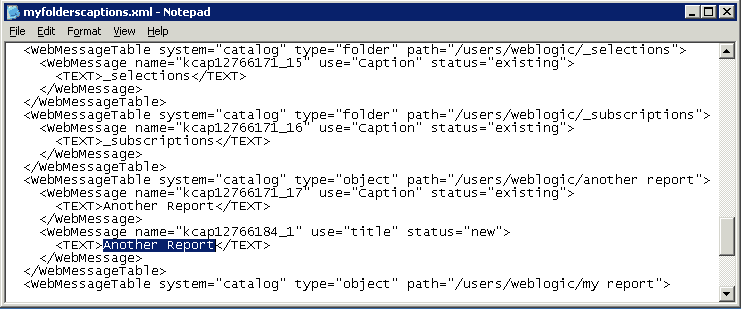
The first illustration shows an extract from an exported caption XML file before
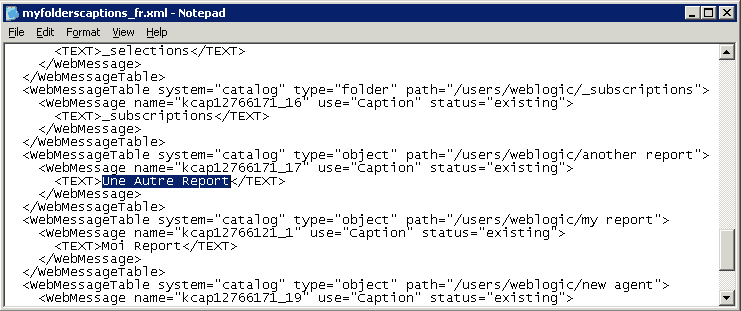
translation. The file is named myfoldercaptions.xml. The second
illustration shows an extract from the file after translation. The file is
named myfoldercaptions_fr.xml.
Upload Localized Captions to the Catalog
After you have localized your captions in the required languages, you deploy the languages by uploading the translated XML files. Use the procedure for each language.
-
In the Home page, click the user profile icon and then click Administration.
-
In the Manage Catalog Captions area, click Import Captions.
-
Click Browse and navigate to and select the localized XML file, then click Open.
-
Use the Select language option to select the language to which you’ve localized, then click OK.
Review Imported Caption Files
After you have localized your captions in the required languages, you can review the translated caption files. Use the procedure for each language.
-
In the Home page, click Profile and then select Administration.
-
Click Manage Captions.
-
Click Select language and select the language of the XML file that you’ve imported.
-
Click Download, then click OK to open or save the XML file for review.
Delete Imported Caption Files
After you have localized your captions in the required languages, you can delete the translated caption files. Use the procedure for each language.
-
In the Home page, click Profile and then select Administration.
-
Click Manage Captions.
-
Click Select language and select the language of the XML file which you’ve imported.
-
Click Delete, then click Yes.

