Defining a Driver for Allocation Rules
Defining a Destination dcribes how to enter the data destination for an allocation. The next step is optional -- to define an allocation driver, the member where optional driver values are found.
Note:
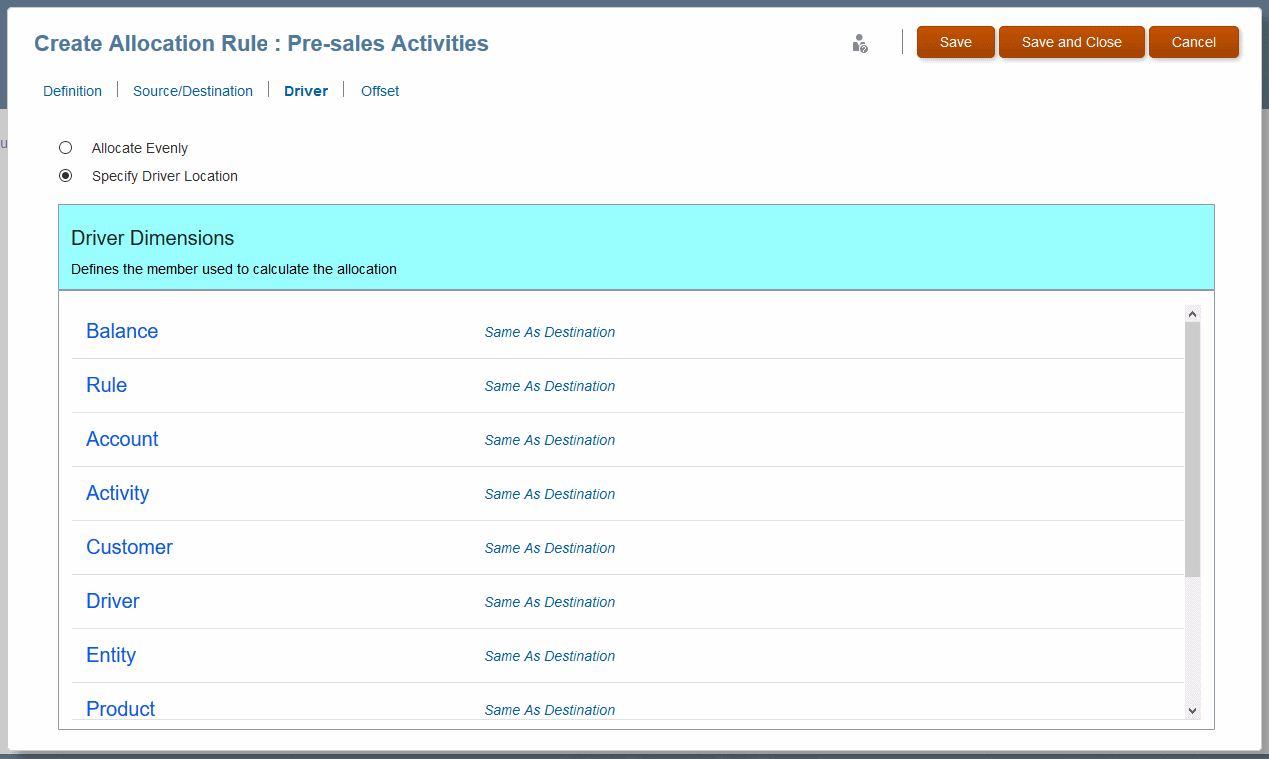
Profitability and Cost Management assumes a focus on the destination. The dimension and member selection on the Driver page represents a change to the destination that defines where the driver is located.
For example, if the allocation destination is the intersection of the Sales department and Salaries account, the Driver definition is the Headcount account member.
By default, data is allocated to the destination proportionally, using the ratio of the driver value for that member divided by the sum of all driver values. You can choose to allocate data evenly, which is the same as if the driver ratio was 1.
Typically, systems are set up so that one member from one dimension, usually the Accounts dimension, contains the statistical members associated with any intersection. Only one member can be selected for each dimension.
To define the driver for an allocation rule:
Tip:
The next optional step is to enter an offset for the rule, the member to hold an increase to balance a corresponding decrease in the allocation source (Defining an Allocation Offset for Allocation Rules).
