Defining a Source and Destination for Allocation Rules (Designer)
Creating Allocation Rules with the Designer Screen describes how to create and describe a new allocation rule. The next step is to define an allocation source, the dimensions with the expense or other data you are assigning to an allocation destination.
Defining a Source
To define the source from which the rule will retrieve data to allocate:
-
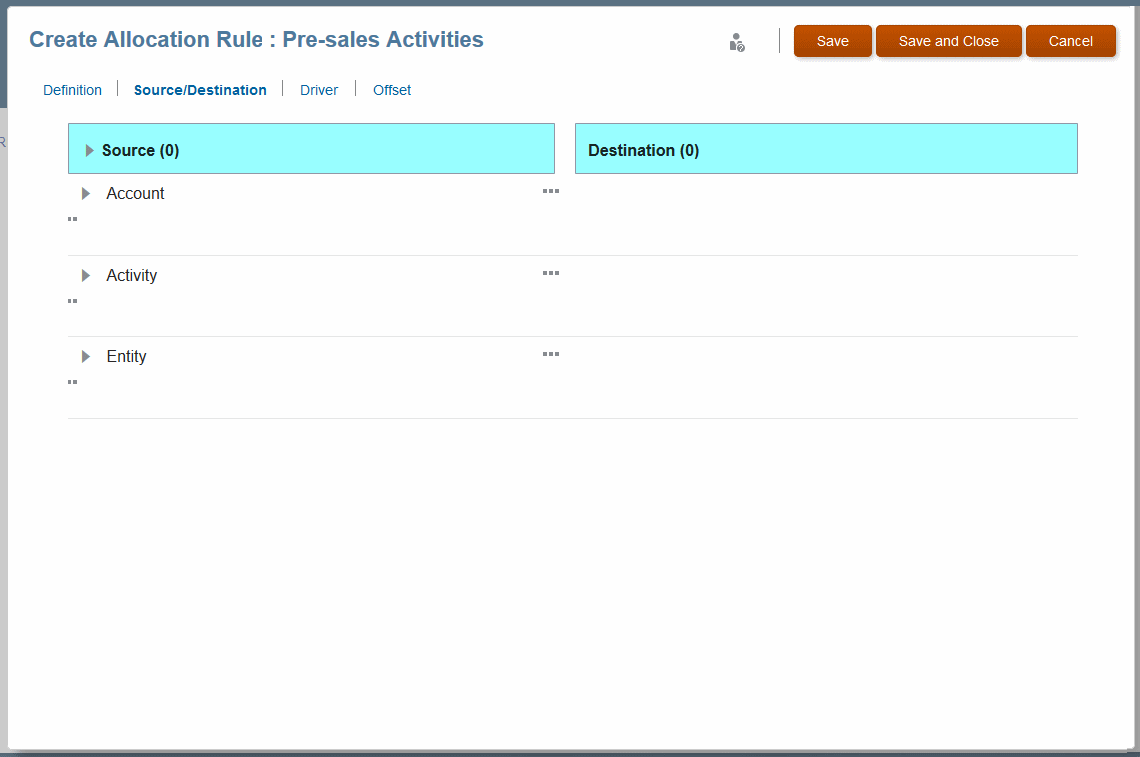
In the Create Allocation Rule screen for the new rule, click Source/Destination to open that page of the Create Allocation Rule screen.
Figure A-6 The Source/Destination Page of the Create Allocation Rule Screen

-
Dimensions associated with the rule are listed under Source. To view members, click the space below the dimension name and then click
 (Search) in the Add Member box.
-
Select the dimension and members that hold the data to be allocated. If you select a parent member, all of its descendants are selected also.
Note:
You can click the group of dots next to a dimension to add more than one member to the source or to clear settings.
-
Optional: Click ..., the Options button, to select one of the following:
-
Add Multiple Members Source -- allows you to enter the names of additional members to provide funds
-
Calculation Segmentation -- activates a way of calculating specific dimensions and levels to enhance scalability with very large models (for use if recommended by Oracle).
-
Clear [source dimension] Selections -- resets member selections for the selected source dimension
-
-
The next step is to enter a Destination for the allocated data.
Defining a Destination
Defining a Source describes how to enter the data source for an allocation. The next step is to define an allocation destination, the dimensions to receive the expense or other data you are pulling from the allocation source.
To define the destination where the rule puts data to be allocated, such as funds:
-
If you just defined an allocation source as described in Defining a Source, remain on the Source/Destination page of the page of the Create Allocation Rule screen.
-
Selected destination dimensions display in the Destination column. To view members, click the space in the row with the dimension name and then click
 (Search) in the Add Member box.
-
Select the dimension and members to receive the data to be allocated. If you select a parent member, all of its descendants are selected also.
Note:
You can click the group of dots next to a dimension to add more than one member to the destination, set the destination to "same as source," or to clear settings.
You can select from the Same As Dimension list to use a member of the same name in a different dimension.
You can enter dimension-member combinations as text. This could be useful if you had them in a spreadsheet, for example. See Adding Dimension-Member Combinations by Pasting Text.
-
Click Save or Save and Close.
-
The next step, optional, is to enter a Driver for the allocated data (Defining a Driver for Allocation Rules.