Adding Rich Text Areas
This topic describes how to add rich text areas to your intake forms so that you can display formatted text in application intake forms.
Rich Text Area Overview
In some cases, you may need to add rich text areas to your application forms so that you can display formatted text for users filling out the application. For example, if you needed to provide additional information, such as instructions or reference material, you can provide that within a rich text area.
When you add a rich text area element to your form, an Edit button appears in the Field Attributes panel when you select the rich text area element. Click the Edit button to launch the Rich Text Editor dialog box.
This example illustrates the Rich Text Editor dialog box displaying bold, colored, and italicized text; normal text; and text within a bulleted list.

The Rich Text Editor dialog box provides these formatting options:
-
Font size
-
Bold, italic, underline
-
Copy formatting
-
Text color
-
Text background color
-
Numbered and bulleted lists
-
Undo and redo
-
Increase and decrease indentation
-
Links
-
Horizontal line
-
Images
Adding a Rich Text Area to a Form
To add a rich text area:
Insert a group box into your form where you want to place the rich text area.
From the Add New > General list, drag and drop a rich text element into the group box.
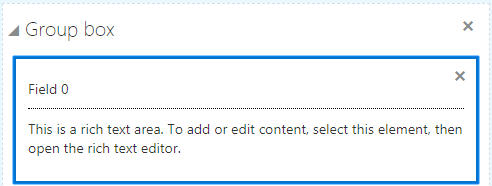
Select the rich text area element.
This example illustrates the rich text area element being selected prior to rich text being added.
In the Field Attributes panel, click Edit to open the Rich Text Editor dialog box.
Note: If needed, you can use the Description field to enter a description of the contents of the rich text area for other implementation team members. The description you enter only appears in the designer; it is not be displayed at run time.Add text and use the desired formatting options.
Click OK.
Save your form layout.