Redwood Experience for Workforce Compensation Worksheet
Enrich the manager experience with the new Workforce Compensation worksheet developed using the Redwood tool set when you enable it along with the Redwood experience. From the landing page, select one of your compensation task worksheets. 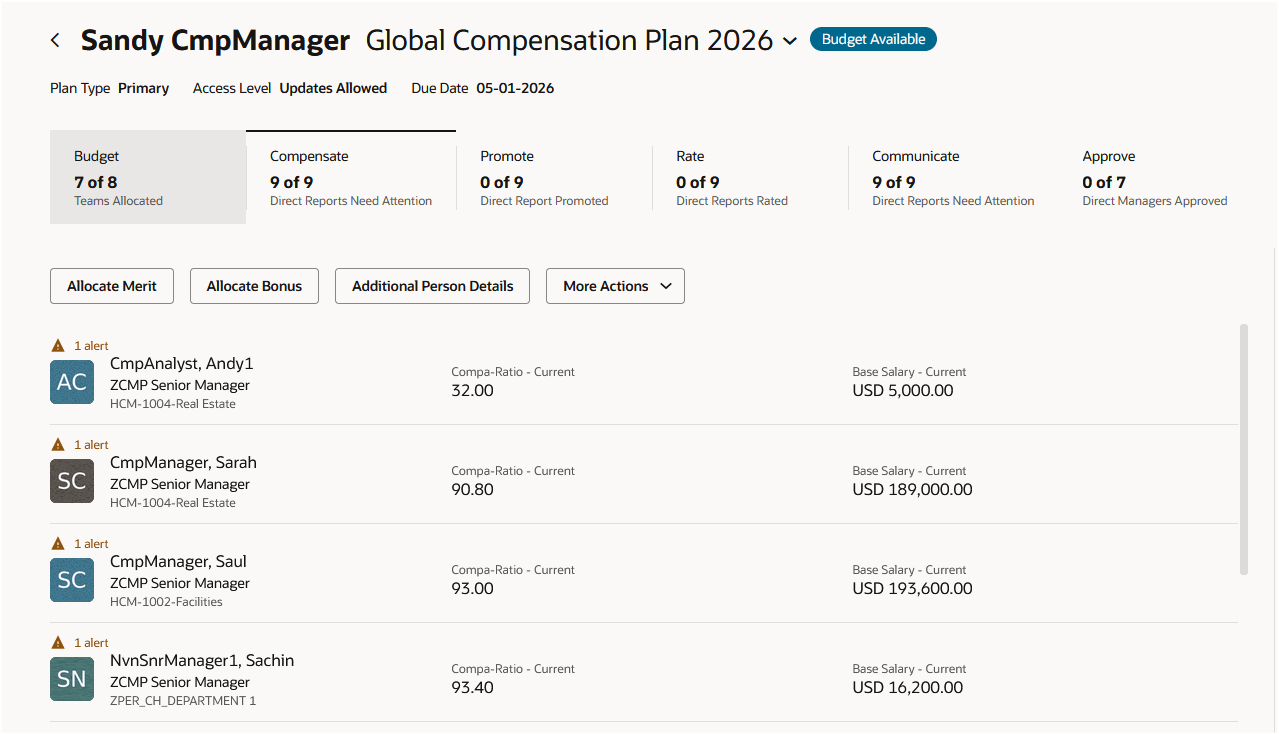
Award Tab on Landing Page
The Redwood worksheet will display:
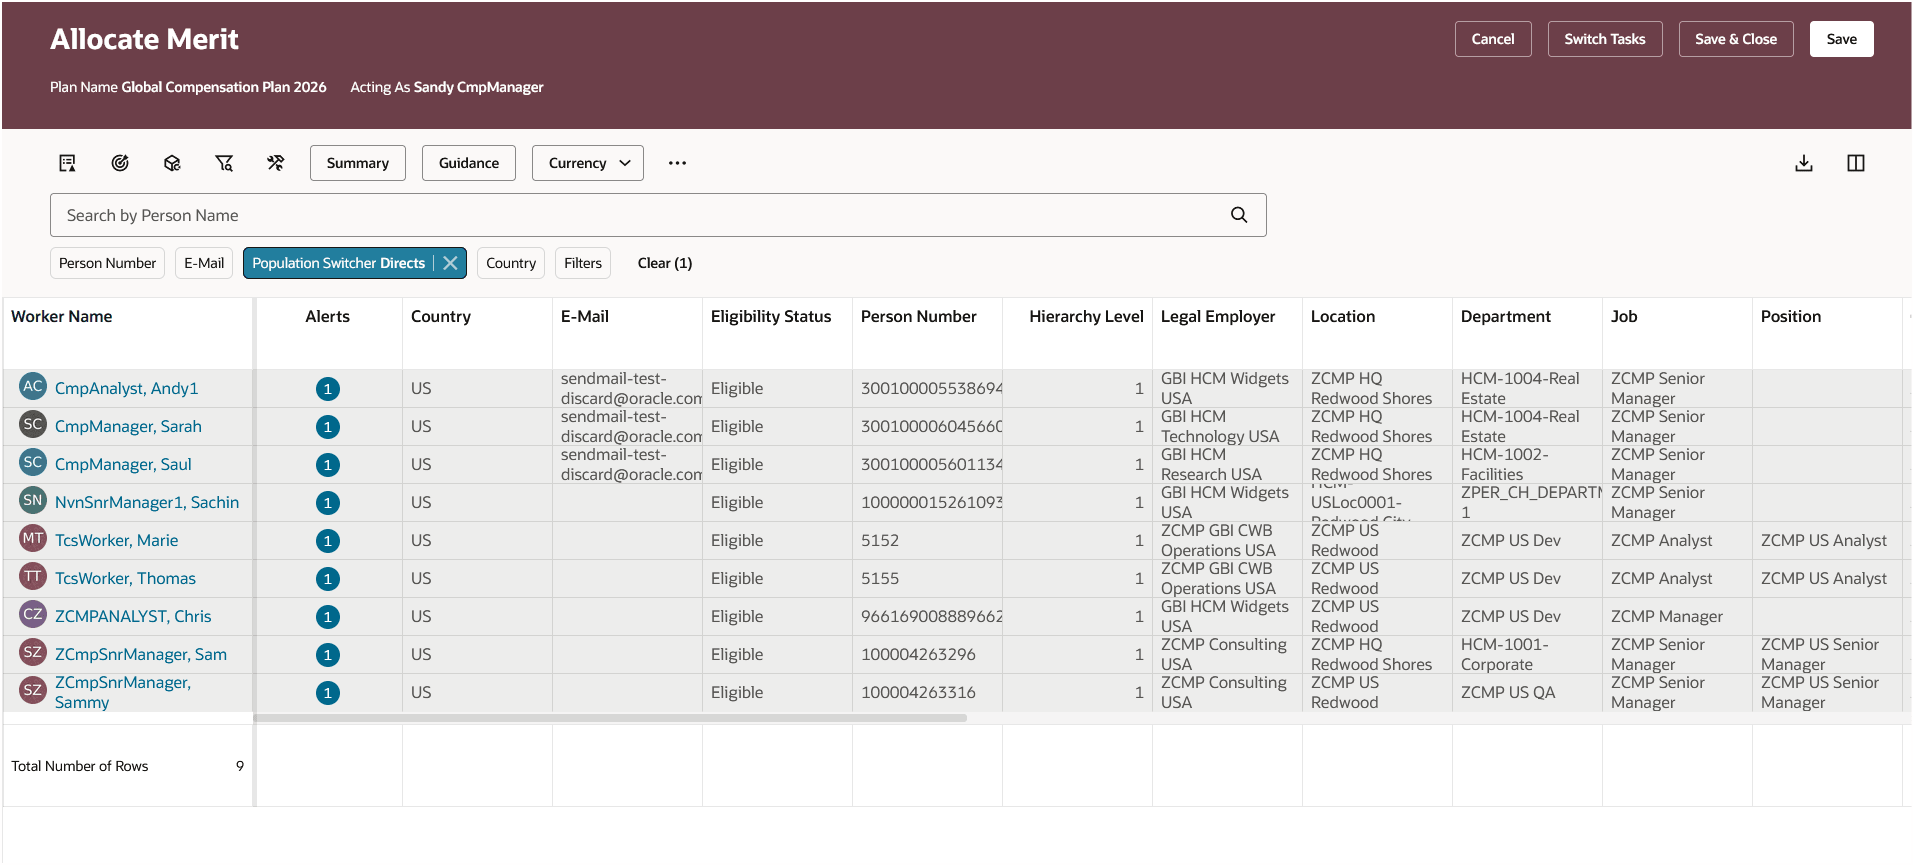
Redwood Worksheet
We'll take a look at the icons on the tool bar, starting with the audit trail.
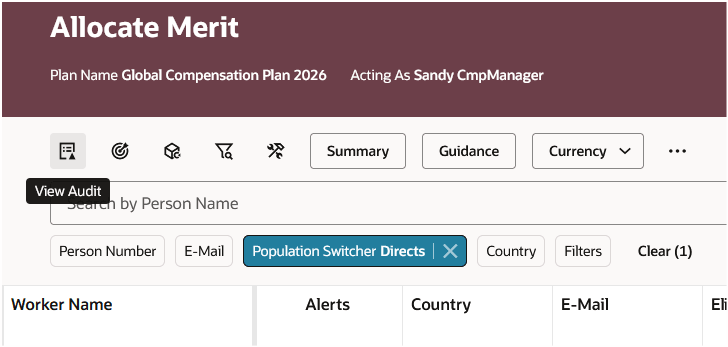
Audit Trail Icon
Followed by Apply Targets
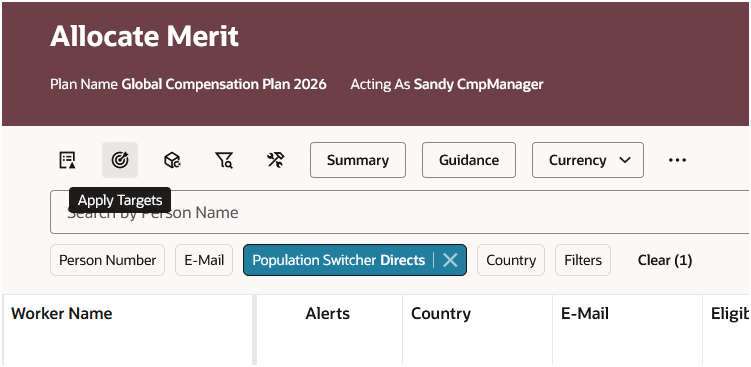
Apply Targets Icon
Then Apply Models
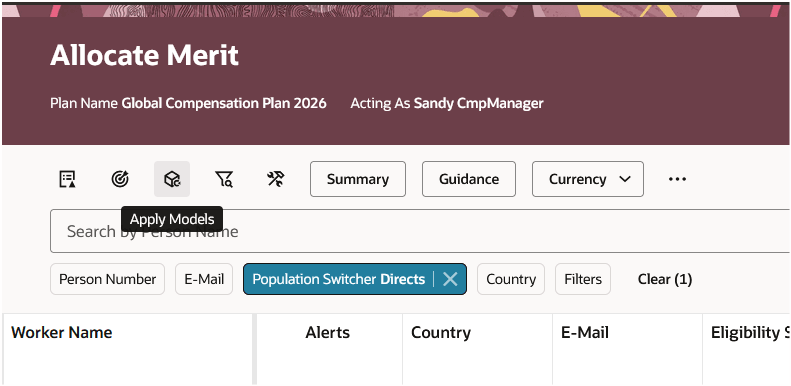
Apply Models Icon
The ability to filter is next. When any filter is enabled, the ability to search by person name is automatically provided.
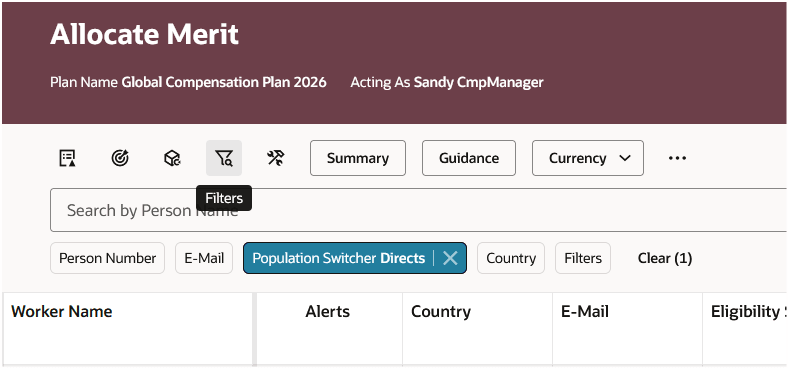
Filters Icon
Currently the Default Worksheet Display setting in plan setup does not control whether the filter bar appears on the page. When selecting the Filters button, a panel drawer with all available filters is made available.
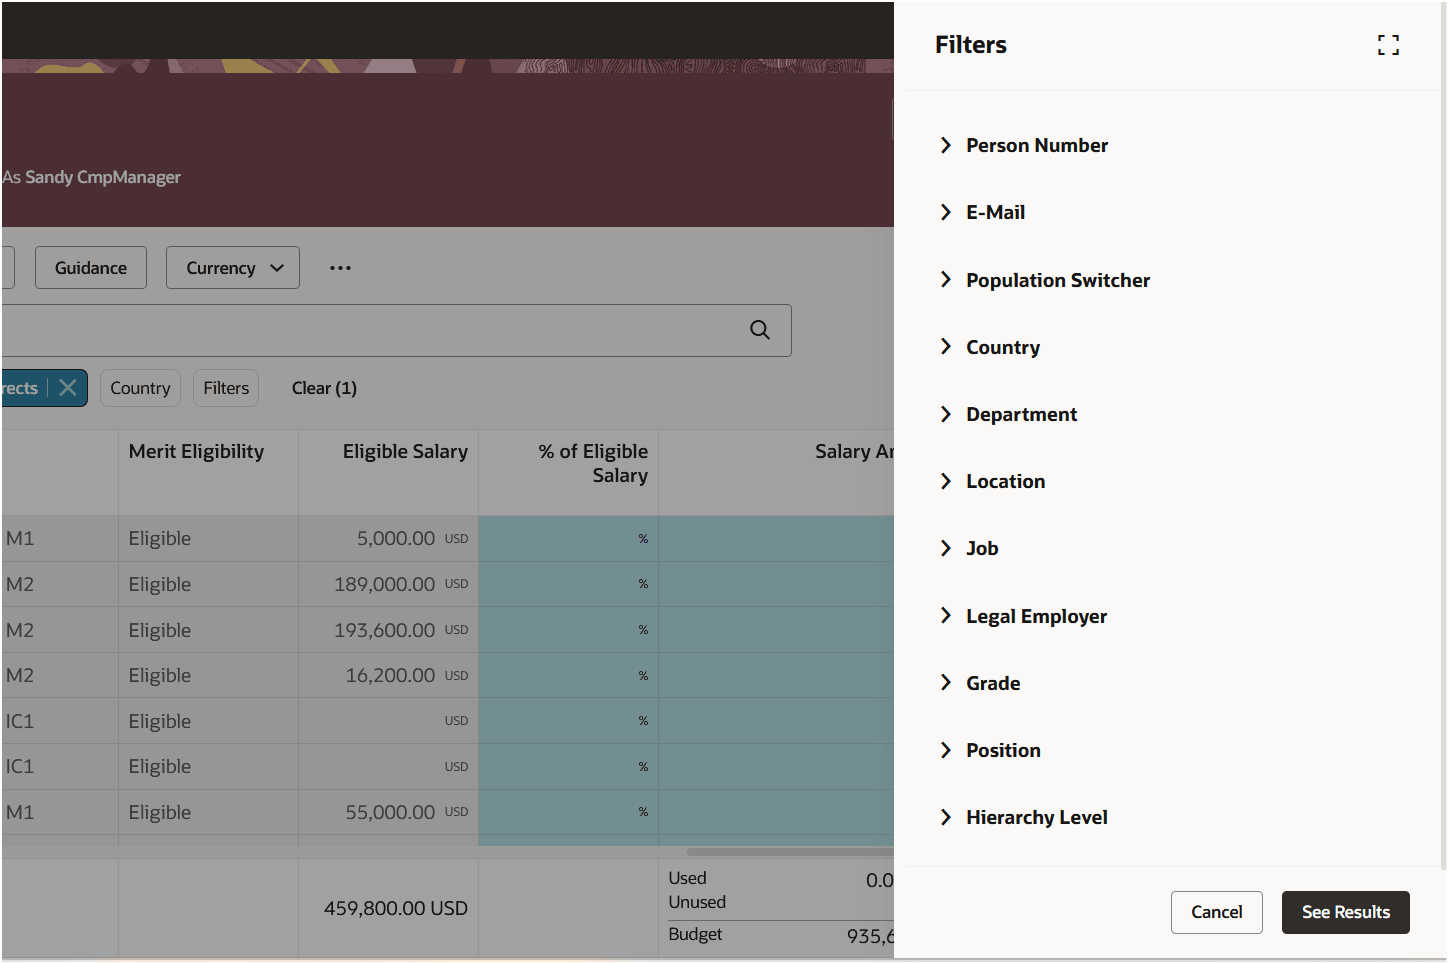
Open Filters Panel Drawer
If enabled, managers can personalize their worksheet layouts here:

Personalize Layout
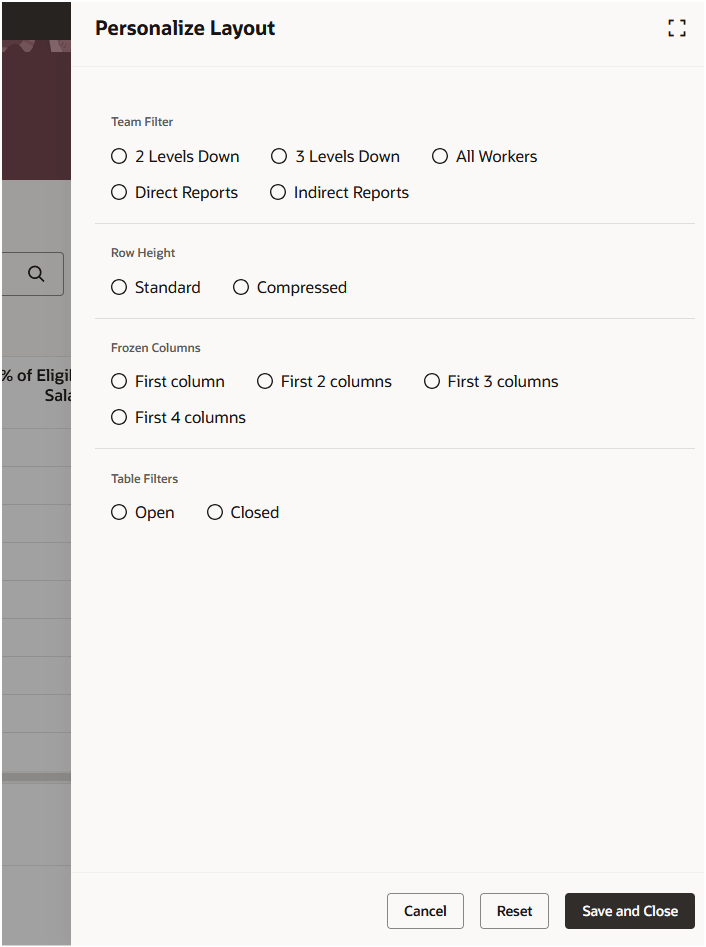
Layout Personalization Options
Currently, the only option for the summary view is the table view. If you are using the budget groups feature, you'll also be able to see that information in this bottom panel drawer.
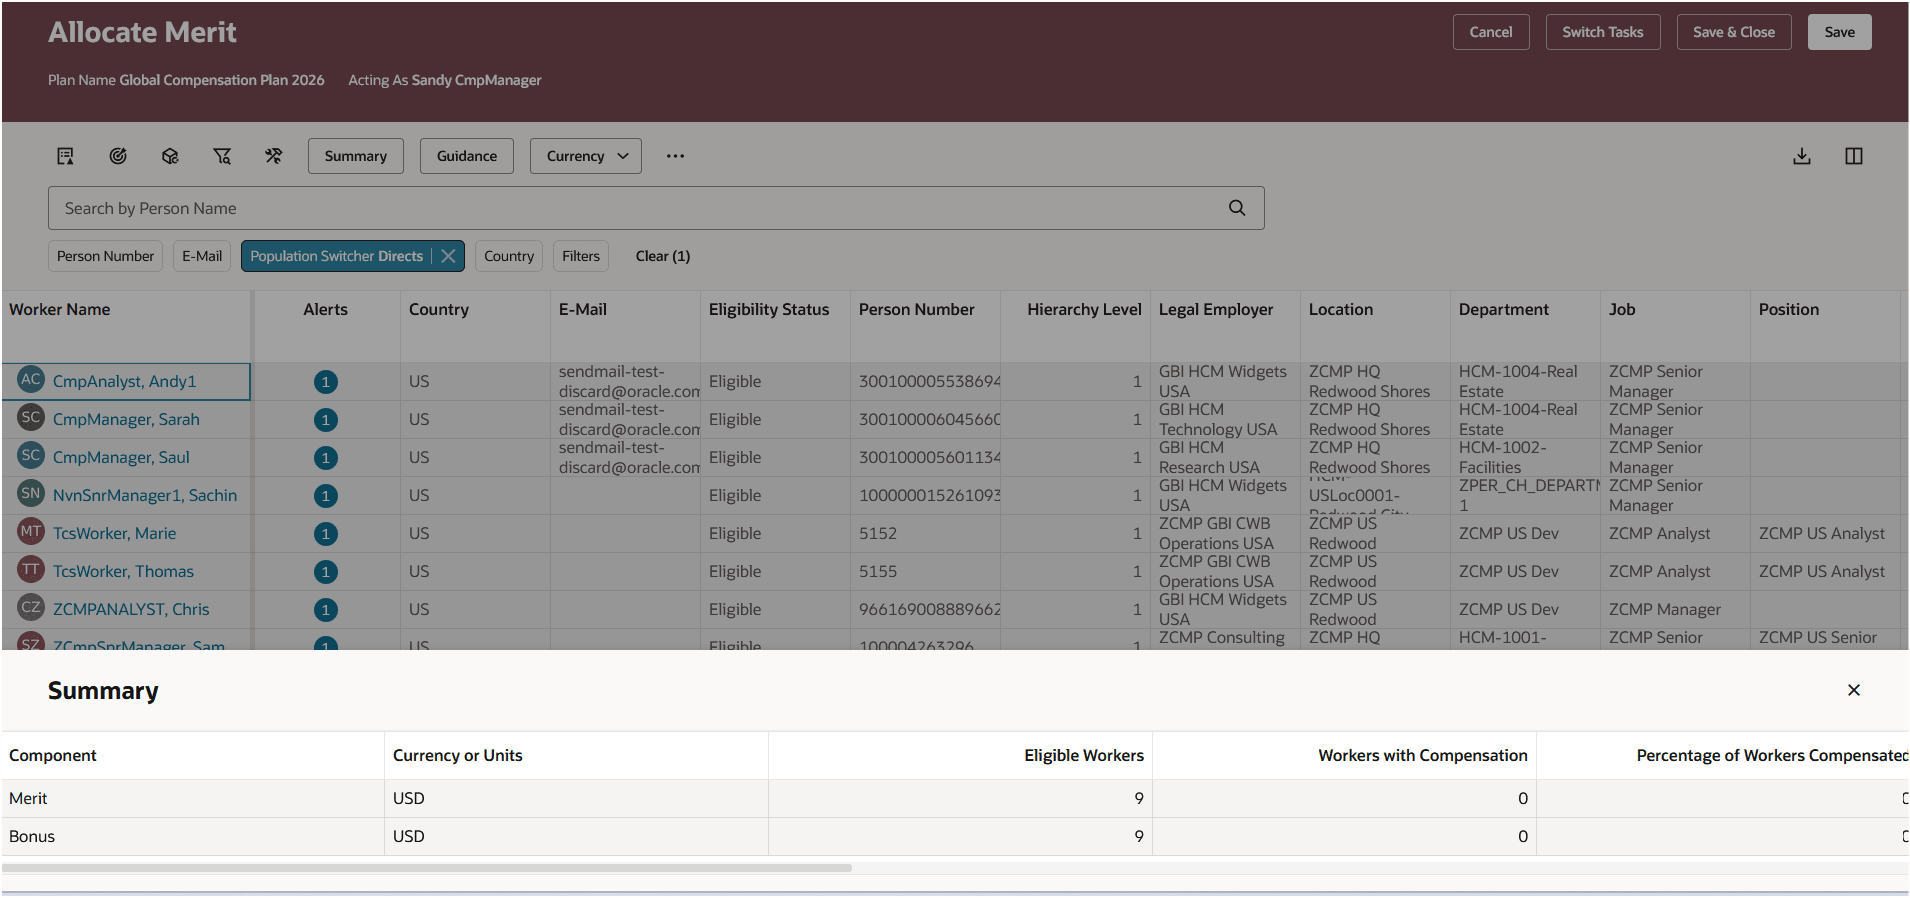
Summary View
If there is any task or column info configured, it will appear after selecting Guidance.
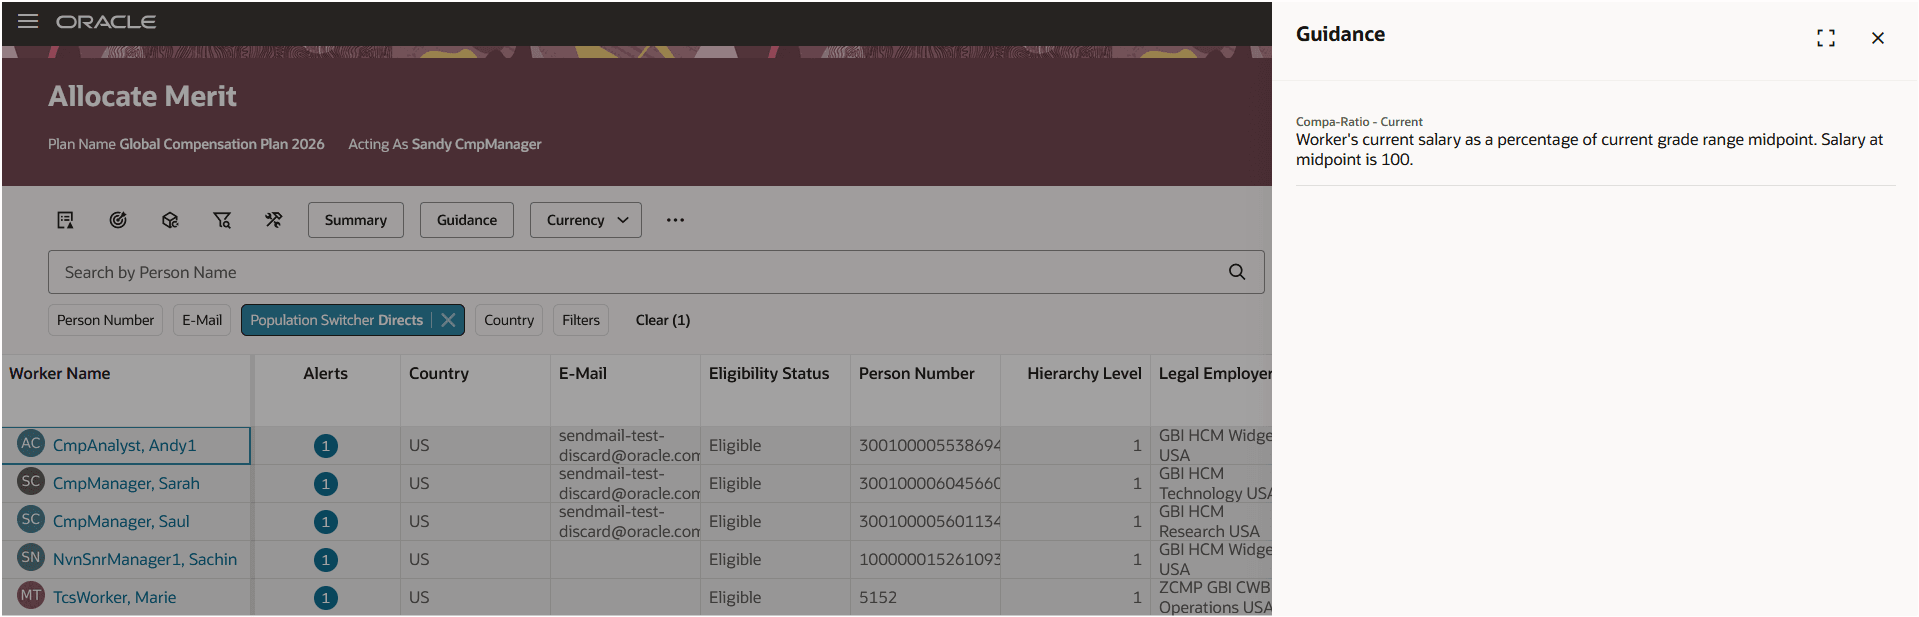
Worksheet Info or Guidance
Currency allows the worksheet to be switched between plan, worker local and user-preferred currency, if enabled.
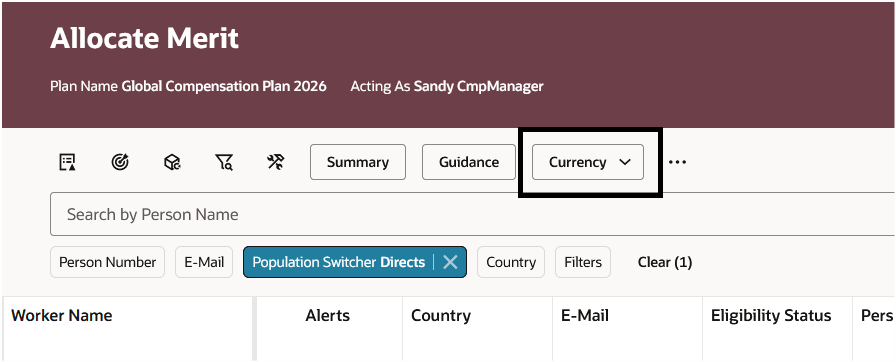
Currency Switcher
When accessing the 3 dots to the right of the currency switcher, managers can see the overflow menu. These are more secondary actions that are not often used. Actions such as reassigning a person to another manager, or requesting an eligibility change will be limited to 1 person at a time. We've added a new feature that shows how a value was calculated for those with "Act as Proxy" access in "Show calculation trail".
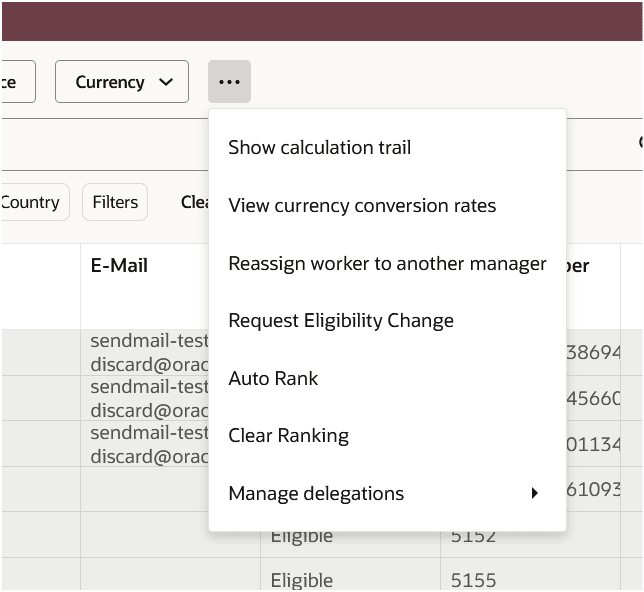
Overflow Menu
When accessing the download icon, the manager is given the choice amongst the enabled options. Note: We are still using the ADFDi integrator.
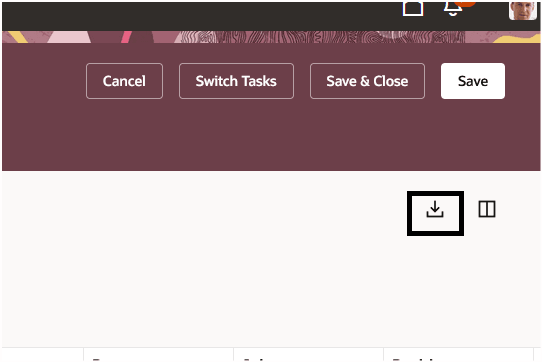
Worksheet Download Icon
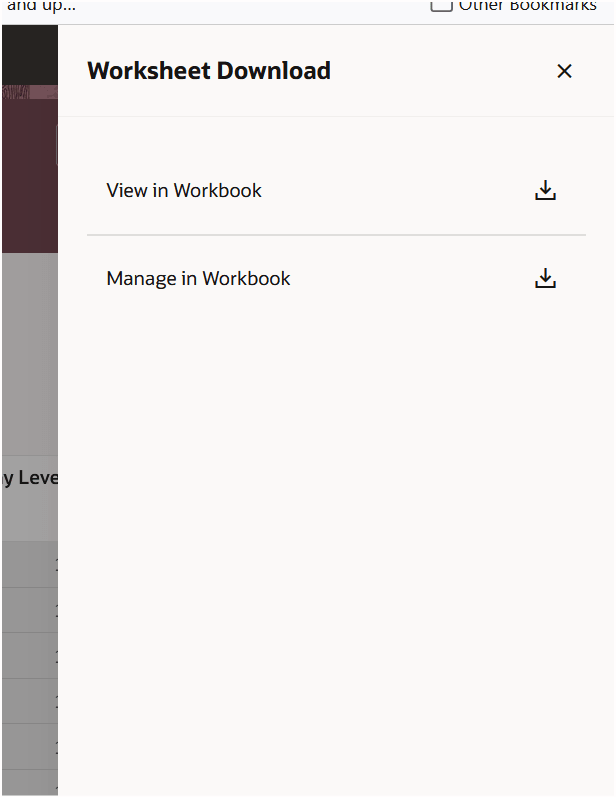
Download Worksheet Panel Drawer
Managers can manage their column view through the columns icon on the far right side of the page.
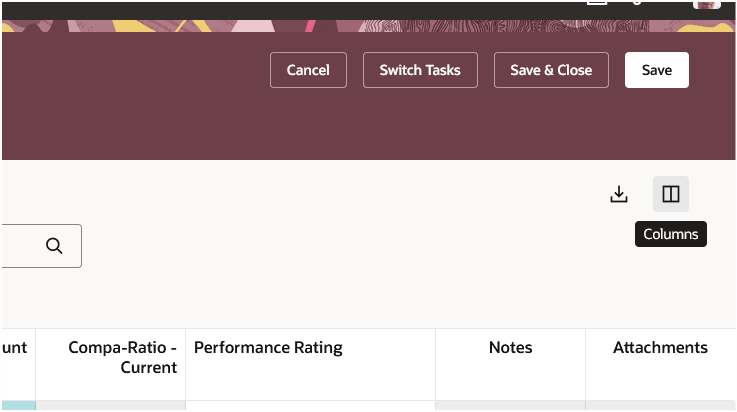
Manage Columns
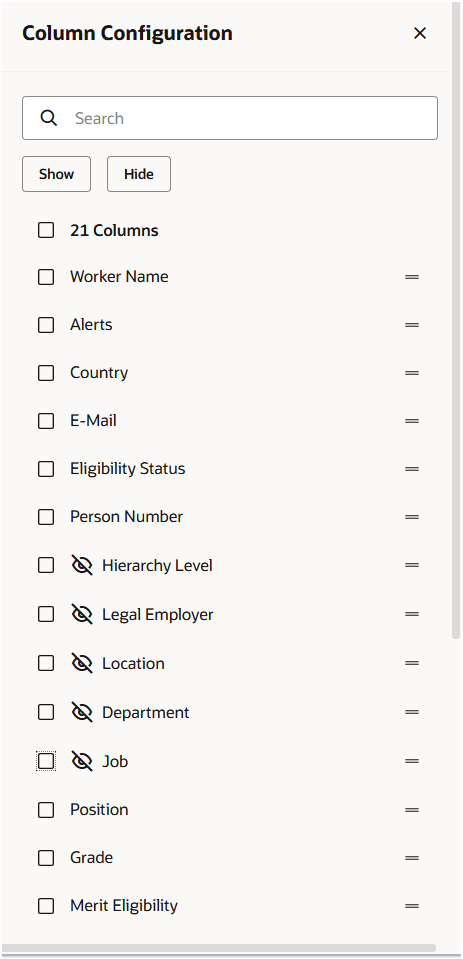
Manage Columns 1
Scrolling down to the bottom of the panel drawer allows the manager to reset their view to the default.
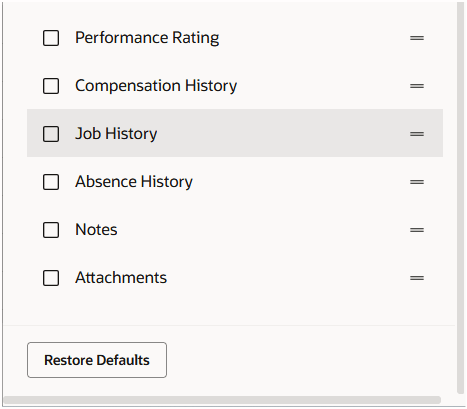
Restore Defaults Button
When clicking on the icon in the alerts column, the list of alerts that have been triggered for a person can be seen. Alerts have been consolidated into Error, Warning and Info. No other Icons or options are available. This reduces confusion for managers and allows them to take action on the most important alerts first.
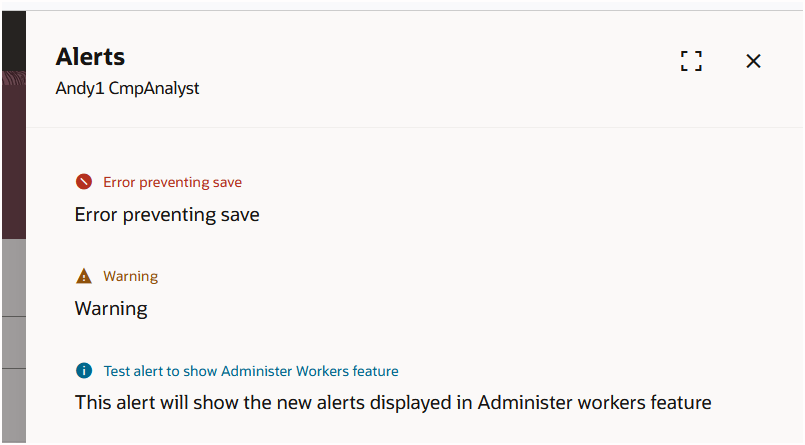
Alerts Panel Drawer
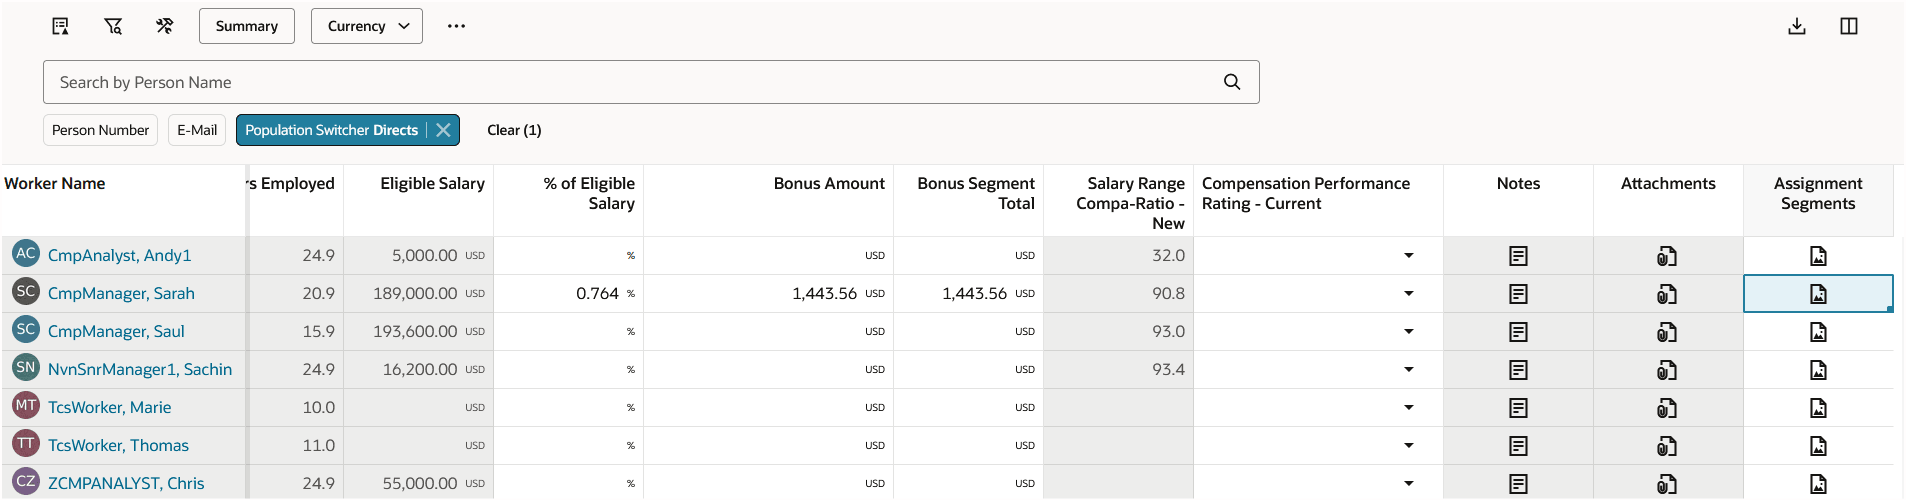
When the number of visible people exceeds what can be immediately seen, the header and footer remain in place while the manager can scroll through the list of their people. This allows for them to retain access to important summary info or access to other actions. At the bottom of the page, some summary info can be seen. The following columns will show totals in the footer row:
- Employee name
- Miscellaneous rate 1 - 6
- Eligible Salary
- Compensation amount
- Target compensation amount
- Target compensation minimum amount
- Target compensation maximum amount columns.
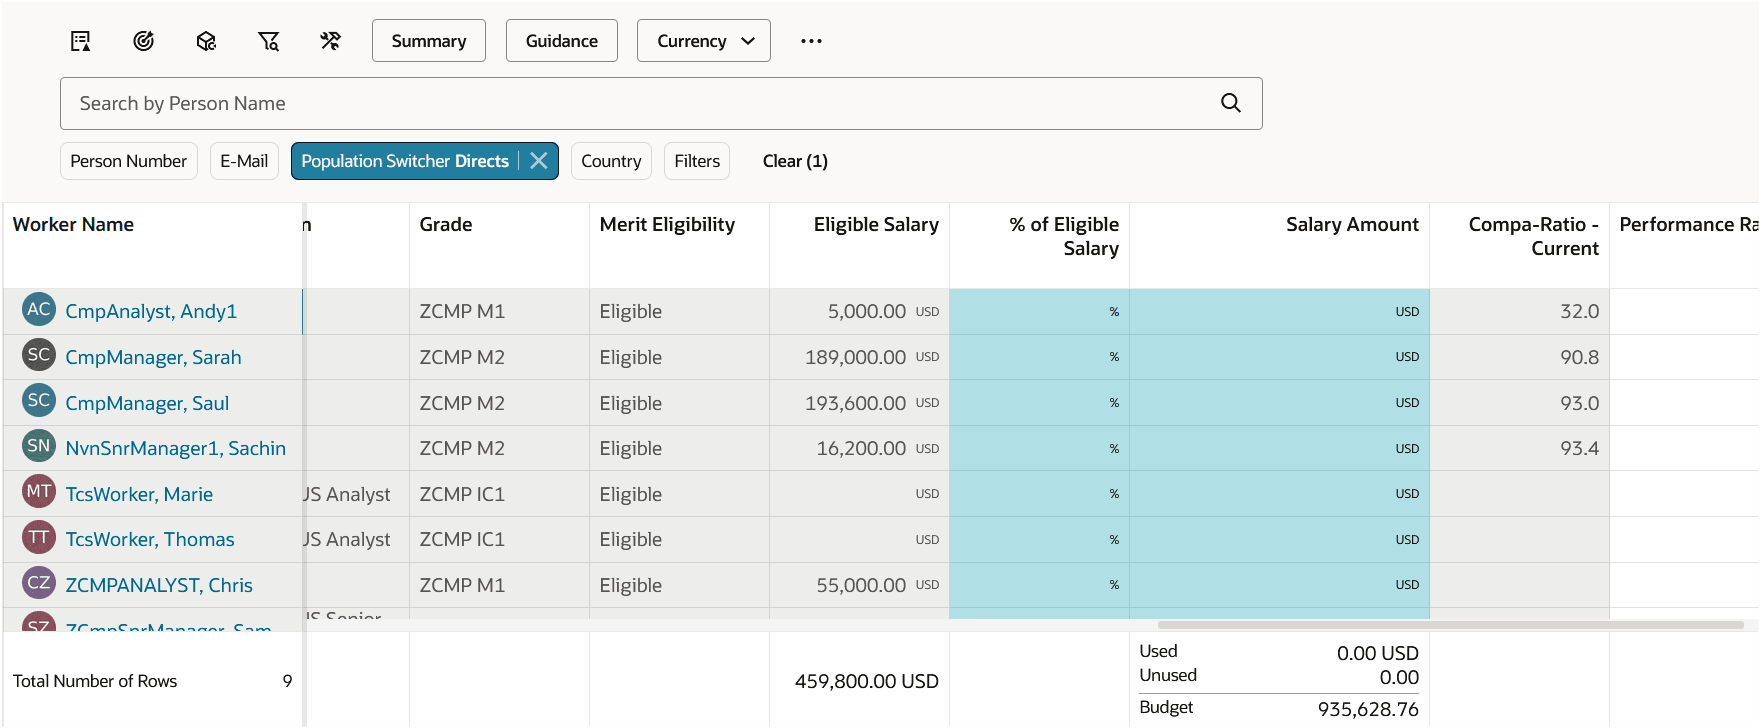
Worksheet View
When a manager views compensation history, a new tab will open that will allow them to access the Redwood Compensation History page for the person they selected.
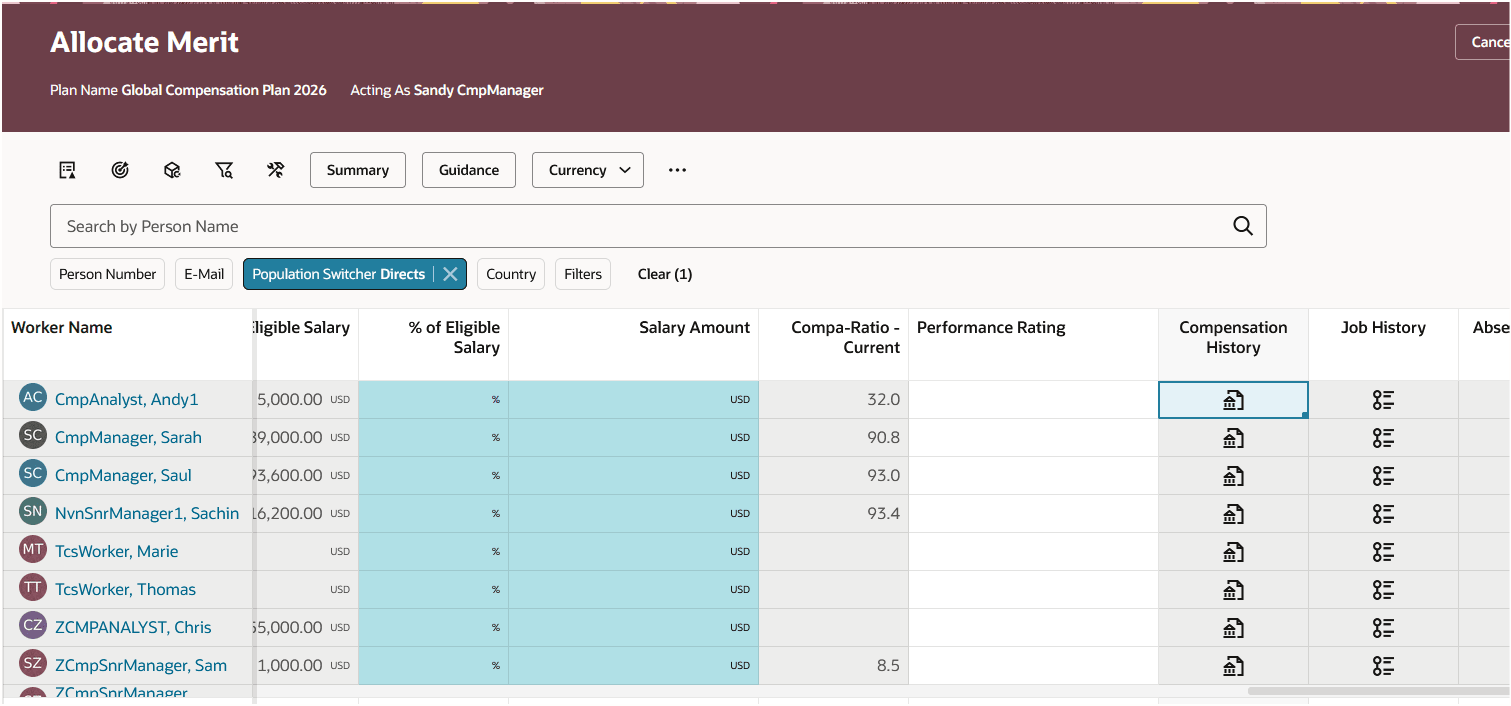
View Compensation History Icon
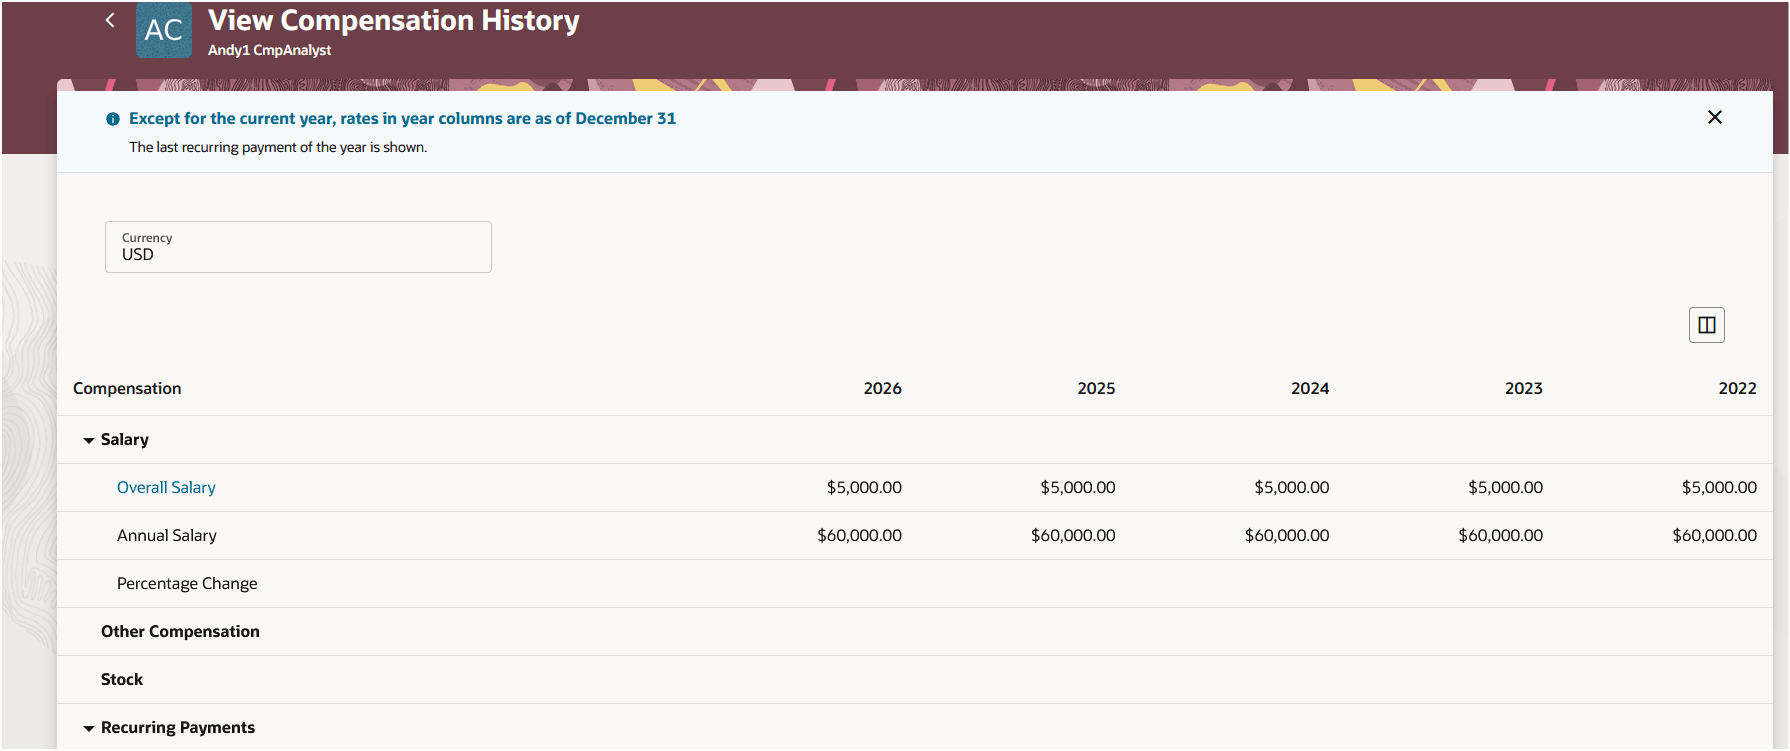
Redwood Compensation History
The Notes and Attachments can be accessed through the icon in the worksheet. We have migrated to using the HCM Notes feature instead of the SCM Notes. You will need to create new notes once the Redwood worksheet is enabled.
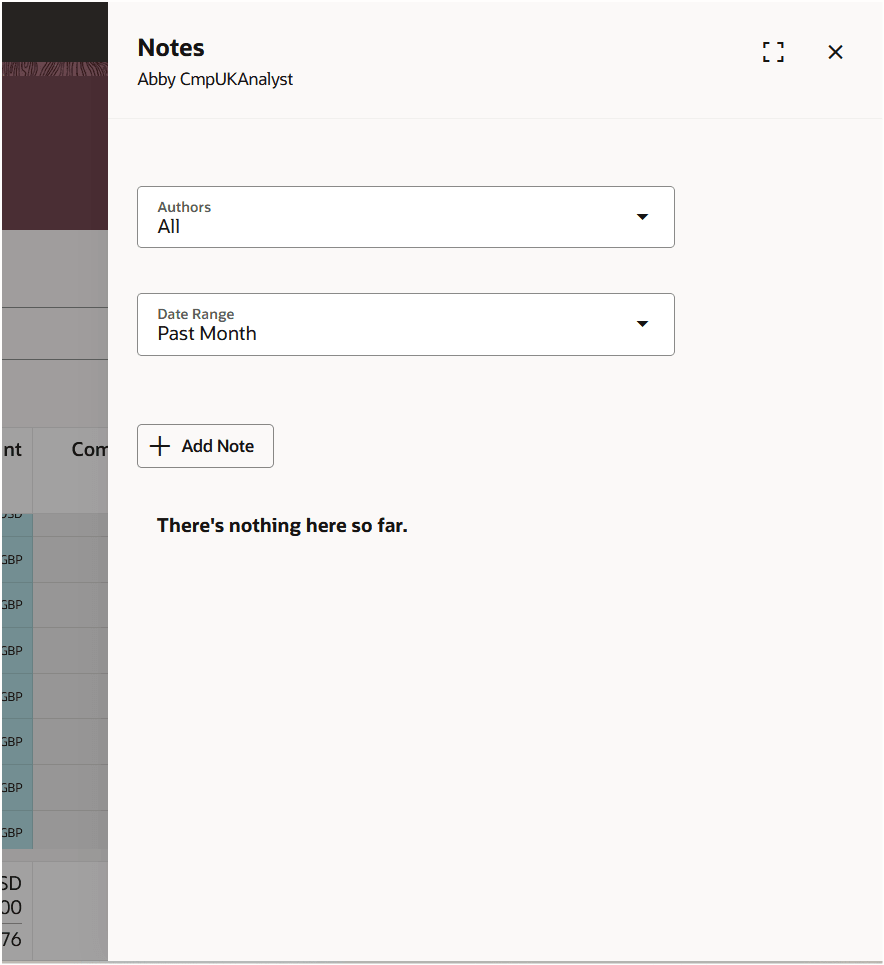
Notes Panel Drawer
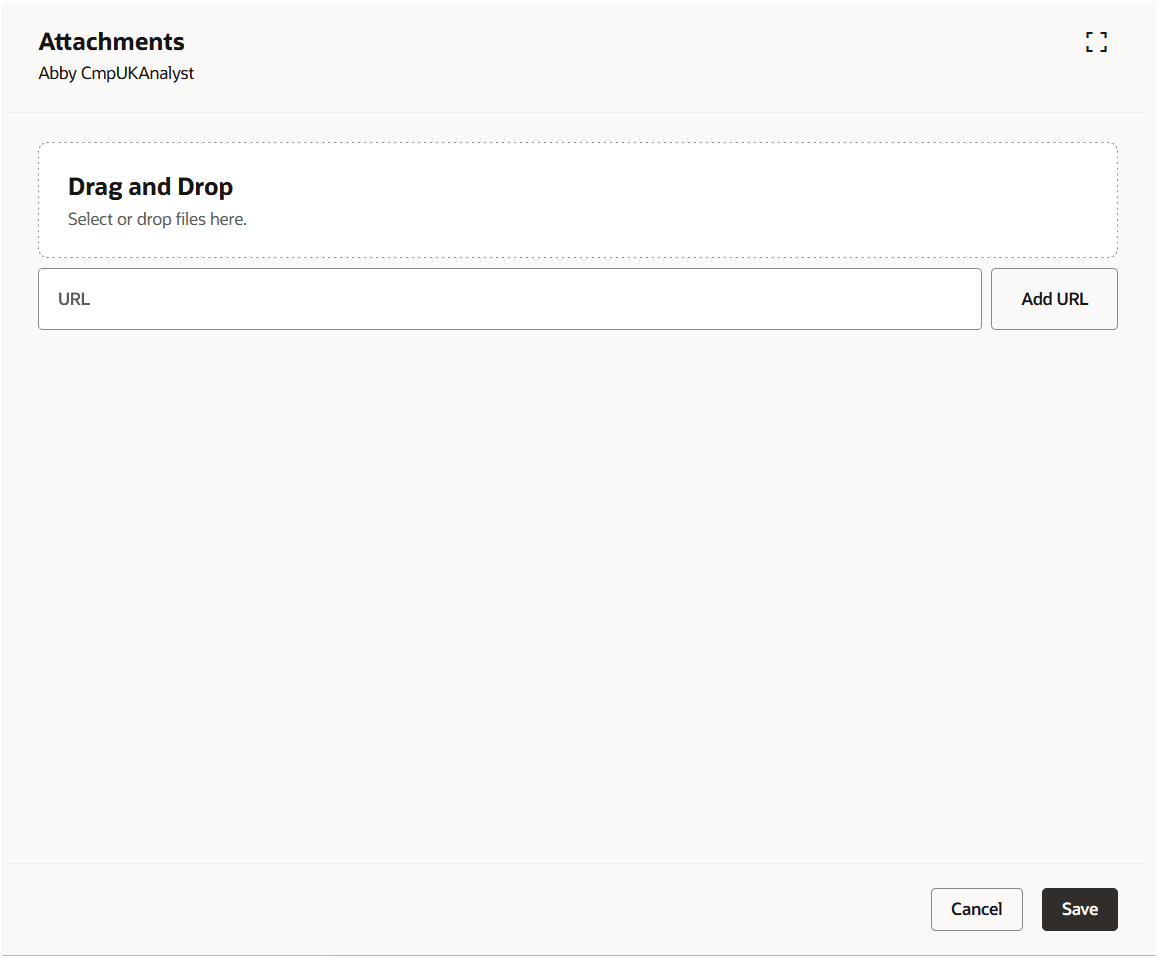
Attachments Panel Drawer
Assignment segments are now also accessible through a panel drawer.
Assignment Segments Icon
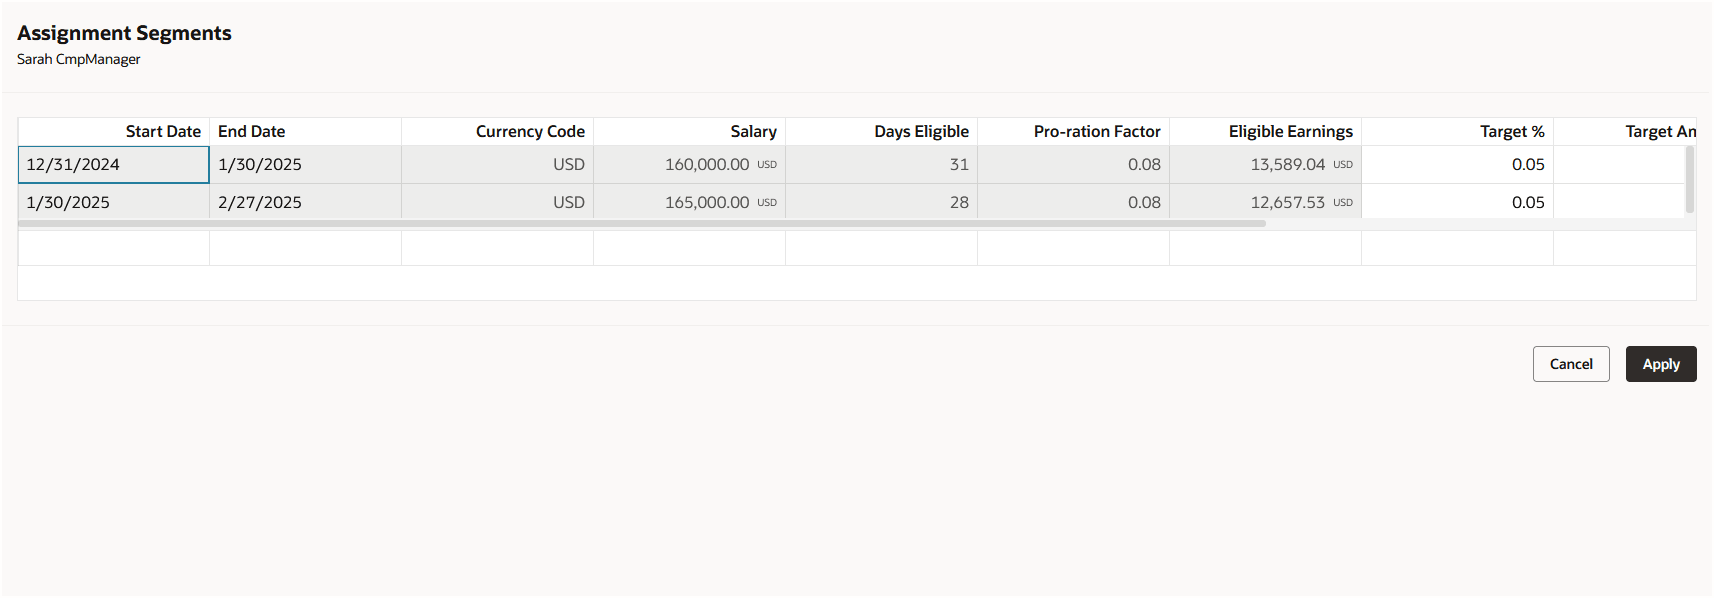
Assignment Segments Panel Drawer
Individual worker display (IWD) is still accessible by clicking on a person's name. Instead of tabs running along the side, there are tabs along the top. The single page layout still displays the same but the panel drawer scrolls to show all configured info. The ability to filter or switch currencies is not available in the Redwood IWD. Monetary amounts will show in worker local currency only.
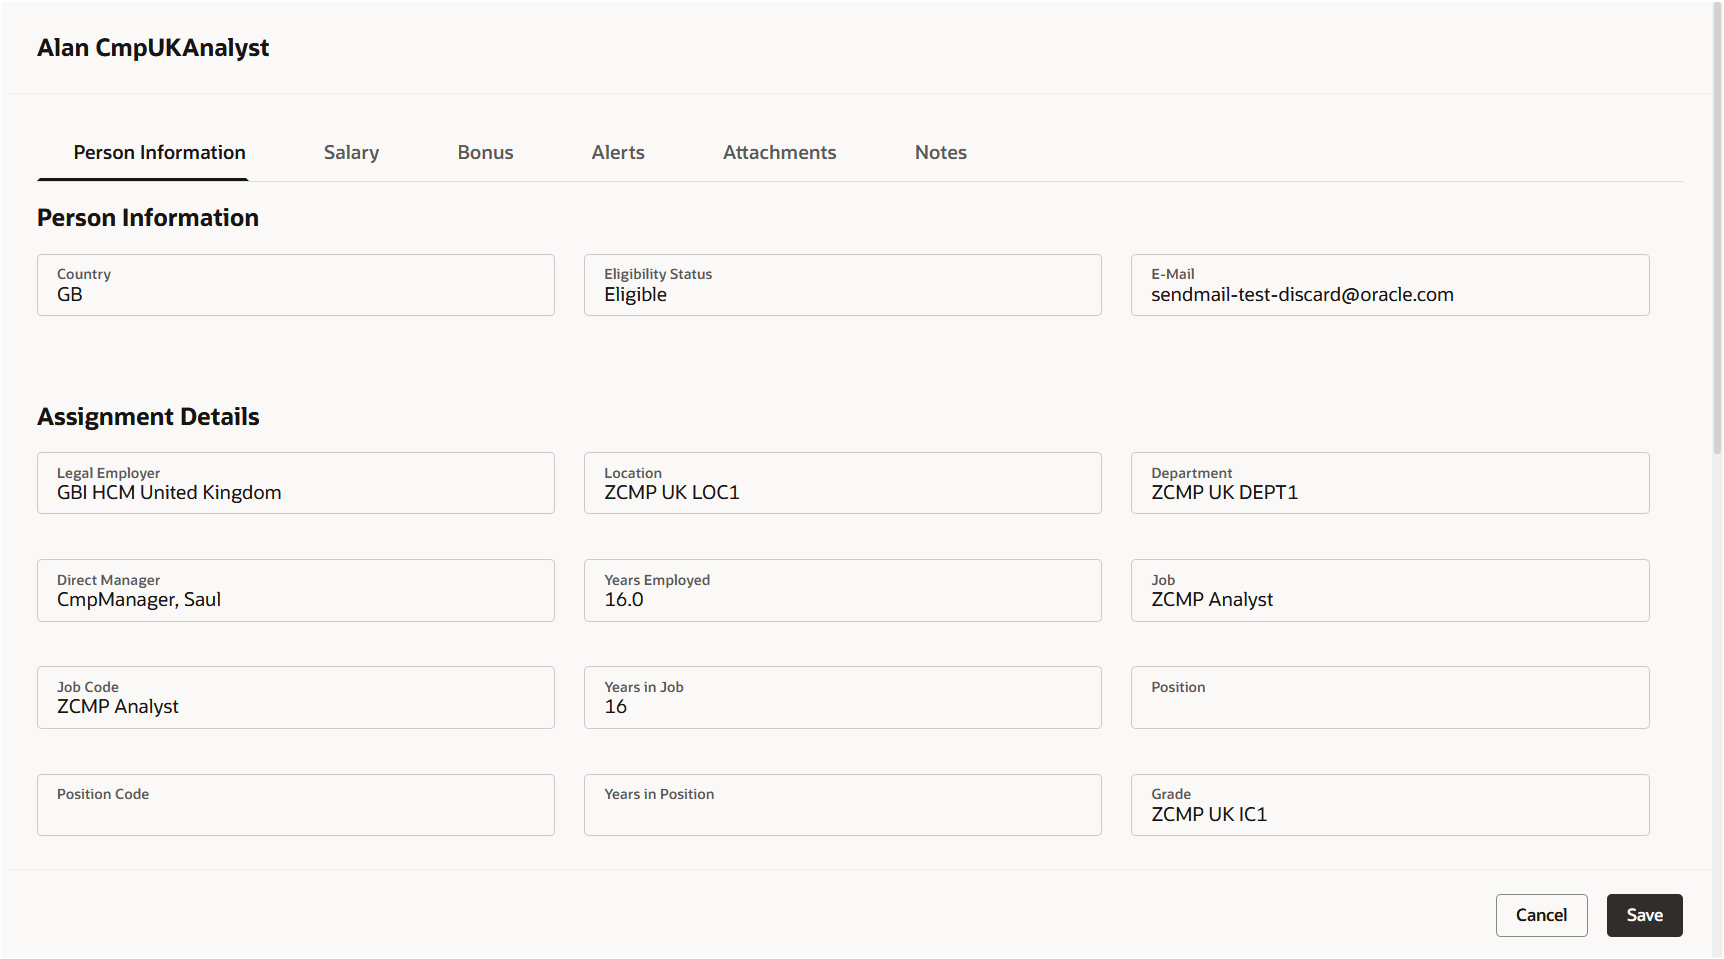
Individual Worker Display
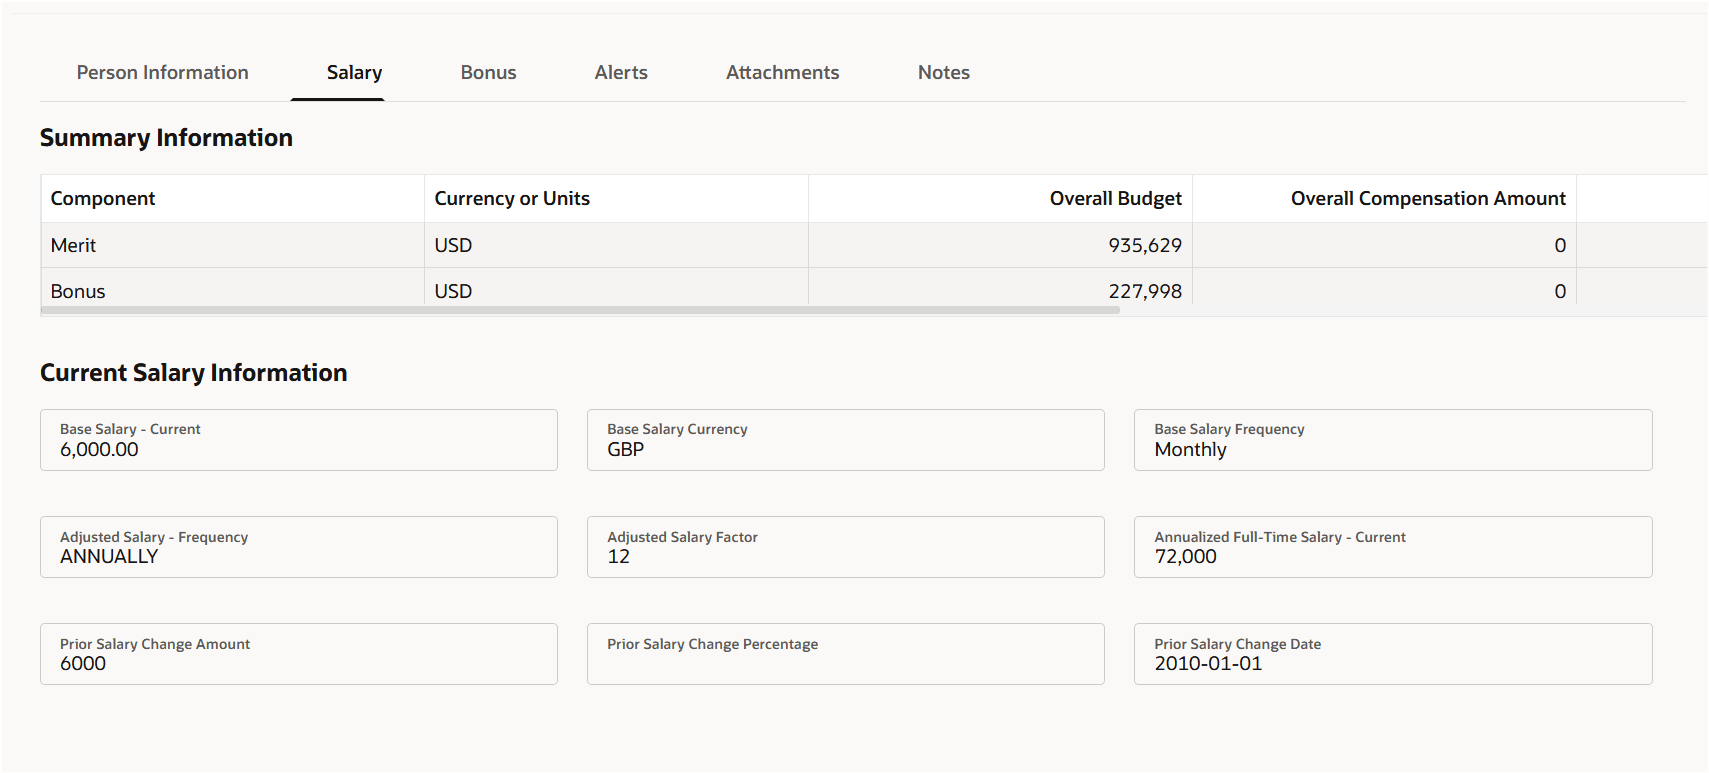
Individual Worker Display Tab Showing Summary Info
The ability to switch between worksheet tasks has been moved to a button on the upper right of the page.
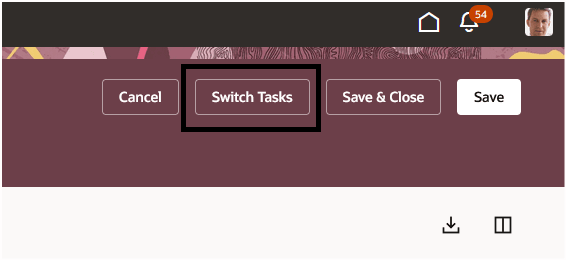
Switch Tasks Button
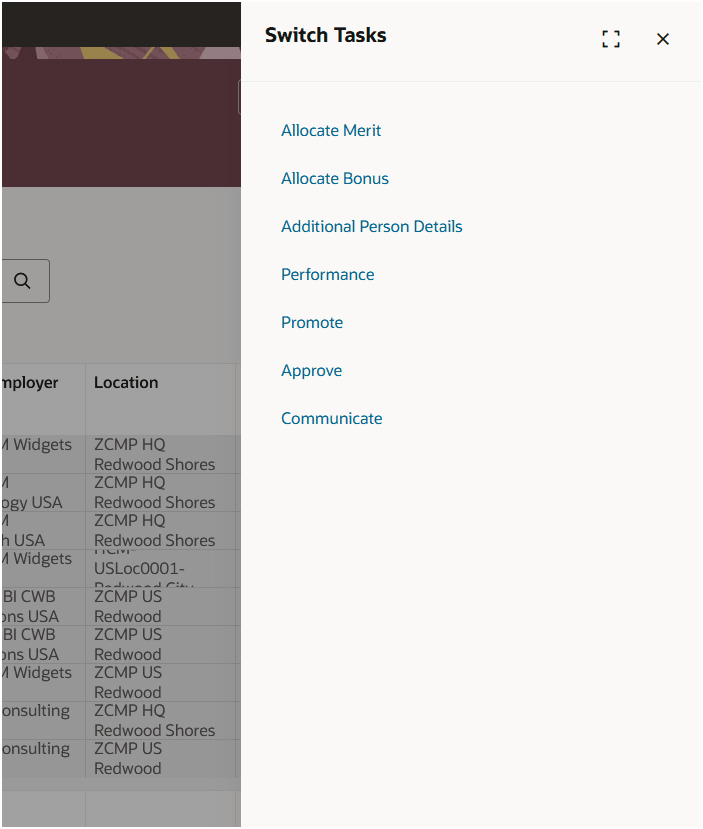
Switch Tasks Panel Drawer
With this re-created Redwood page, you continue your journey into Oracle Redwood solutions.
Steps to enable and configure
Use the Opt In UI to enable this feature. For instructions, refer to the Optional Uptake of New Features section of this document.
Offering: Compensation Management
We don't recommend enabling the Redwood Worksheet in your Production environment if you are either about to open your compensation cycle, or are mid-cycle.
Profile Options Needed to Enable Redwood Worksheets
| Profile Option Code | Profile Option Description | Default Value |
|---|---|---|
| ORA_HCM_VBCS_PWA_ENABLED | Enable VBCS Progressive Web Application User Interface | No |
| ORA_CMP_WORKFORCE_COMPENSATION_REDWOOD_ENABLED | Enable the redwood workforce compensation pages. | No |
| ORA_CMP_WFC_WORKSHEET_REDWOOD_ENABLED | Enable the redwood workforce compensation worksheet page. | No |
To revert to the non-Redwood page, set the site-level profile value to No for this profile option.
To configure a profile option, complete these steps in the Setup and Maintenance work area:
-
Search for and click the Manage Administrator Profile Values task.
-
Search for and select the profile option.
-
Set the Level to Site.
-
In the Profile Value field, select a value.
Tips and considerations
All worksheet types (Promotion, Performance, etc.) will have the same features described here. The ability to compare salary history will be available in a future release.