Logical Tables for Business-Friendly Data Modeling and Segmentation
In this release, Fusion Unity introduced Logical Tables, a new capability that allow users to combine data from multiple physical sources into unified, easy-to-understand entities that can be used directly in segmentation and other workflows.
With both list and diagram views, enhanced search and filtering, and self-service table creation, users can more easily explore relationships, manage data availability, and build segments using data structured around real business concepts rather than technical schemas.
Key capabilities:
- Access all system and custom logical tables in a centralized view
- Switch between views:
- List View to browse all logical tables
- Diagram View to visually explore entity relationships
- Quickly locate tables using:
- Search by name
- Filters for Status, Origin, and Category
- Manage table availability for segmentation:
- Select one or more tables using checkboxes
- Use Actions to hide or unhide tables
- Customize the page layout using column visibility controls
- View detailed table information, including:
- Attributes
- Constituent physical objects
- Relationships
- Sample data
- Create new logical tables directly from the landing page using the “+” button
Business Benefits:
- Simplifies complex data models into intuitive, business-aligned entities
- Reduces dependency on technical teams for data access and query creation
Steps to enable and configure
No steps are required to enable.
Tips and considerations
How to Start Using Logical Tables
Logical Tables let you bring data from multiple physical tables into one business-friendly view by defining the right joins.
- Go to Fusion home page and click the Logical Tables tile.
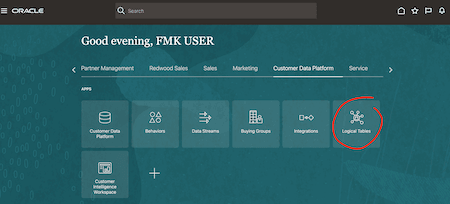
Select Logical Table
- On the Logical Tables landing page, click "+" to create a new logical table.
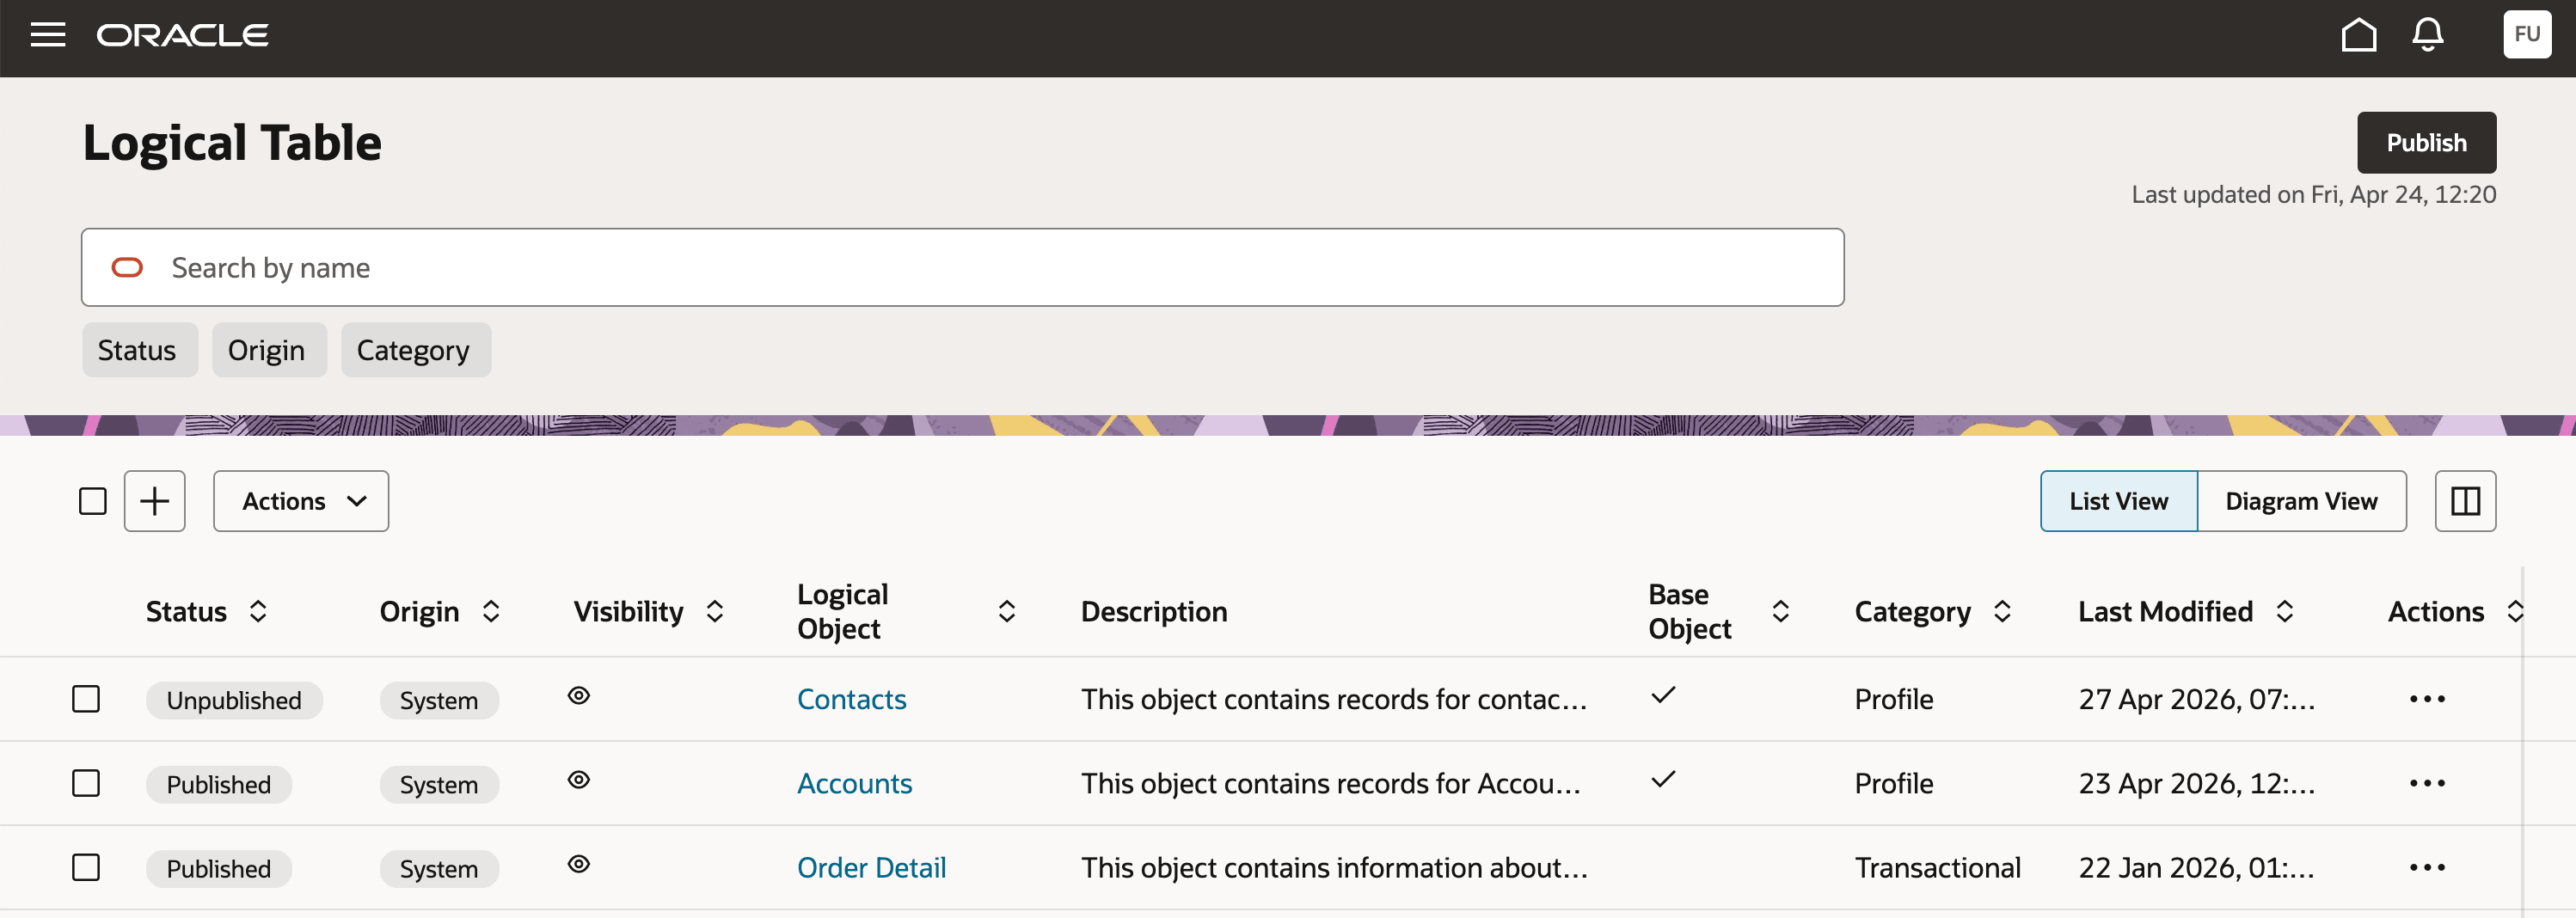
Logical Tables Landing Page
- Enter basic details: Name, Description, and Category. Click on continue.
- In the next screen, add your query definition based on your business requirement (including joins).
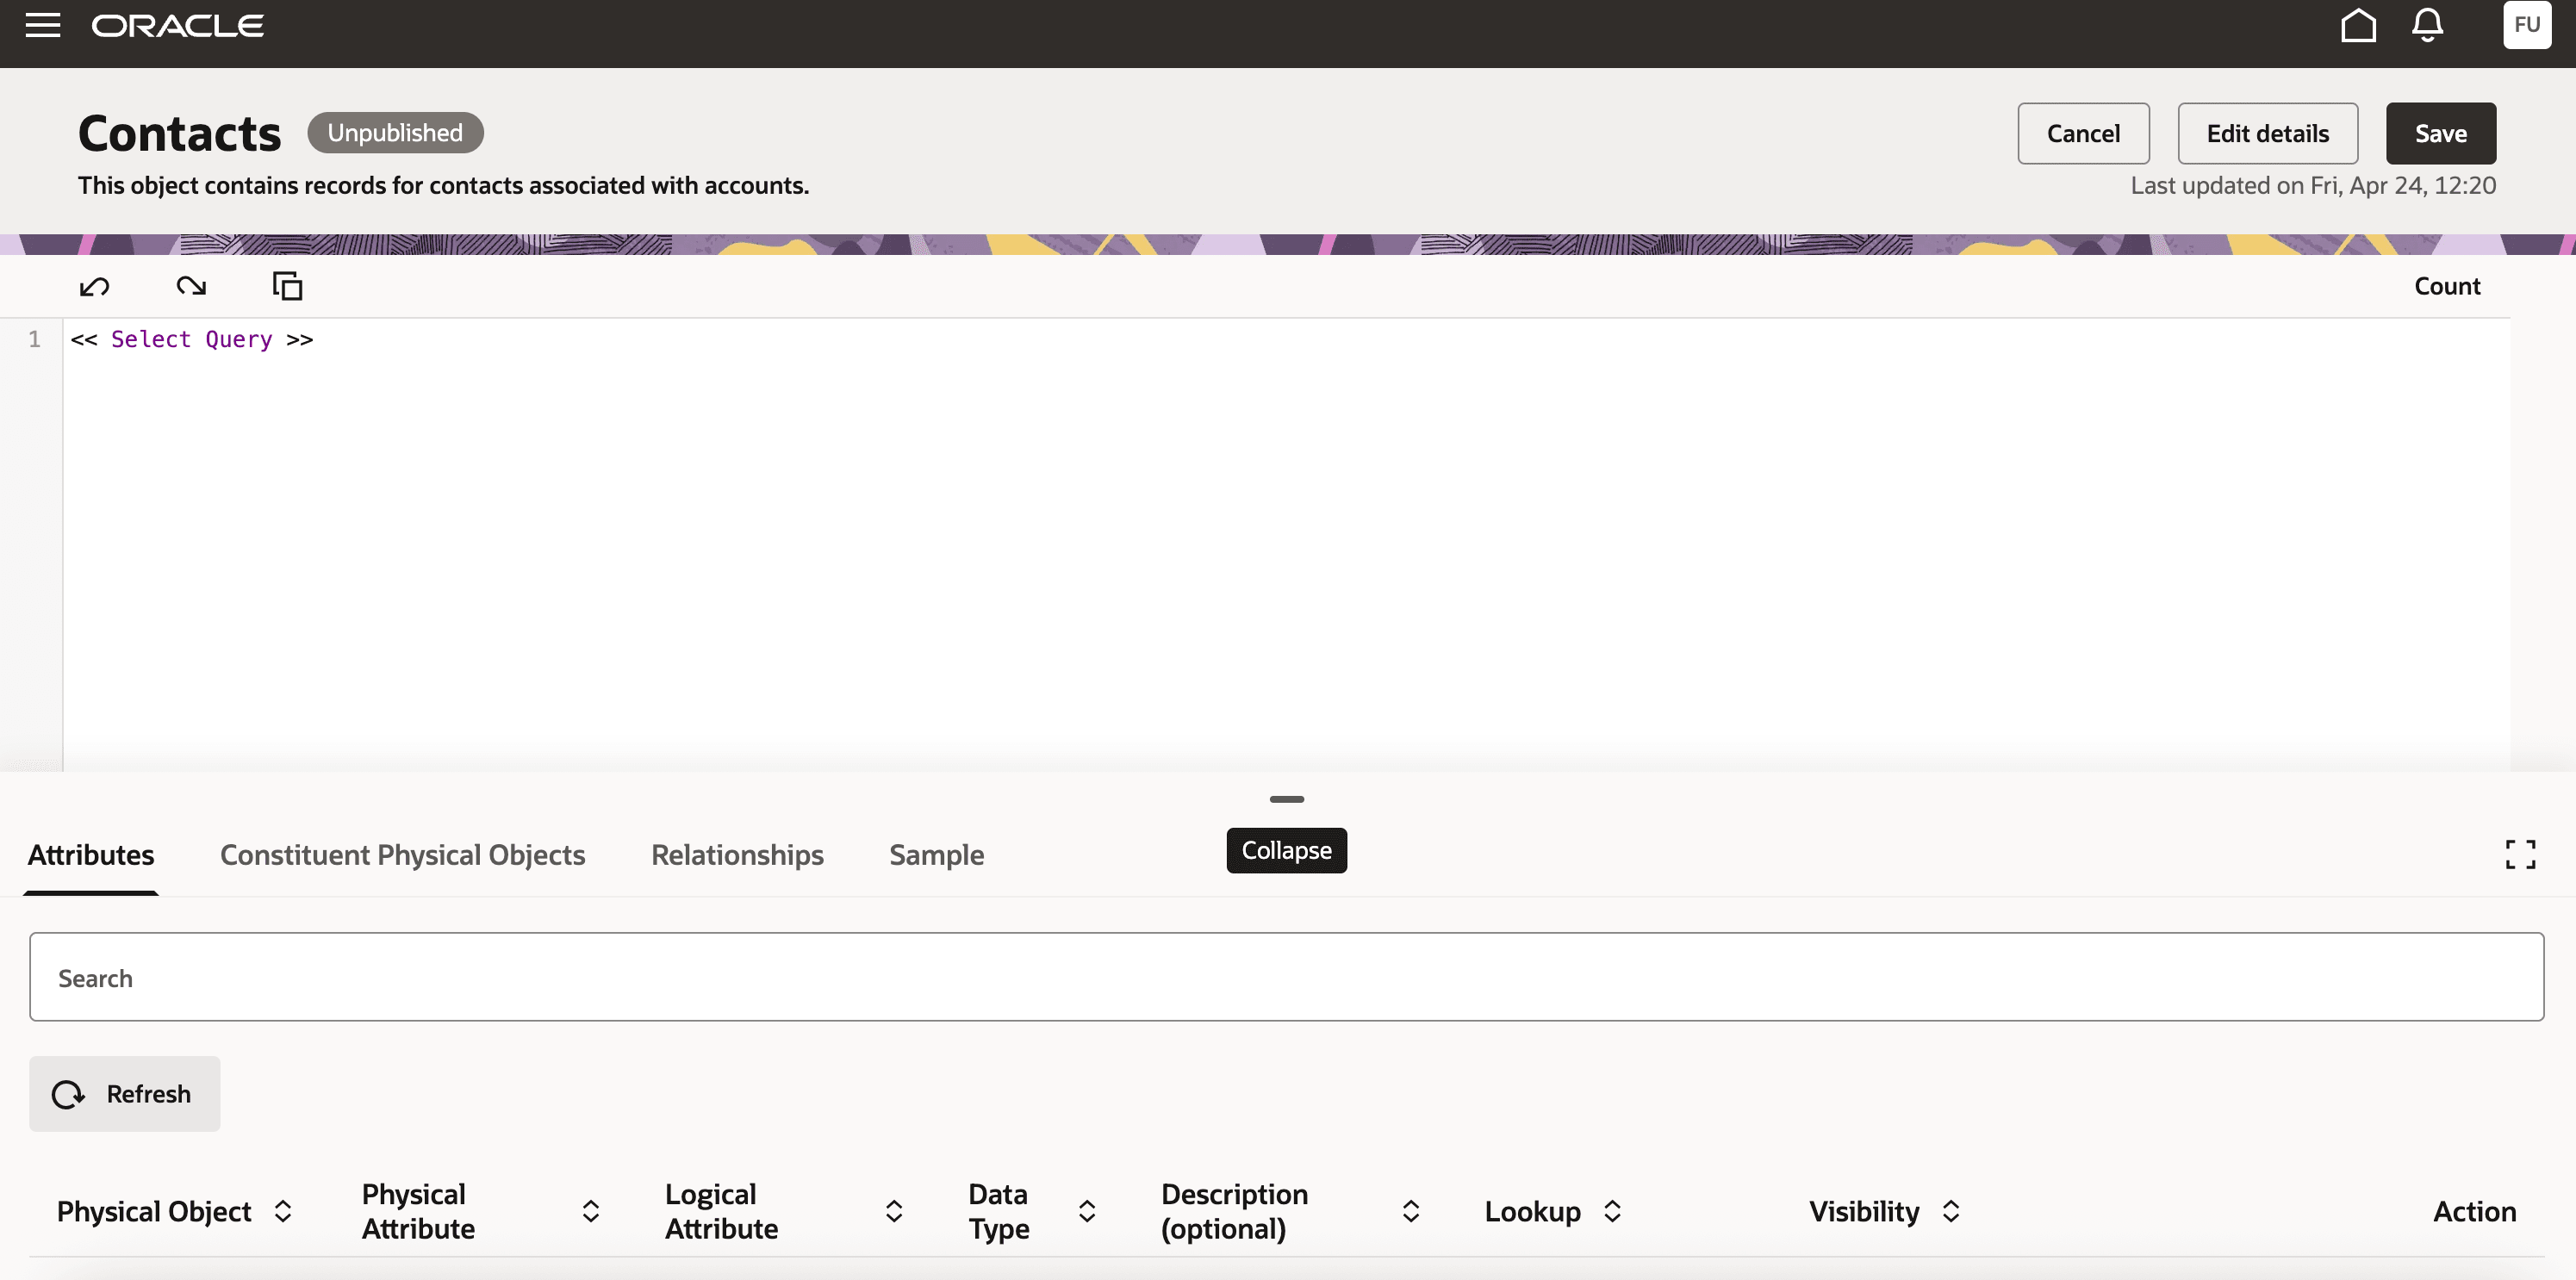
Add Query Definition
- Click Save to validate and store the logical table definition.
- Click Publish to make the logical table available for use.
- Once published, logical table/columns defined in the query are available for Segmentation purposes.
Tips and Considerations
- System based logical tables/relationships cannot be modified
- A table can be a Base object only when it has a master entity and is explicitly marked with the Base object flag.
- Query definitions must not have circular references
Access requirements
- Ensure users have appropriate roles:
- Customer Data Platform Administrator (ORA_FMK_CUSTOMER_DATA_PLATFORM_ADMINISTRATOR)
- Customer Data Platform Manager (ORA_FMK_CUSTOMER_DATA_PLATFORM_MANAGER)
- Customer Data Platform Specialist / Analyst