Payee Performance Insights Agent
The Payee Performance Insights Agent gives payees a conversational way to understand compensation performance. Participants and participant managers can ask questions about earnings, credits, goals, attainment, and performance trends from a single assistant experience.
The agent can return contextual answers and visual insights, such as graphs or summaries, to help users understand what is driving their compensation. This moves the payee experience beyond static reporting by giving users a guided way to explore results, ask follow-up questions, and identify opportunities to improve performance.
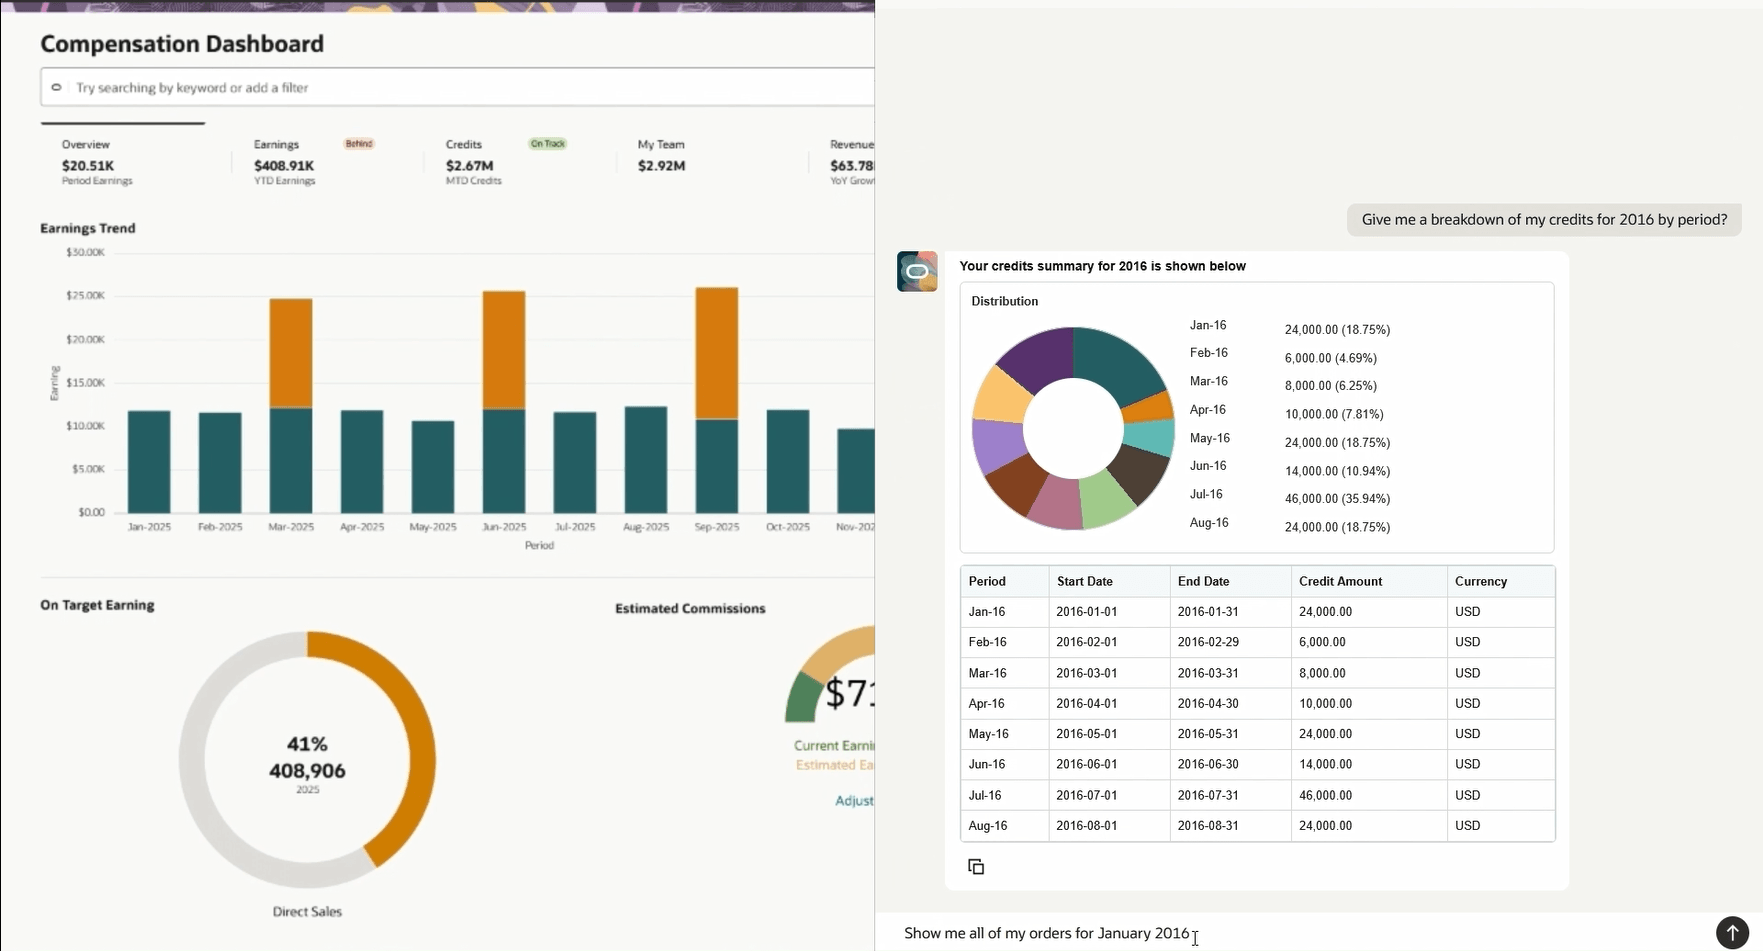
Payee Performance Insights Agent
- Clearer Compensation Understanding: Help payees understand earnings, credits, goals, and attainment without navigating multiple pages or reports.
- Better Performance Guidance: Give participants insight into what is affecting their compensation outcomes.
- Faster Self-Service Answers: Reduce dependency on compensation administrators for common payee questions.
- More Engaged Sellers: Help sellers connect performance activity to compensation results
Steps to enable and configure
- Navigate to AI Agent Studio and search for agents within Incentive Compensation.
- Create or copy the Payee Performance Insights Agent and give it a suffix as needed.
- Publish the agent.
- Create a publishable sandbox that includes Application Composer.
- Enter the sandbox.
- Open Application Composer.
- Open Smart Actions.
- Create a new Smart Action.
- Select Global Action.
- Provide a name for the action, such as Payee Performance Insights.
- Select Sales as the application.
- Select the parent object or Redwood page where the agent should be available.
- Set Action Type to Agent Team.
- Select the published agent team code.
- Leave the confirmation message blank unless a confirmation is required.
- Submit the action.
- Publish the sandbox.
Tips and considerations
- For first-time AI agent security setup for administrators, navigate to Setup and Maintenance.
- Open Manage Administrator Profile Options.
- Search for profile code ORA_ASE_SAS_INTEGRATION_ENABLED.
- Ensure the profile is set to Yes.
- Run Import Resource Application Security Data.
- Run Import User and Role Application Security Data.
- Navigate to Security Console.
- Create a new role and make sure Enable Permission Groups is selected.
- Add the function security policy Access Intelligent Agent Chat.
- In the role hierarchy, add Access Groups Enablement and Manage All Intelligent Agents.
- In Roles and Permission Groups, add Fai Genai Agent CX Administrator Duty.
- Assign the new role to the user, then sign out and sign in again.
Key resources
Video Tutorial on Enabling Security
Access requirements
- Participant or Participant Manager