Redwood: Use a Guided Journey Uptake in a Plan
A guided journey helps you complete tasks by walking you through key business processes. As an administrator, you can create a journey that includes helpful tools like tutorials, company policies, and best practices at the plan level. You can tailor each guided journey to the plan type. For example, one AI agent can guide you through supply planning, while another helps with the business process for demand management. Guided journeys support all types of tasks, including analytics, documents, and AI agents, so you have everything you need in one place.
Guided Journey Overview
Guided Journeys enable you to provide contextual guidance, such as tutorials, company policies, and best practices directly within an existing application page. Depending on how you set up the Guided Journey, you will see a banner with a carousel on your Supply Chain Planning work area page (if the guidance is configured at the page level). This carousel displays the tasks intended to guide you through your planning workflows. For the Supply Chain Planning work area, the recommendation is to enable guided journey at the page level. The Supply Chain Planning work area supports a separate guided journey for each plan type.
Supported Task Types in Guided Journeys
Guided Journey supports a wide range of task types to deliver effective guidance. They are:
- Video
- Manual Task
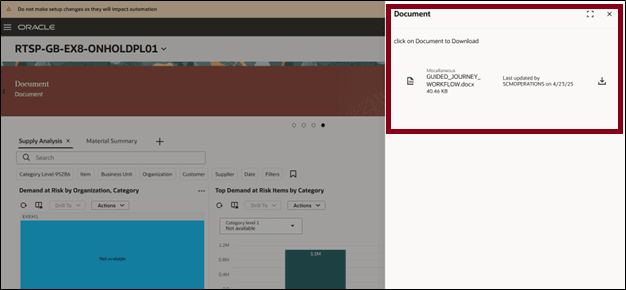
- Document
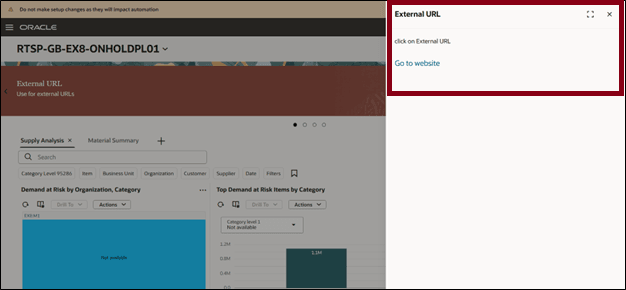
- External URL
- Embedded Learning
- Report
- Analytics
- Questionnaire
- AI Agent
How to Create a Task in Guided Journey
To create and configure a Guided Journey with tasks in the Supply Chain Planning work area.
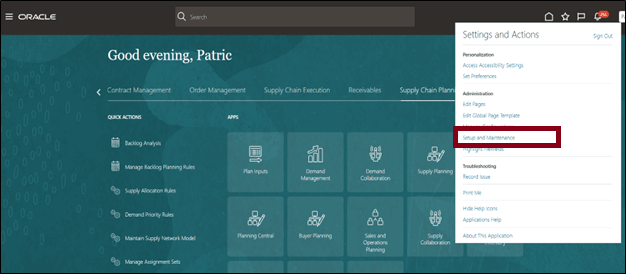
- Go to Setup and Maintenance.
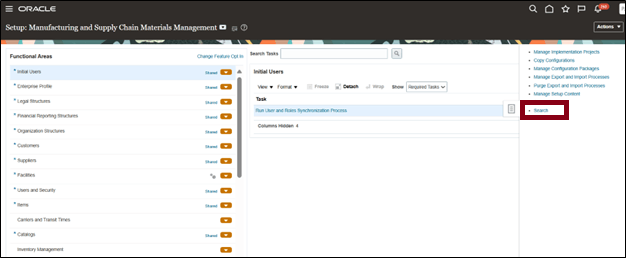
- Click the Tasks icon.
- In the Tasks pane, select Search.
- In the search box, type guided journeys.
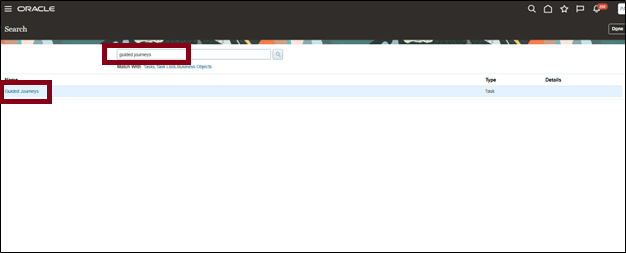
- Click the Guided Journeys link from the results.
The Guided Journey page opens that lists all the existing guided journeys.
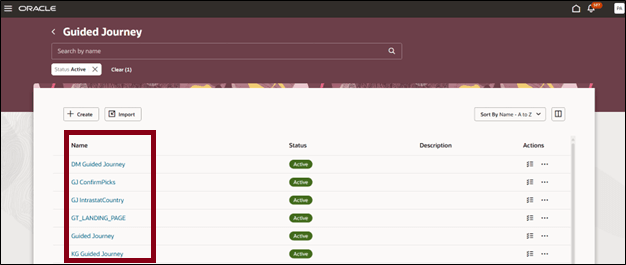
- Click Create to create a new guided journey.
The New Journey drawer opens.
- Select New.
- Enter a preferred name and code.
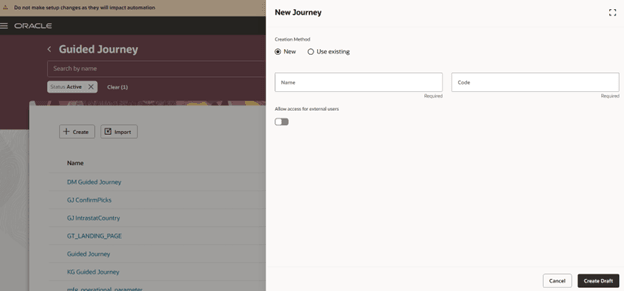
- Click Create Draft.
The Journey builder page opens. - Add or edit the basic details of the guided journey.
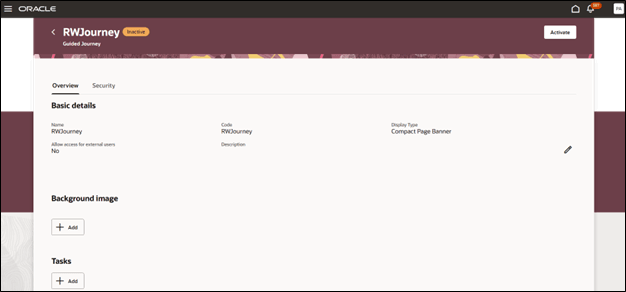
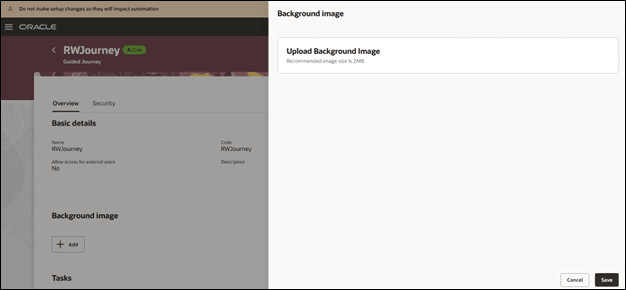
- (Optional)Click Add to upload a background image.
- Click Add to add a task to the journey.
- In the New Task drawer:
- Enter a unique task name
- Add description of the task.
- Set the status to Active or Inactive.
- Set the sequence of the task.
- Enter a code or click the field to auto populate a code.
- Add instructions for the task.
- Select a task type from:
- Agent
- Analytics
- Document
- Embedded Learning
- External URL
- Manual Task
- Questionnaire
- Report
- User Defined Content
- Video
- Enter the required details as per the task type. The options appear based on the type of task selected.
- Click Save.
All the tasks for this guided journey appear as a list. You can edit or delete the task using the respective icons displayed with the task.
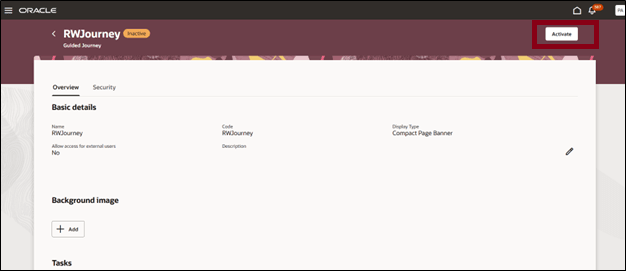
- Click Activate.
The Guided Journey is live and available on the associated application page.
Activating the Guided Journey
Publishing Guided Journey to Desired Pages
To make a Guided Journey visible, you need to associate it with specific application pages via Visual Builder Studio using the journey's task code. In this example, we’ll add the Guided Journey to the Supply Chain Planning work area, but follow the same steps planning pages such as Supply Plan Analysis, Material plan, and Planning Visualizations.
To publish the guided journey:
- Navigate to the Supply Chain Planning work area.
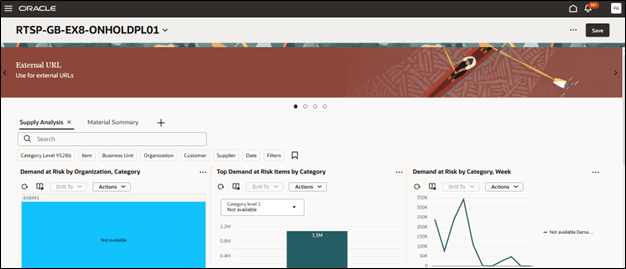
Supply Chain Planning work area
- On the planning page, select Edit Page in Visual Builder Studio.
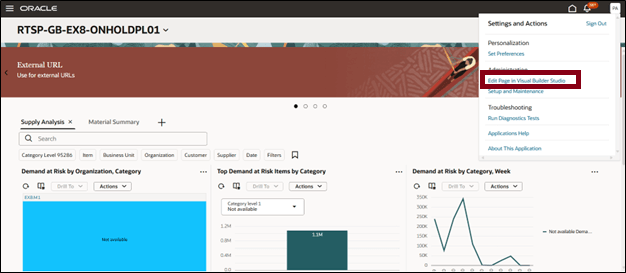
Edit Page in Visual Builder Studio Option
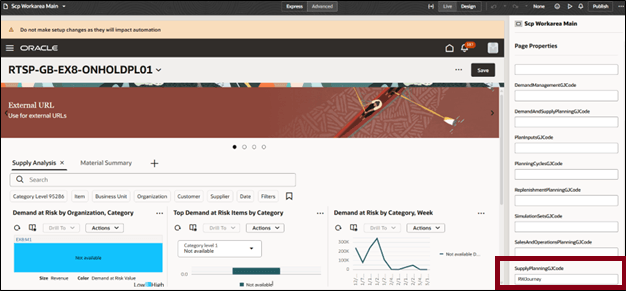
The page Scp Workarea Main has multiple properties related guided journeys, one for each plan type as shown in the following table:

Consider a supply plan.
- In VB Studio, locate the field labeled SupplyPlanningGJCode for Supply plans.
- You can attach a guided journey created to specific plan type based on the code fields selection.
- Enter the journey code of the Guided Journey you created earlier.
- Press Enter.
- Click the Publish icon to make your changes live.
- Close the VB Studio tab once publishing is complete.
Viewing the Guided Journey on the Application Page
- Go to the planning pages tab.
- Refresh the page if it was already open.
The Guided Journey banner should now be visible.
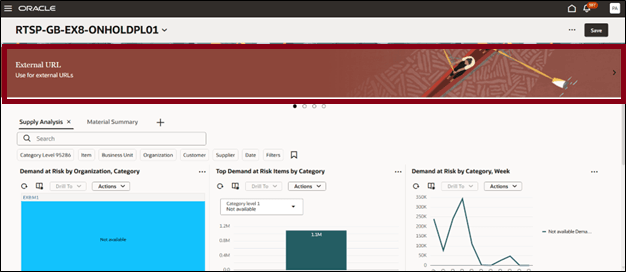
Use the Guided Journey banner
Click the banner to explore External URLs, attached documents, or any other configured tasks.
Steps to Enable
Use the Opt In UI to enable this feature. For instructions, refer to the Optional Uptake of New Features section of this document.
Offering: Supply Chain Planning
Tips And Considerations
If you want to use the Redwood: Use a Guided Journey Uptake in a Plan feature, then you must opt in to its parent feature: Replenishment Planning. If you’ve already opted in to this parent feature, then you don’t have to opt in again.
You must have access to edit the page in Visual Studio Builder for configuring the guided journey to the page.
Key Resources
Access Requirements
Users who are assigned a configured job role that contains these privileges can access this feature:
- Manage Intelligent Agent (HRC_MANAGE_AI_AGENT_PRIV)
- Access Intelligent Agent Chat (HRC_ACCESS_AI_AGENT_CHAT_PRIV)
Manage Intelligent Agent and Access Intelligent Agent Chat are new privileges.