Redwood: Quality Workflow Summary using Generative AI
You can now use the new Generate button in the Formatted Description attribute of a problem report or corrective action to generate the summary using Generative AI.
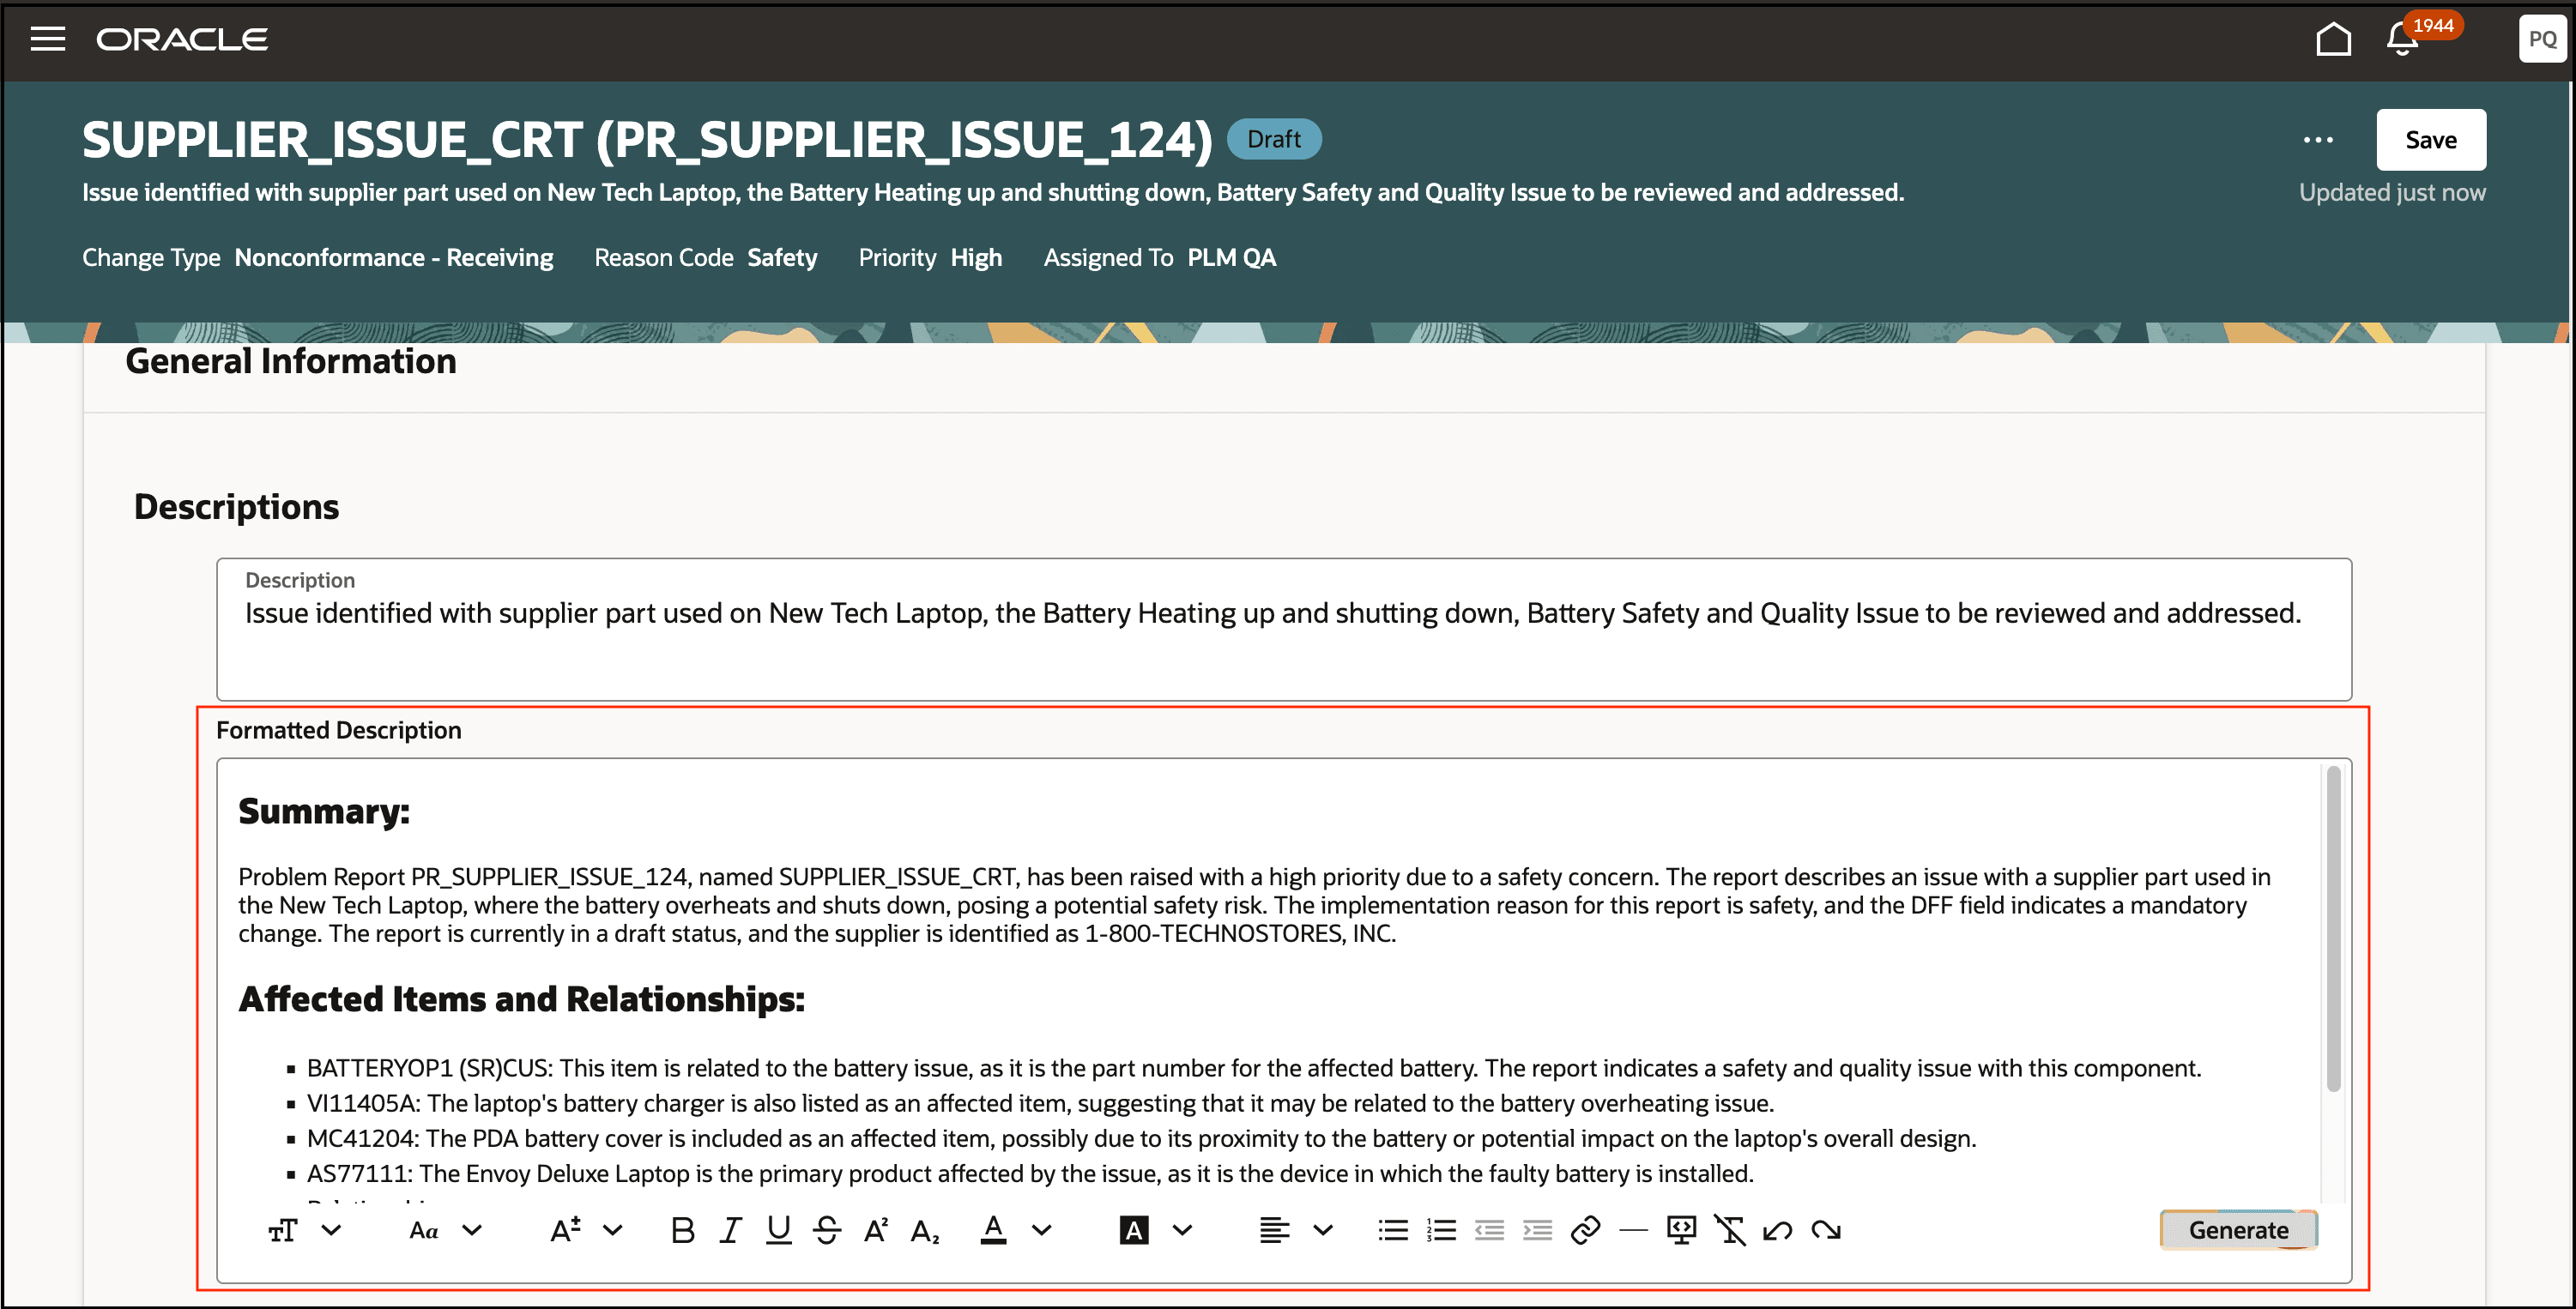
AI Generated Summary of a Problem Report
The Generative AI feature will author a summary based on the object description and additional details, including:
-
Main Attributes: Reason Code, Priority, Status
-
Configured attribute descriptive and extensible flexfields
A second section will include Affected Items and Relationships and include information from the following:
-
List of Affected Items
-
List of Relationships detailing Name, Type, Description, Relationship Type, and Relationship Status
The feature benefits your business by the following:
-
Quickly gain a comprehensive view of problem report or corrective action workflow details in a single location, eliminating the need to navigate and review multiple attributes or multiple related child entities to understand the full context of a problem report or corrective action.
-
Streamline and accelerate quality workflow processing through the automated generation of the quality summary within your workflows.
-
Edit the returned summary by selecting key workflow attributes that are most relevant to your enterprise, leveraging user-definable fields to enhance the interpretation and processing of quality workflows.
Steps to enable and configure
This feature is enabled by default. The following configuration steps are optional.
-
You can disable the Generate button by setting the predefined profile option ORA_ACA_WORKFLOW_GENAI_FORMAT_DESC to No.
-
You can update the predefined prompt using the following steps:
-
Navigate to AI Agent Studio.
-
Click the Agent Teams tab and click Published.
-
Search for Workflow Summary Assistant.
-
Download the agent to modify the json file.
-
In the json file, update the WorkflowCode and Name as preferred. You can also update the prompt value in GENERATEWORKFLOWSUMMARYDESCRIPTION node
-
Save the updated file and Import it in AI Agent Studio
-
Publish the imported agent.
-
-
You can replace the predefined agent using the following steps:
-
Navigate to Visual Builder Studio.
-
In Pages > Supply Chain Management (SCM) > Product Management > Workflow > select Workflow.
-
Click Configure Page Properties.
-
Click + to create a new rule.
-
In the new rule scroll down to (or locate) the Workflow Formatted Description Generation Code section.
-
Update with the new Agent Code then select Publish.
-
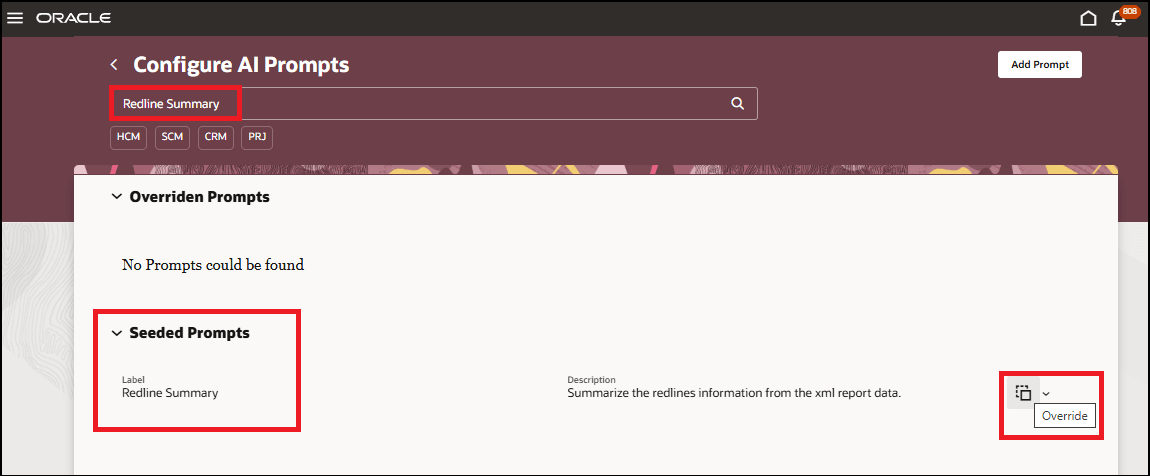
Create a New Rule to Replace a Predefined Agent
Tips and considerations
- You can run the Generative AI feature multiple times, if required, for the same workflow object to get the best desirable response from AI.
- Using sentence format in the Workflow Description field will provide a more accurate summary.
- Using descriptive and extensible flexfield attributes with meaningful names and values will provide a more detailed summary.
- Response time of the prompt will depend on the number of attributes, including descriptive and extensible flexfields, number of affected items, and redlines.
- When you manually enter values in the Formatted Description field while editing a workflow object and then click Generate, your existing values will be replaced with AI-generated values. However, you can still revert to the previous values by clicking Cancel on the section edit.
Key resources
- Oracle Fusion Cloud SCM Using Product Development guide, available on the Oracle Help Center.
- Oracle Fusion Cloud SCM Using Product Master Data Management Guide, available on the Oracle Help Center.
Access requirements
Users who are assigned configured job roles that contain these privileges can access this feature:
- To edit workflows in the new interface:
You should have Monitor Product Management Workflow Objects (ACA_MONITOR_PRODUCT_MANAGEMENT_WORFLOW_OBJECTS_PRIV) and one of the following privileges:
- For change orders:
- Manage Change Orders (ACA_MANAGE_CHANGE_ORDERS_PRIV)
- For change requests:
- Manage Change Requests (ACA_MANAGE_CHANGE_REQUESTS_PRIV)
- For problem reports:
- Manage Problem Report (ACA_MANAGE_PROBLEM_REPORT_PRIV)
- For corrective actions:
- Manage Corrective Action (ACA_MANAGE_CORRECTIVE_ACTION_PRIV)
- Manage Corrective Action (ACA_MANAGE_CORRECTIVE_ACTION_PRIV)
- For change orders:
- To override a prompt you need the HCM Experience Design Studio (HRC_ACCESS_HCM_TRANSACTION_CONFIGURATOR) privilege
These privileges were available prior to this update.