Ability to configure screen pop pages for chat or phone calls
While working in the Service Center console, the application can be configured to pop up one or multiple pages when accepting a chat or call. Based on the chat or call context, a default navigation has been provided, which can be overridden using Visual Builder Studio and can set specific field values as needed.
Automatically display relevant Service Center pages to an agent on acceptance of a chat or call.
Steps to Enable
Prerequisites & Setting up a project for ScreenPop
- Login to Service center with agent having VB studio access
- Click on Edit Page in Visual Builder
- choose the existing project or create a new one
- A project can be created by giving Project name (Optional: different members can be added for collaboration)
- After clicking on create the project and workspace will be created
- Once the project creation complete VB Studio will open
Steps to enable/disable Screen Pop with agent console:
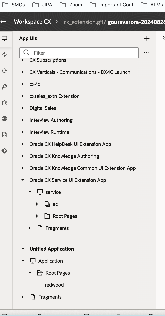
- To enable/disable Screen pop with agent console we need to make changes in service application, enabling or disabling screen pop with agent console is controlled by a constant, to navigate to service we need to open APP UIs, which can be viewed by clicking Icon #1 in left side menu.
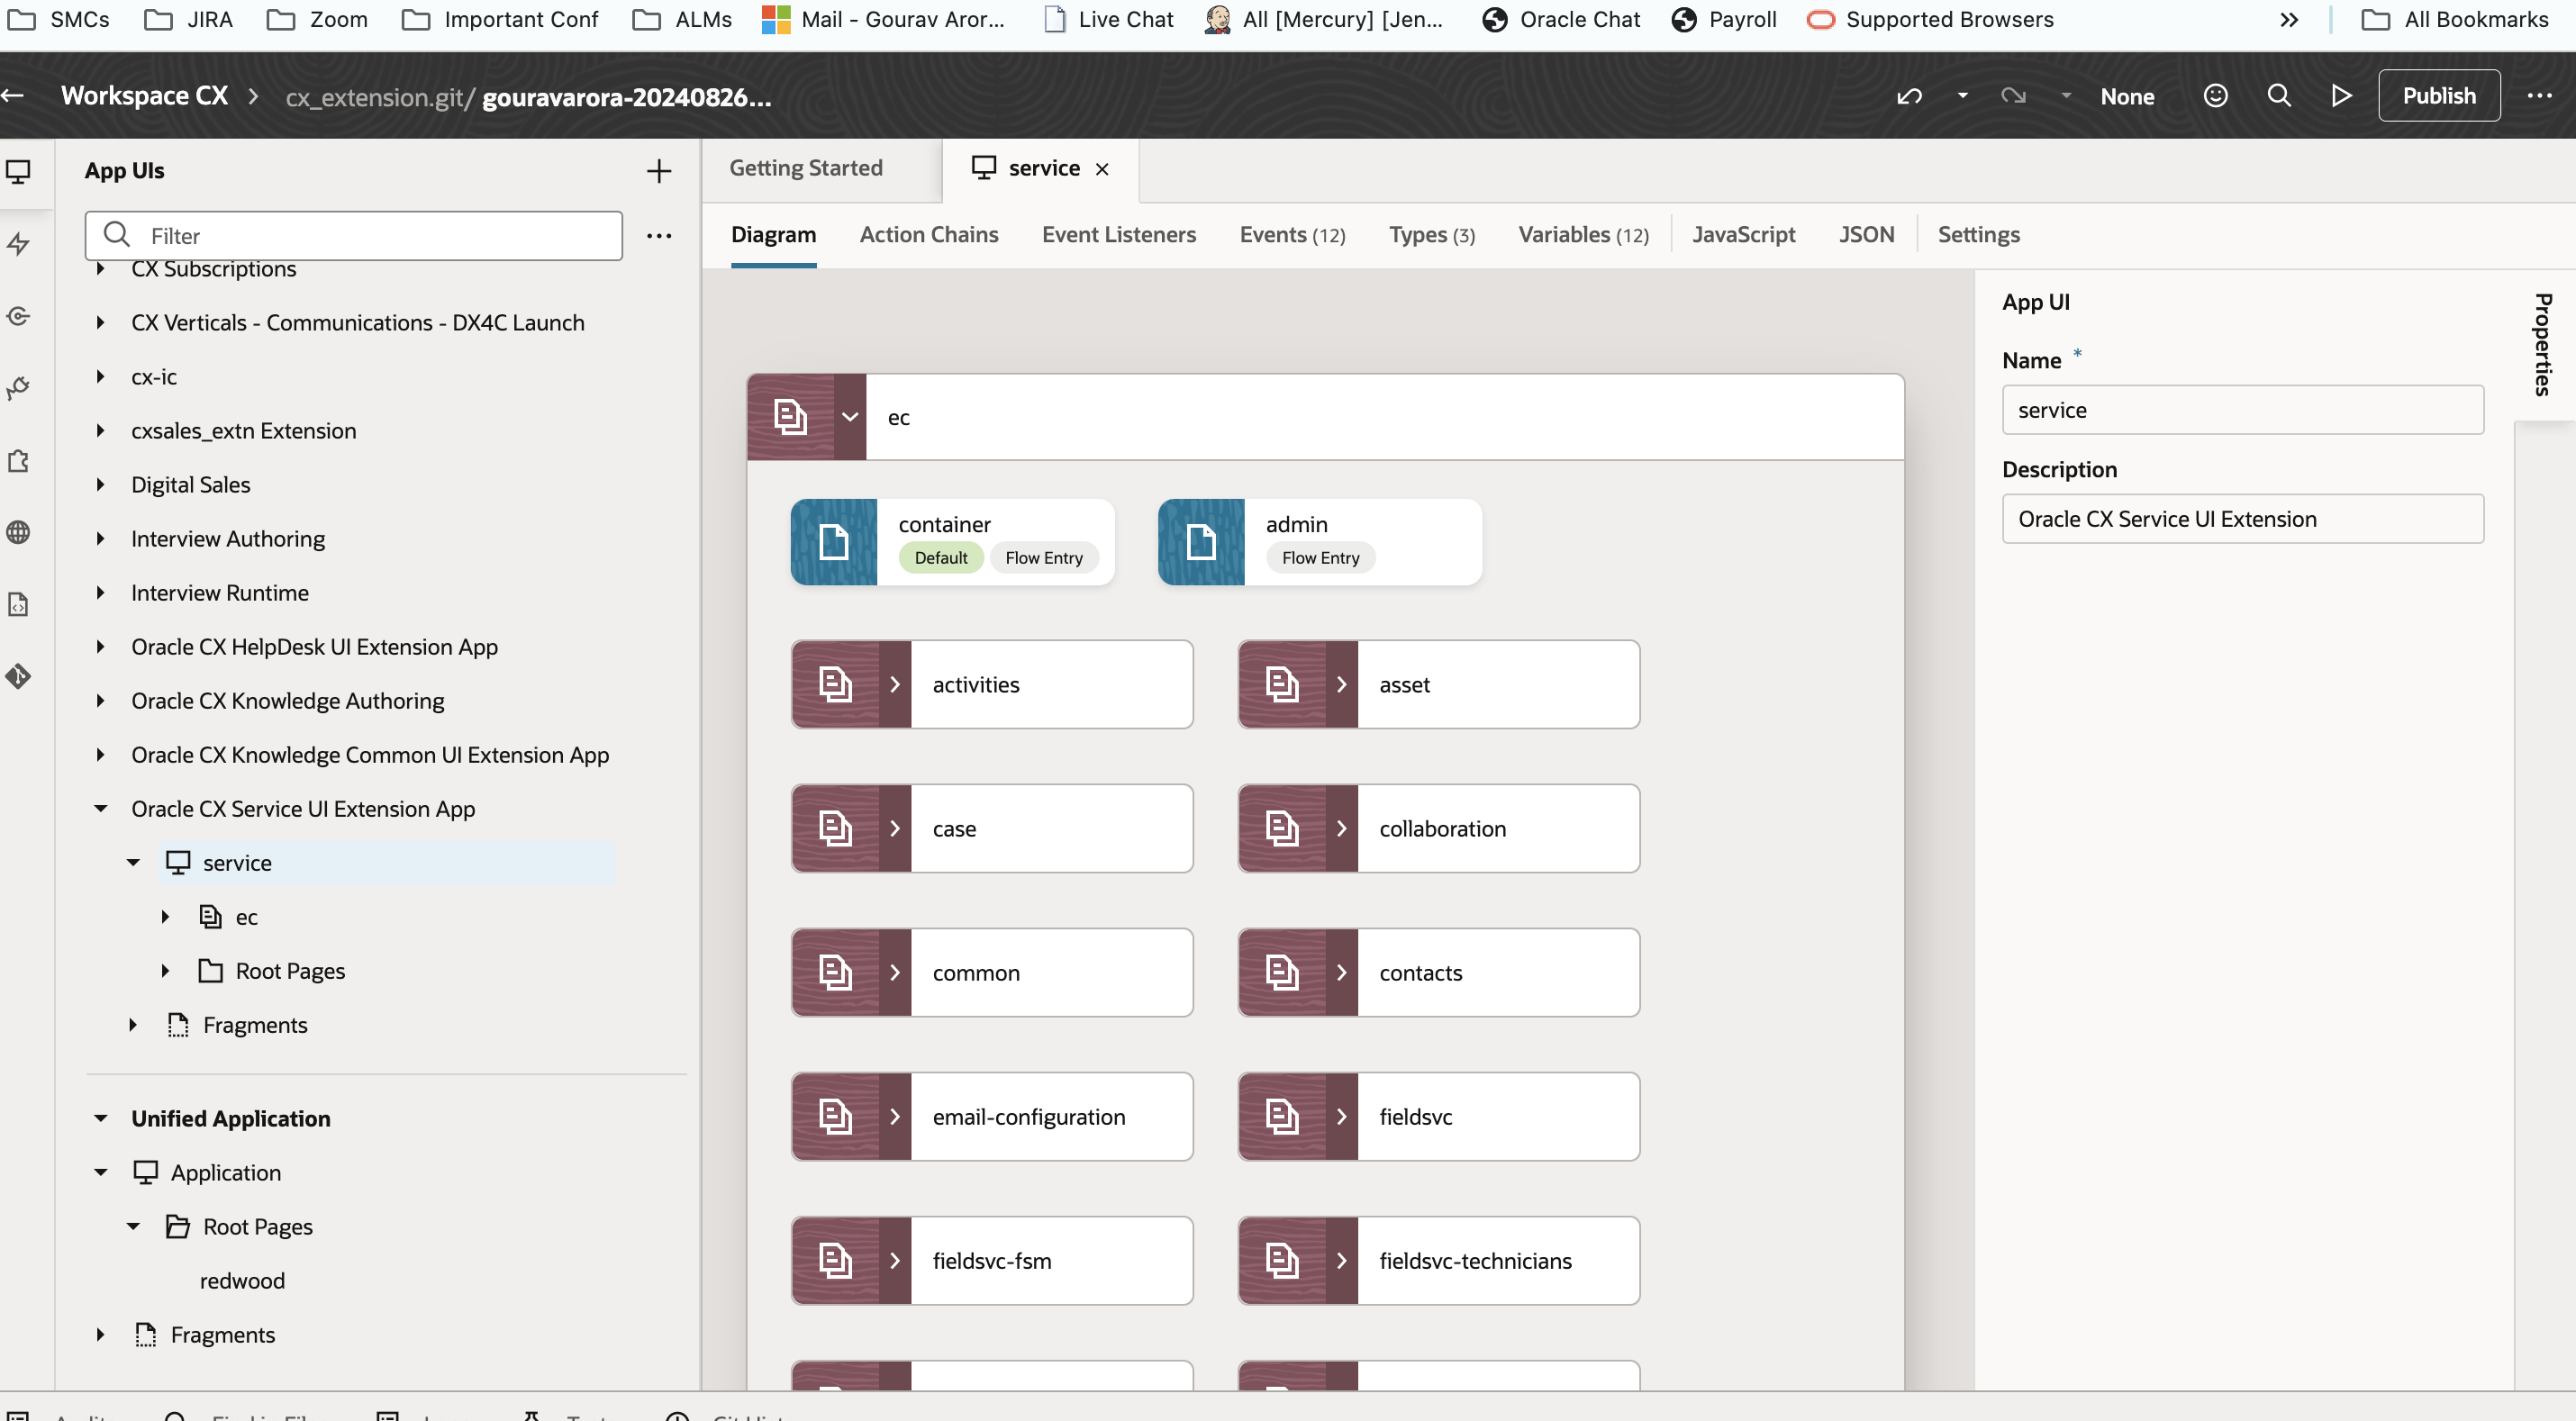
- Choose Oracle CX Service UI Extension App > Service
- On choosing Service, service page will open in right pane.
- Go to variables tab to modify enableScreenPops variable
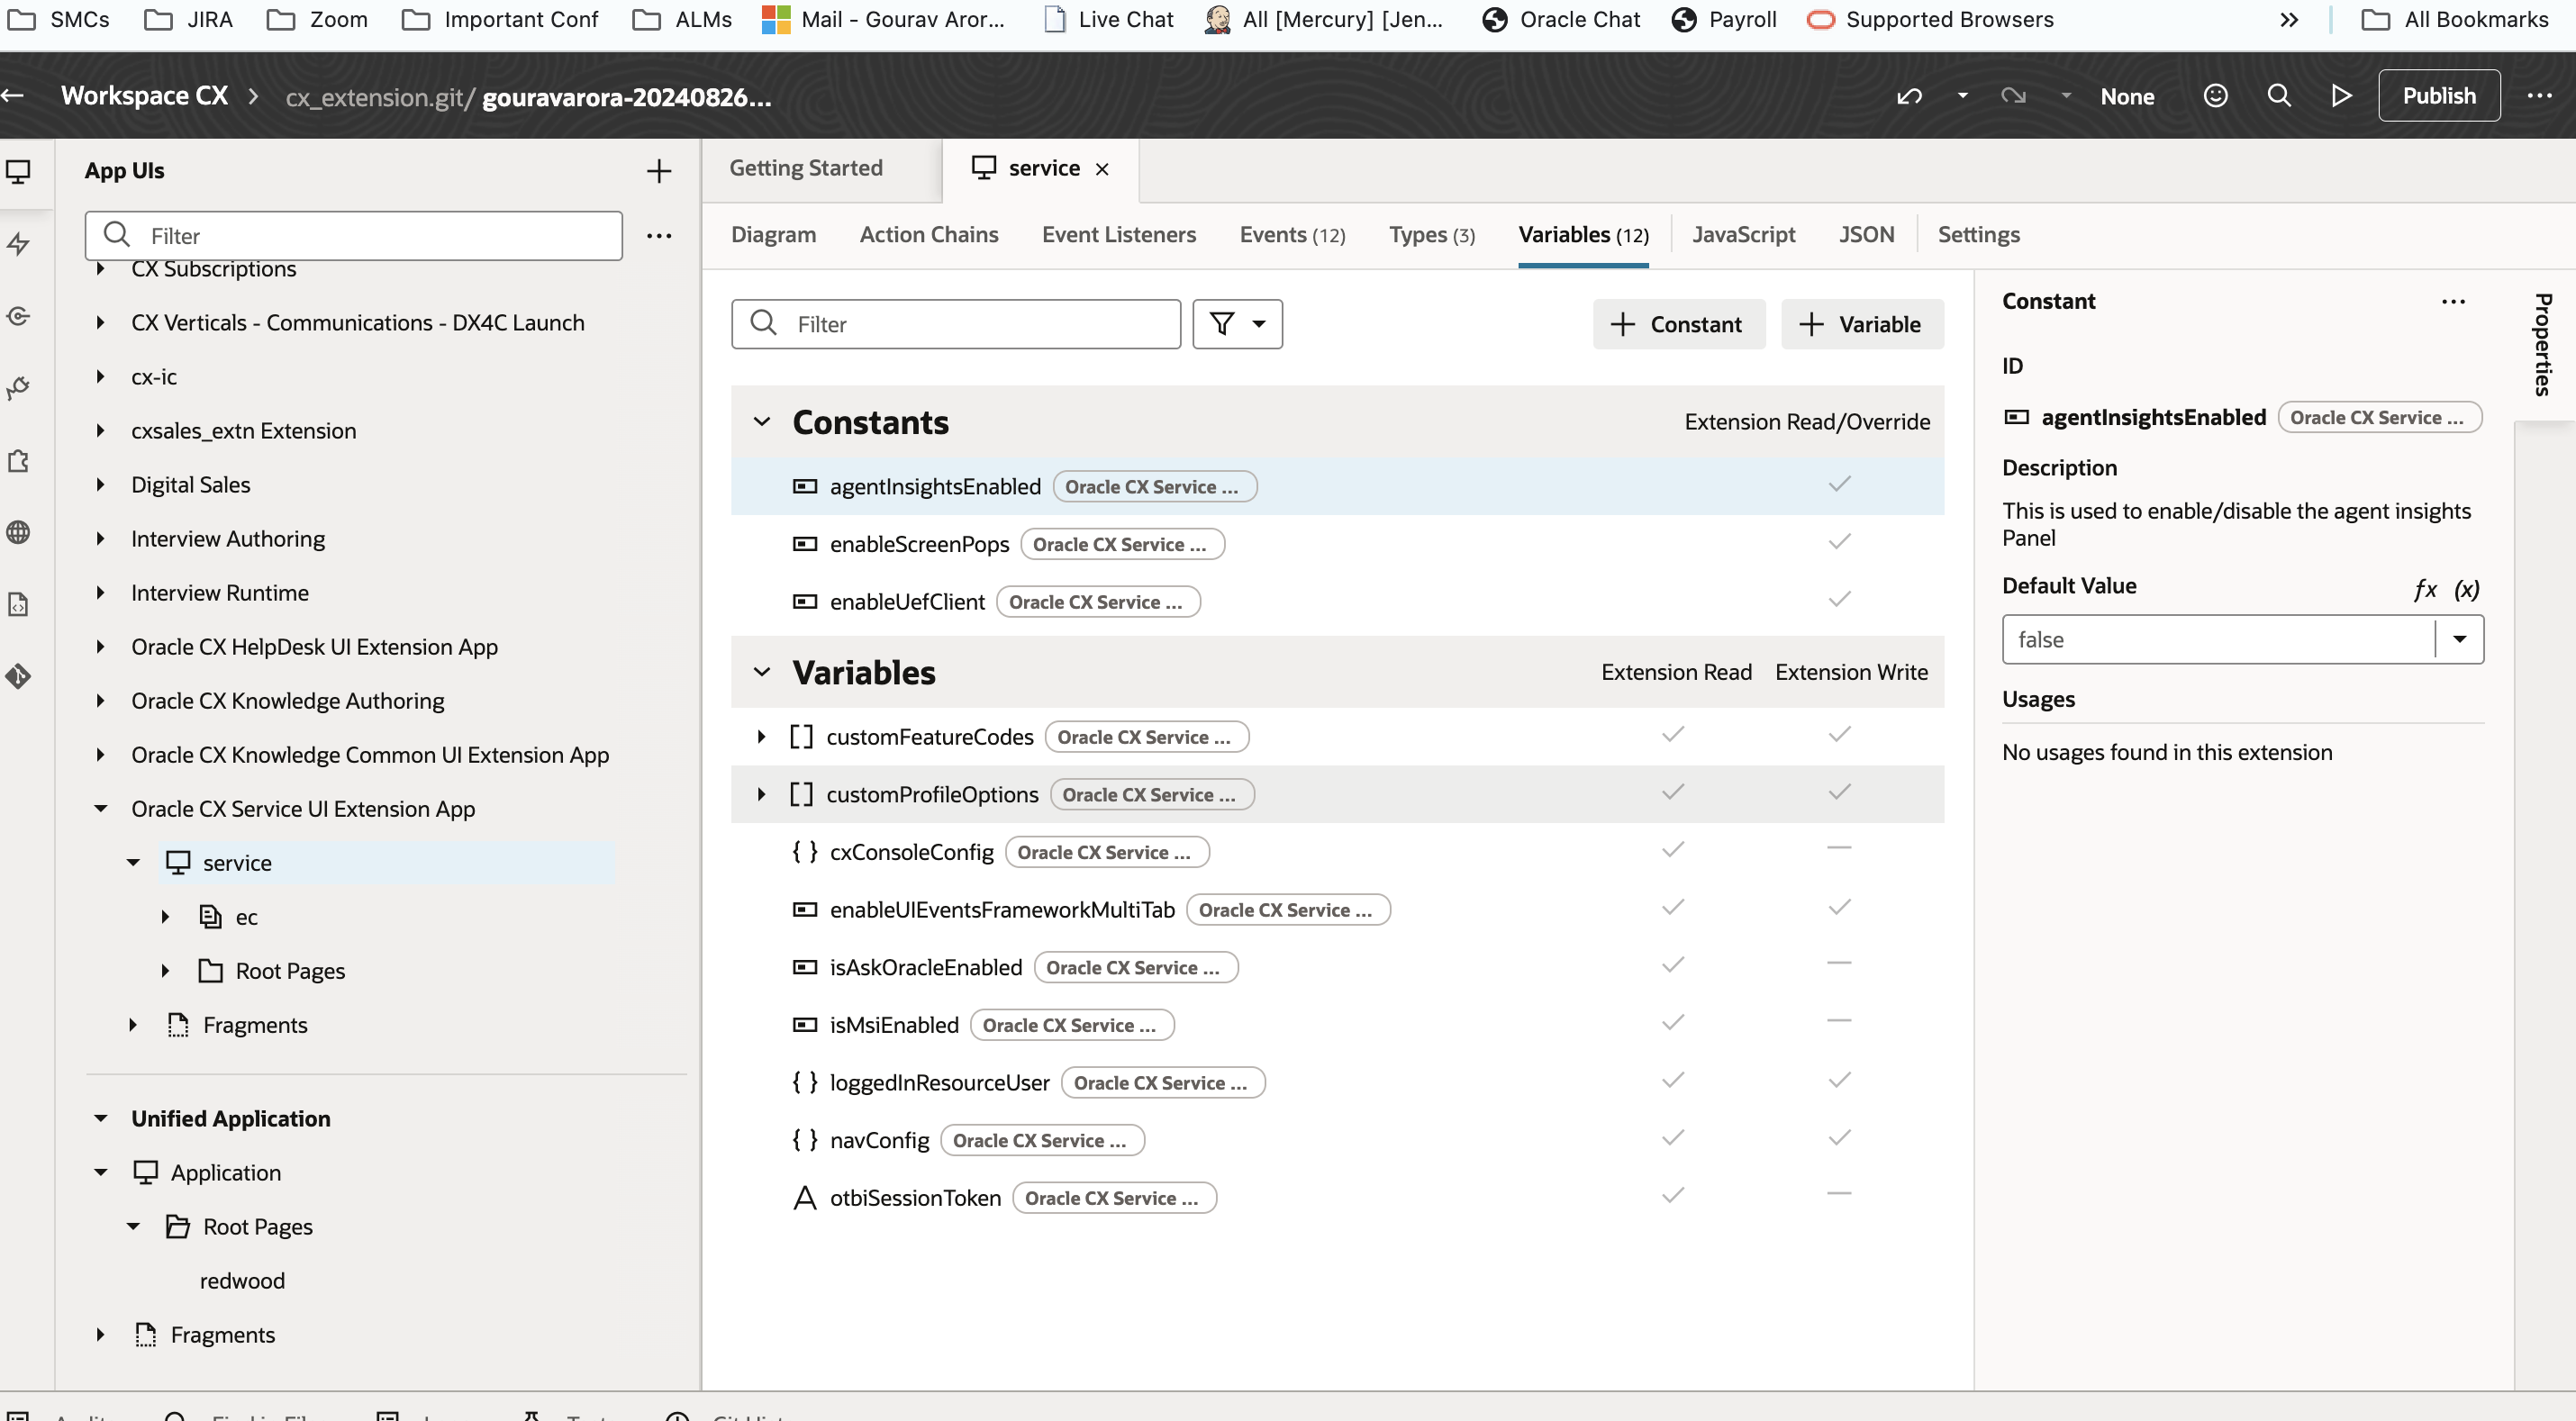
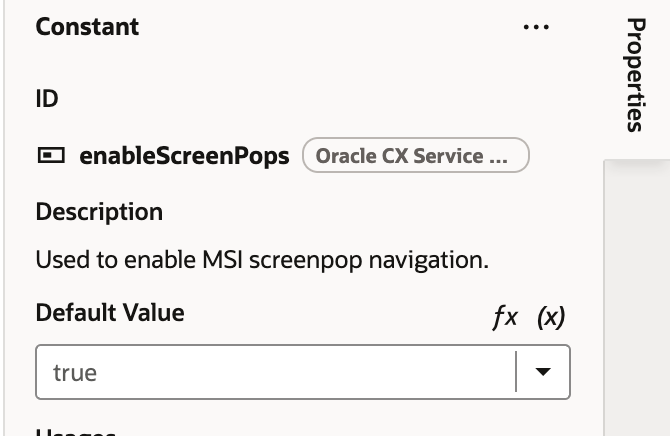
- Choose enableScreenPops, once selected property pane at right side will be updated with enableScreenPops properties
- Default value dropdown then can be used to disable or enable screenpop.
- Setting it to true will keep the ScreenPop enabled
- Setting it to false Default ScreenPop will be skipped and Agent will always land to svc-contact page
Steps to Add custom Screen Pop
Here is an example on how to create a custom ScreenPop
- To add ScreenPop custom rules we need to add event listeners to cxSvcNavigation, which is under service, to navigate to service we need to open APP UIs, which can be viewed by click Icon #1 in left side menu. choose Oracle CX Service UI Extension App > Service
- On choosing Service service page will open in right pane.
- Switch to Event Listeners Tab
- On the screen click on button Add Event Listener (+ Event Listener), all the events which can be listened will be listed, find and choose cxSvcNavigation and click on next
- Once the action chain is created it will be added to cxSvcNavigation event and can be seen under EventListeners and Action Chain tab, click on "Go to Action Chain" next to action chain name to open & edit the action chain
- A newly created action chain look like, At left side we see Actions which can be added on right side we see properties of the Action Chain or the step selected.
- We will first drag and drop a if Action to make sure our action chain runs only for SCREENPOP navigation type
- Once if is added to action chain we can put conditions to match our Business use case, for this if we will add condition, to add the conditions we can use right side properties paneevent.navigationType === 'SCREENPOP'
- Inside the if we can the drag another if Action to match out Business use case, for the first case we will render case object if caseId present in engagementData
- We are now ready to trigger the event which is going to screen pop the case object, for that we will use FireEventAction by dropping inside inner if Action
- Next step is to define FireEvent which can be done from Right Properties Pane
- Next step will be add return block to avoid default behaviour to get executed
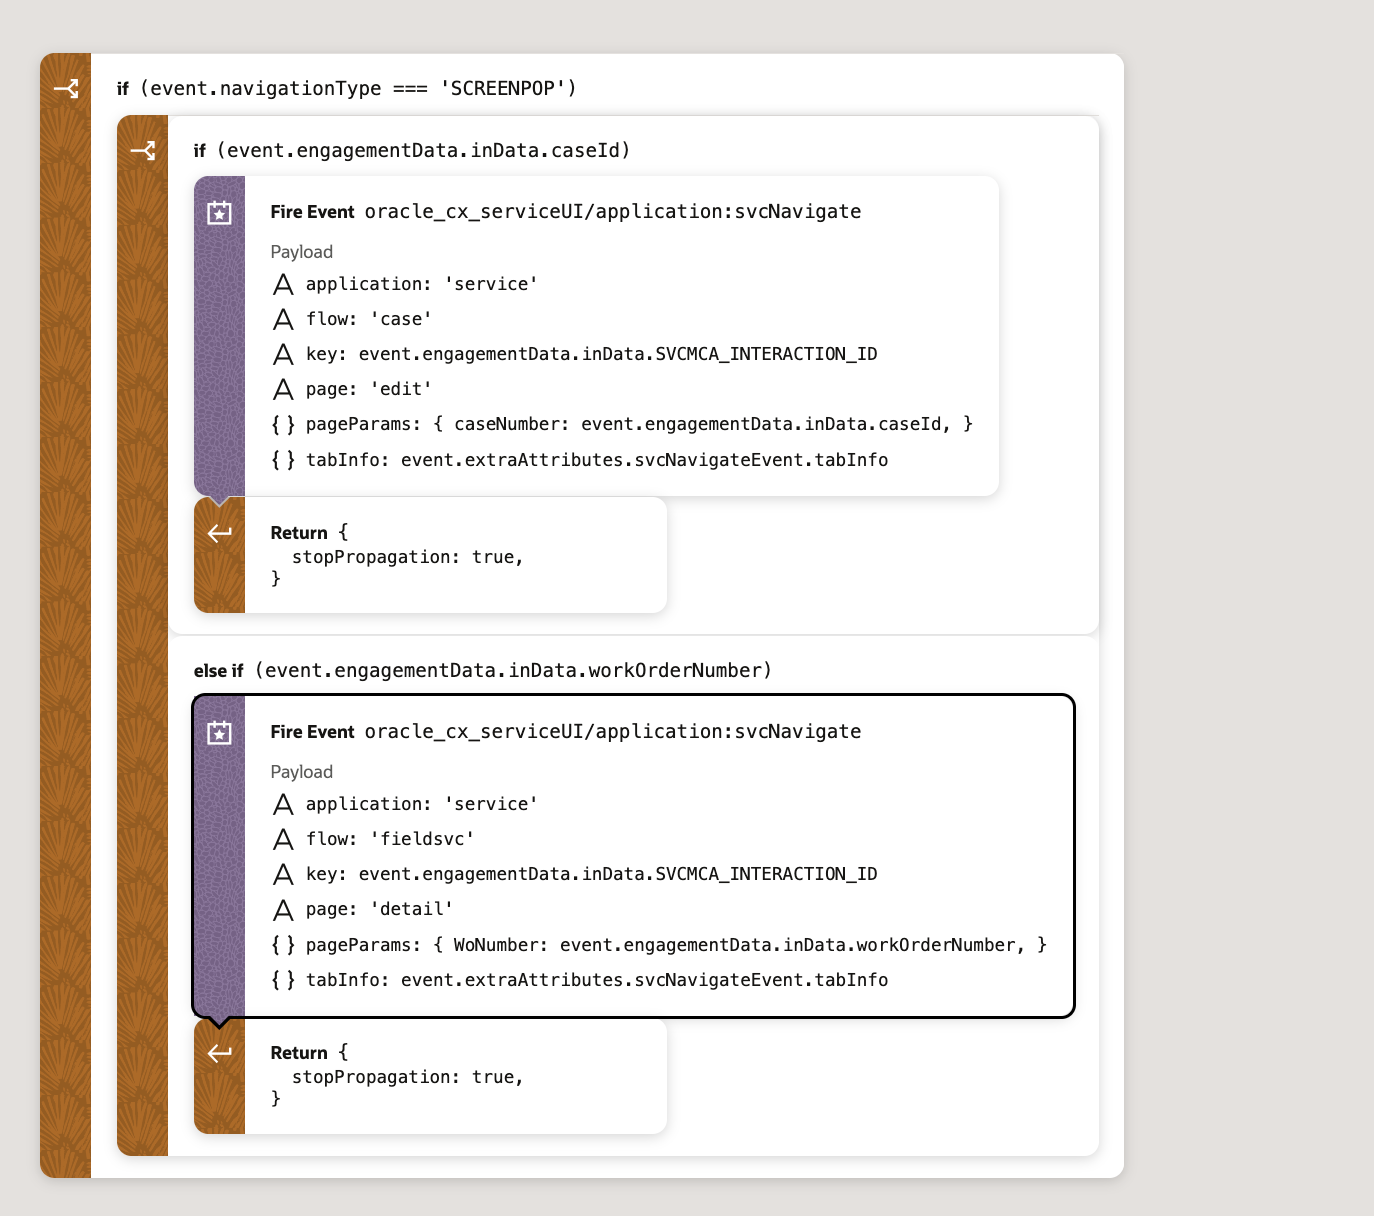
- Same way we add other blocks to support various business use cases, for this example we will add one more if Action which will be rendering workorder if workorder is present in engagement data
Here is how you action chain should be like:
Tips And Considerations
- If the default behavior is not meeting your business needs, you can customize the screen pop up flows as required.
Key Resources
See the Chat With a Customer section of the Using Service Center in the Redwood User Experience guide
Also, see Implement Web Chat section in the Overview of Web Chat for Service guide.
Access Requirements
An Administrator will need the appropriate privileges to:
- Administrator access to VB Studio
- Provision the Chat Agent role to chat agents