Define a Dynamic Link in an Email Notification that Navigates to Either Redwood or Classic UI Based on User Privileges
In the 25B release, email notifications containing deep links for both Classic and Redwood User Interfaces (UI) relied on the site-level profile option (PO) "ORA_SVC_DYNAMIC_LINKS_FOR_SR_NOTIFICATIONS_ENABLED" for CRM SRs. Since this profile option applied to all users, enabling it directed everyone to the Redwood UI, creating a limitation for those users who use both Classic and Redwood UIs on the same pod.
With this release, users are now directed to the Redwood UI only if they have the "SVC_VBCS_SR_Drill_Down_Access" privilege. If a user does not have this privilege, clicking the SR link in the email will take them to the Classic UI instead.
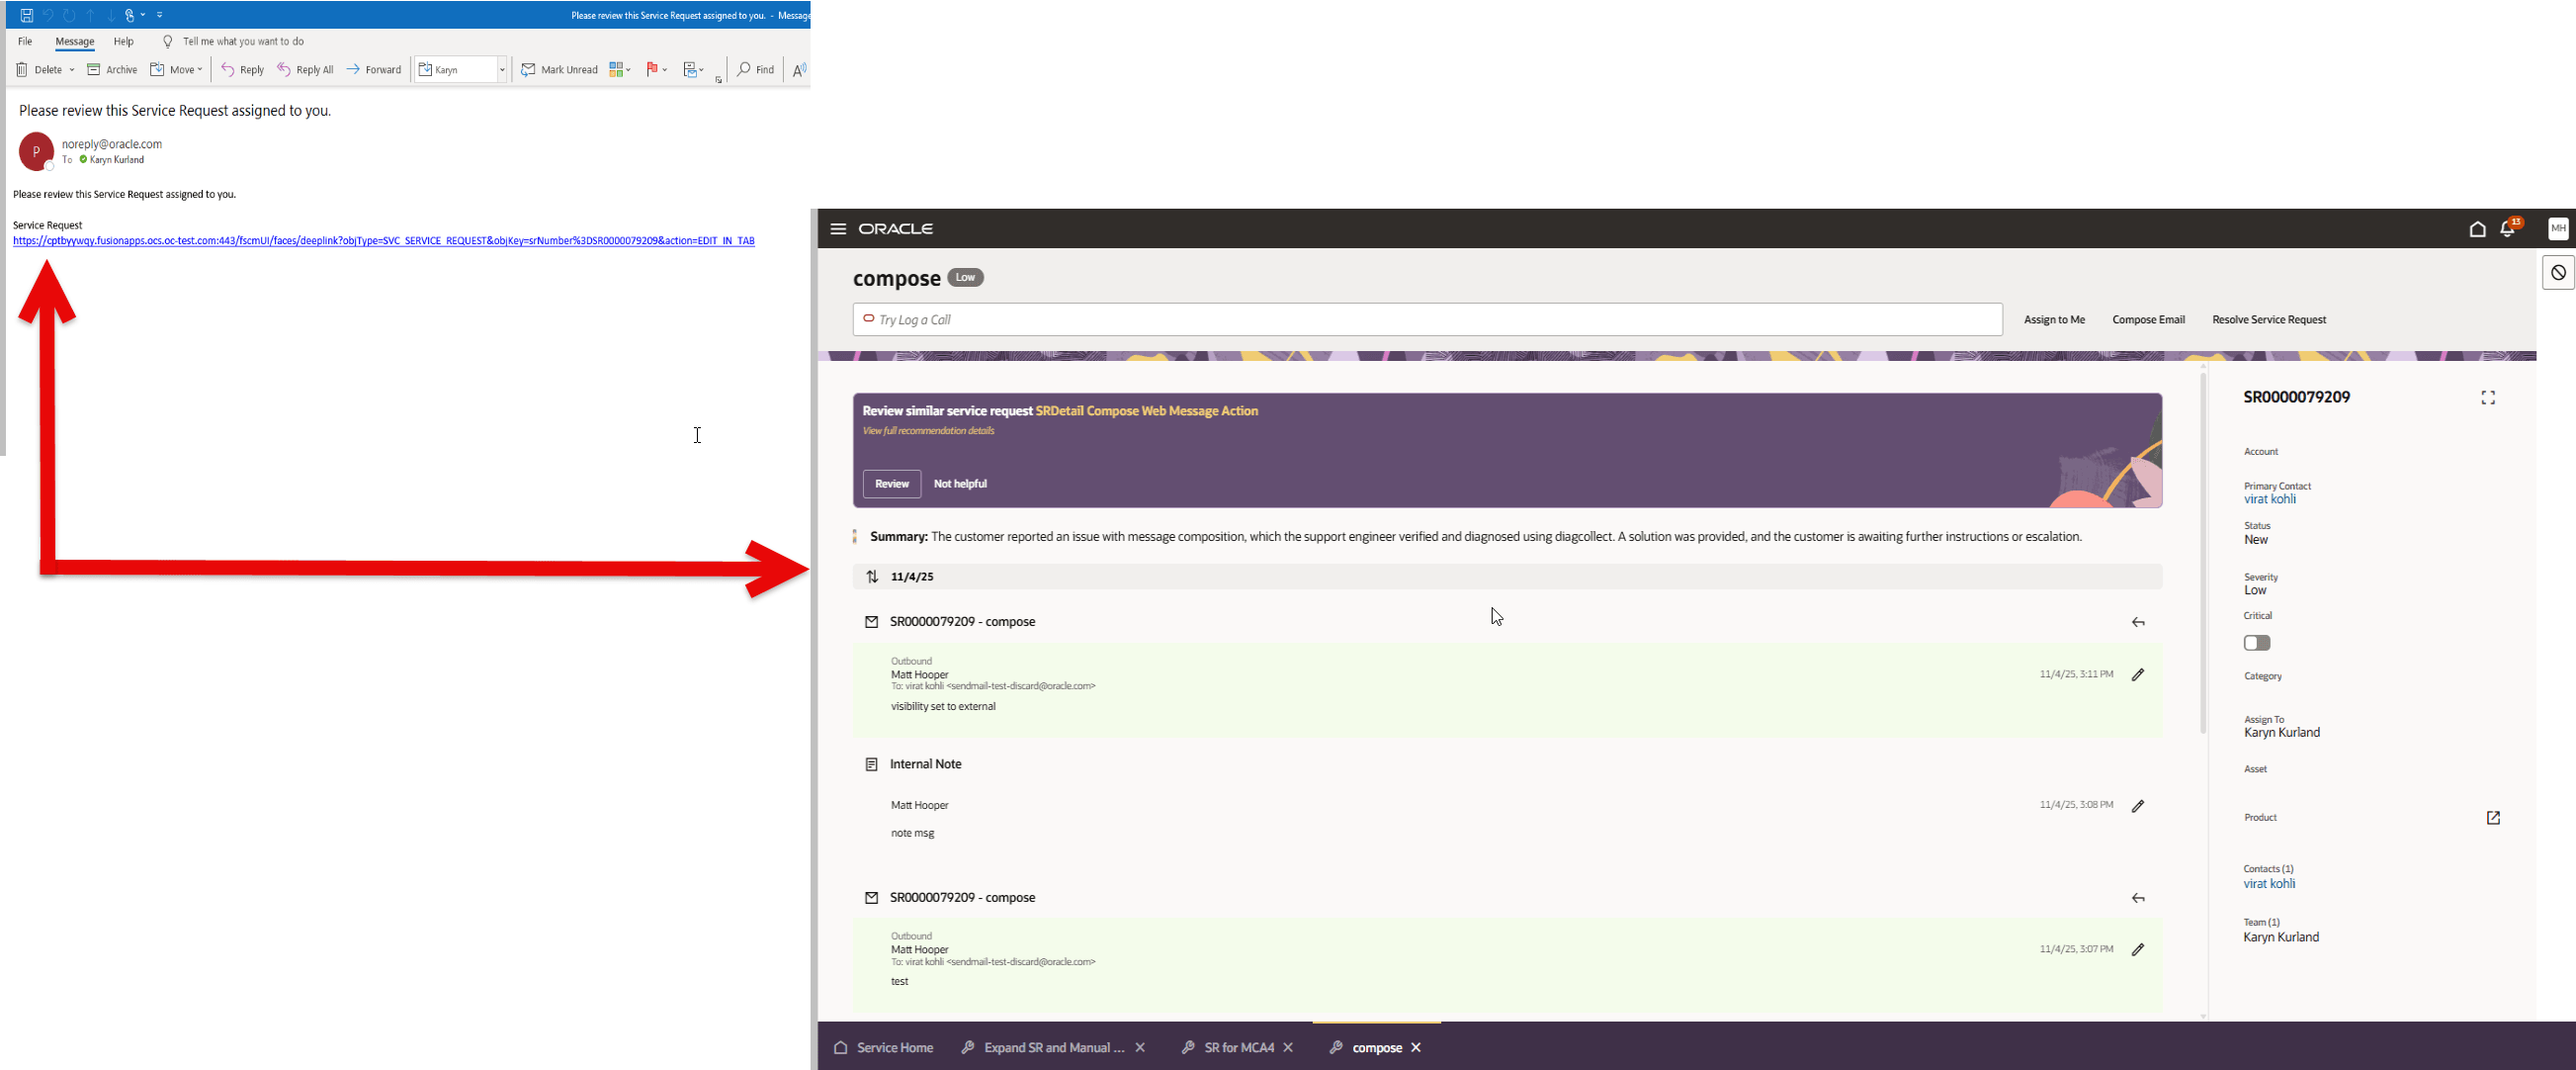
Email Link Opening Redwood Service Request Details Page
Provides flexibility for customers whose users access both Classic UI and Redwood UI and avoids the need to specify different email notification SR deep links.
Steps to enable and configure
Pre-requisites:
Grant this privilege to your relevant users SVC_NAVIGATE_TO_SERVICE_CENTER_FROM_NOTIFICATIONS_PRIV
Here are the high level steps to add this privilege to users who need to navigate to the Redwood page from the email notification:
To add a privilege to a user in Oracle Fusion, you generally add a privilege to a role, and then assign that role to the user. First, navigate to the Security Console to find and edit the role, or create a new custom role. Next, use the "Add Function Security Policy" option to find and add the desired privileges. Finally, assign the updated role to the user in the Security Console's Users tab.
Detailed steps
- Navigate to the Security Console: From the Oracle Fusion homepage, go to Tools > Security Console.
- Select the role: Click on the Roles tab on the left-hand pane.
- Find and edit the role: Search for the existing role you want to modify and click to edit it. You can also create a new custom role.
- Add the privilege:
- In the role editing page, click Add Function Security Policy.
- Search for the specific privilege you want to add (e.g., "SVC_NAVIGATE_TO_SERVICE_CENTER_FROM_NOTIFICATIONS_PRIV").
- Select the privilege and click Add Privilege to Role.
- Assign the role to the user:
- Go to the Users tab in the Security Console.
- Search for and select the user you want to grant privileges to.
- On the user's details page, click Edit.
- Click Add Role in the Roles section.
- Search for the role you just updated and click Add Role Membership.
- Save your changes. Note that it may take a few minutes for the new privileges to take effect.
Notes:
- User with this privilege will navigate to Redwood page.
- User without this privilege will navigate to Classic page.
- The feature will still honor ORA_SVC_DYNAMIC_LINKS_FOR_SR_NOTIFICATIONS_ENABLED profile option available in the earlier release. In case you need to enable Redwood deep links site wide, your administrator can enable the PO, otherwise disable the PO which makes navigation based on each user's access.
Access requirements
Customer Service Representatives