Manage Web Activity Rules
From the Web Activity Rules page, you can view previously created rules, create, edit, and delete a rule to either include or exclude all or any attributes for the Campaign and Web Activity objects.
-
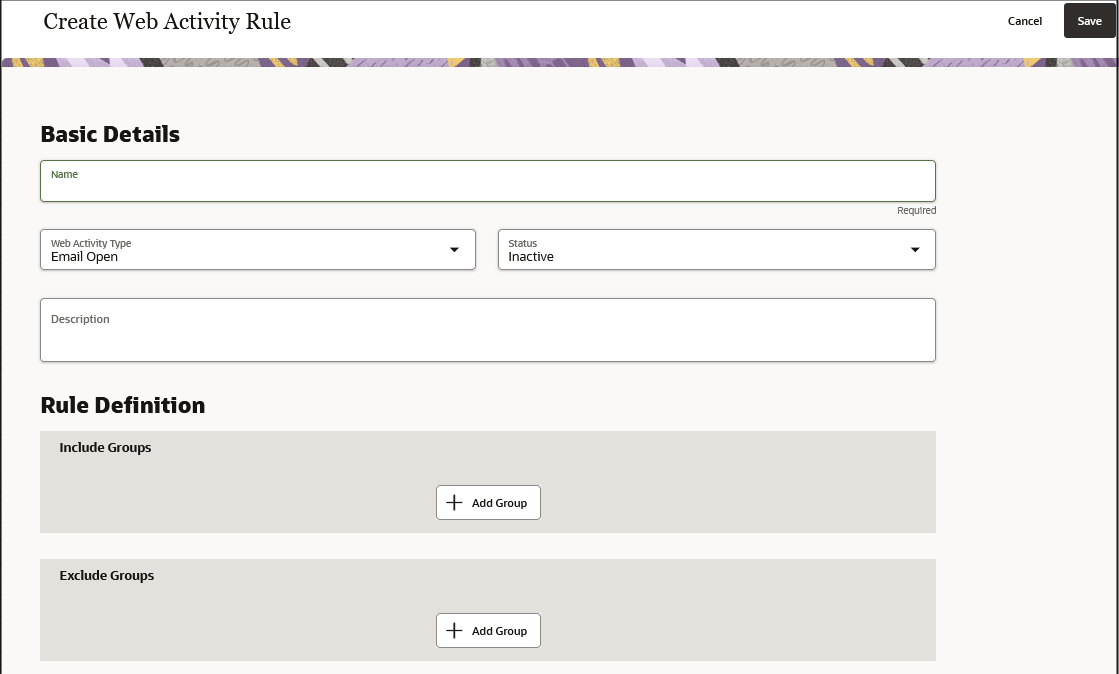
From , navigate to the Web Activity Rules page and click
Create.
-
Click Add Object to select either the Campaign and Web
Activity objects. Select the attributes, operators, and values that you want to
define for the conditions of your rules.
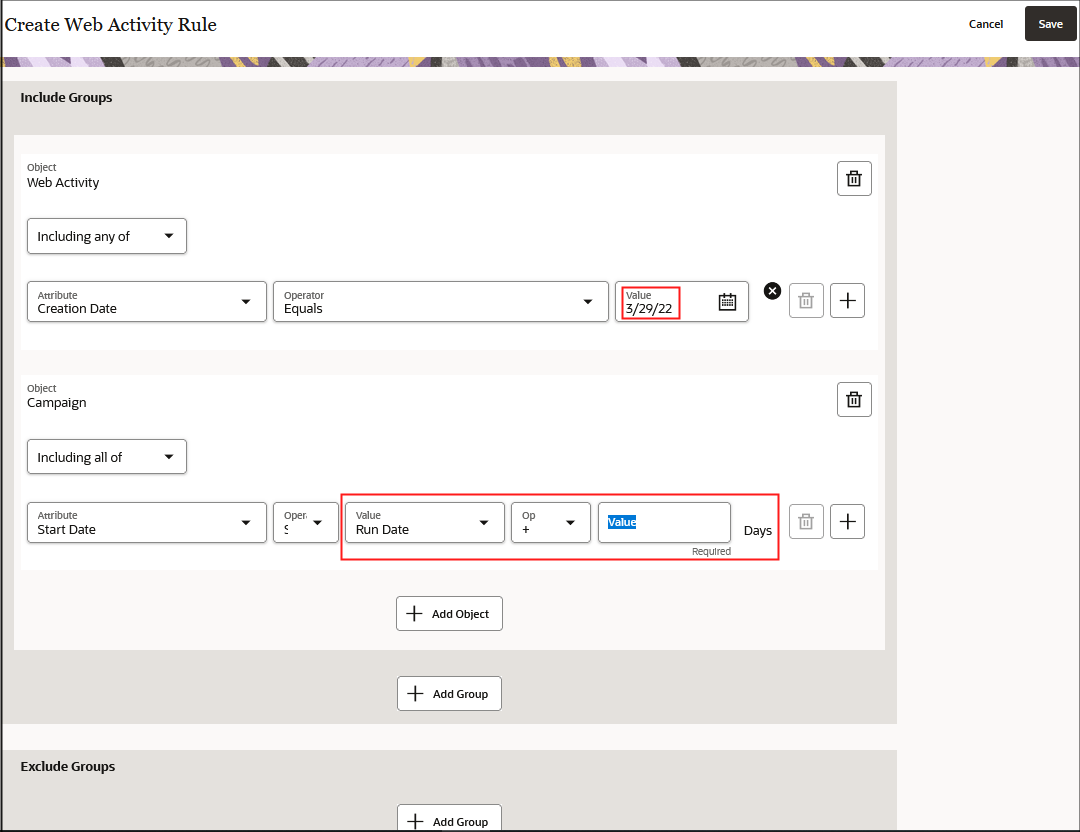 You can define multiple rules for each of your objects. Click the plus (+) sign at the end of each row to add another rule associated with your web activity type.Note: For date values, you can select the specific date that you want or you can specify a run date plus or minus a specific number of days in integer format. For example, for date-related attributes you specify a run date plus 7 days. This means that if all or any of the rules are met, the rule will continue to process and update records 7 days past the specified run date.
Change Web Activity Rules
- From , navigate to the Web Activity Rules page.
- In the Name field, double-click the rule you want to edit. Note that you can change the basic details expect for the name of the rule and you can change all or any of the rule conditions.
- Click Save to update the web activity rule name with your changes.
-
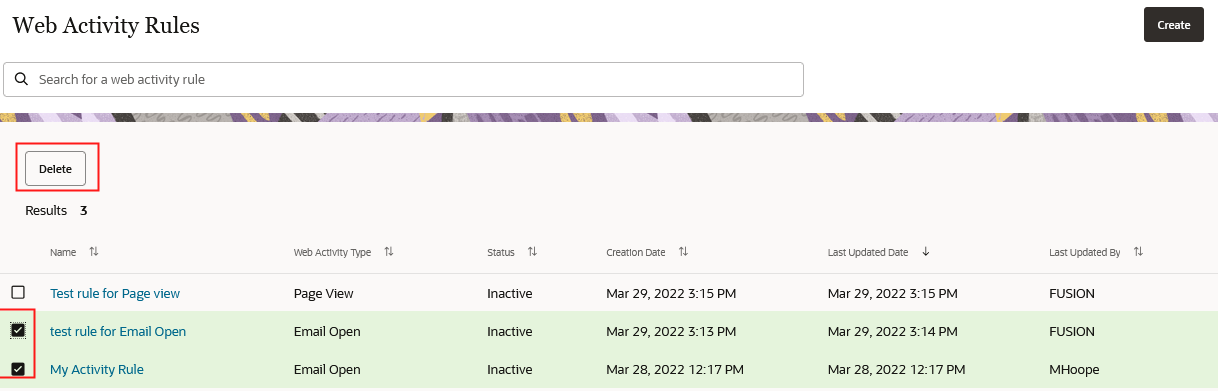
To delete rules that no longer apply, select them from the list page and
click Delete.