Configure the Rollups Region in a Panel
Rollups summarize data for an attribute of a business object and its related objects. In Sales in the Redwood UX, the calculated value of a rollup appears as a business metric inside a panel on an account record's page. You can add new rollups to a panel using Oracle Visual Builder Studio.
Where Do Rollups Appear?
Rollups appear inside specific panels on an account record page in Sales in the Redwood UX.
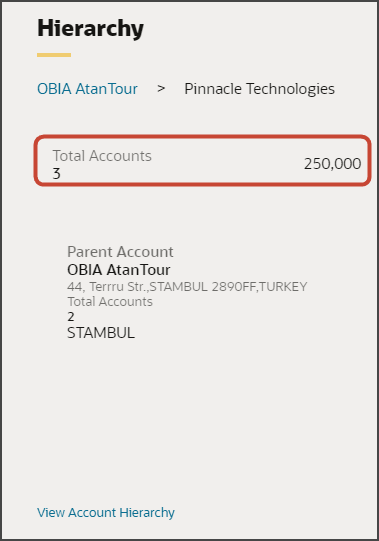
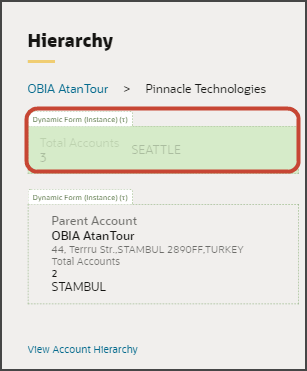
Here's a screenshot of a rollup that displays in the Hierarchy panel for an account.
Only certain panels include a region for rollups. You can modify these regions, as needed.
This table lists which panels include rollups, as well as the predefined rollups that are automatically included in each panel. For example, a rollup can calculate the sum of the potential revenue from the opportunities for an account.
For a complete list of all the predefined rollups that are available with Sales in the Redwood UX, see Predefined Rollups.
|
Panel |
Predefined Rollups |
|---|---|
|
Hierarchy |
|
|
Opportunities |
|
|
Leads |
|
|
Service Requests |
|
Configure the Rollups Region
In this example, we'll add a predefined rollup to the Hierarchy panel. (Note that you can also create custom rollups, if required. For more information about how to create custom rollups, see Create Rollups.)
-
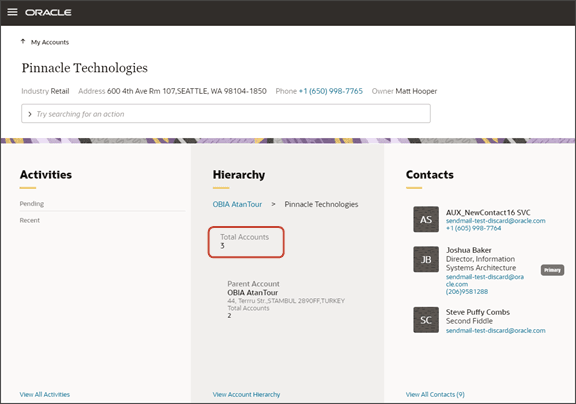
In Sales in the Redwood UX, navigate to the My Accounts page and drill down to any account record.
-
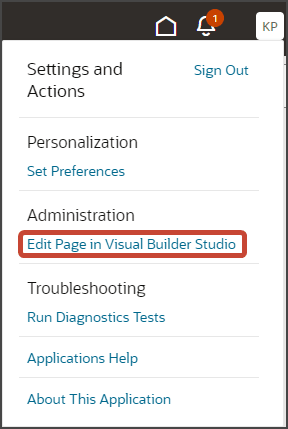
In the Settings and Actions menu, select Edit Page in Visual Builder Studio.
-
Select the project that's already set up for you. If only one project exists, then you'll automatically land in that project.
-
If you're working in an active sandbox when you launch VB Studio from Sales in the Redwood UX, then VB Studio looks for a workspace that's associated with your sandbox. If you're not working in a sandbox when you launch VB Studio, then VB Studio looks for a workspace without a sandbox. You might need to select a workspace if more than one workspace exists. If no workspace exists, then VB Studio automatically creates one for you.
-
When you enter into your workspace in VB Studio, you land on the Page Designer. This is where you create your application extension.
The account record page is displayed in the "design area."
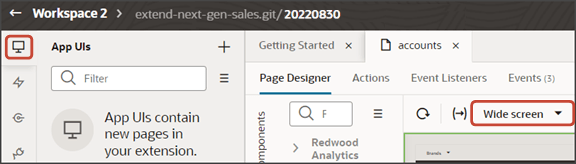
Tip:To display more of the page in the design area, collapse the navigation pane by clicking the Applications Extensions tab on the left. Then, select Wide screen from the list at the top of the Page Designer.
-
Click the Design button.

-
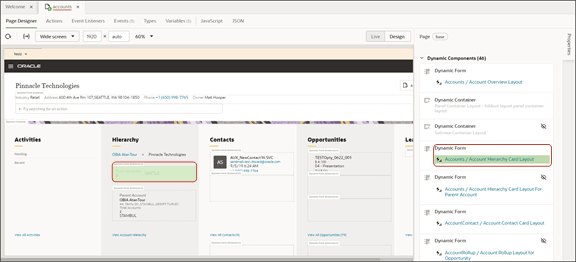
In the design area, click the dynamic form region inside the Hierarchy panel.
Note that the region now displays with a Dynamic Form handle.
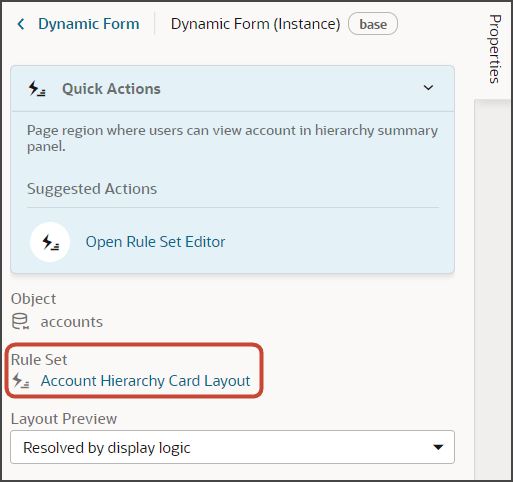
In the Properties pane, the rule set is also displayed.
 Tip:
Tip:Instead of clicking, you can also hover over the list region in the design area. When you hover, both the region and its associated dynamic form are highlighted in green.
-
In the Properties pane, click Account Hierarchy Card Layout.
-
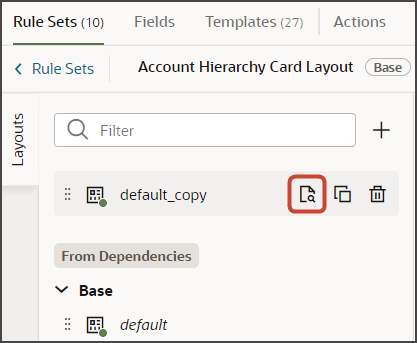
On the Layouts tab, click the Duplicate icon to duplicate the default base layout.

-
Enter a name for the layout and click Duplicate.
-
Click the Open icon to edit the duplicate layout.
-
On the Fields tab, search for the field that you want to add as a new rollup to the Hierarchy panel.
In this example, we want to add the total number of employees to the Hierarchy panel. Enter
employeein the Filter field, then click the EmployeesTotal field to add it to the list of rollups.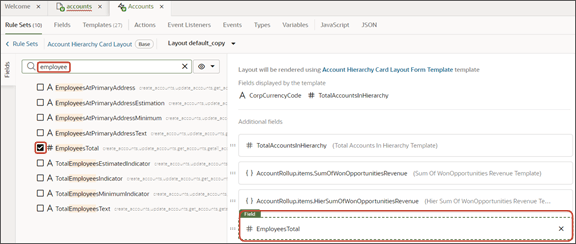 Note:
Note:Use the Filter field to filter on a set of fields that you can add. For example, enter
rollupto find rollup fields that you can add. Other rollup-related terms that you can filter on includetotalorsum.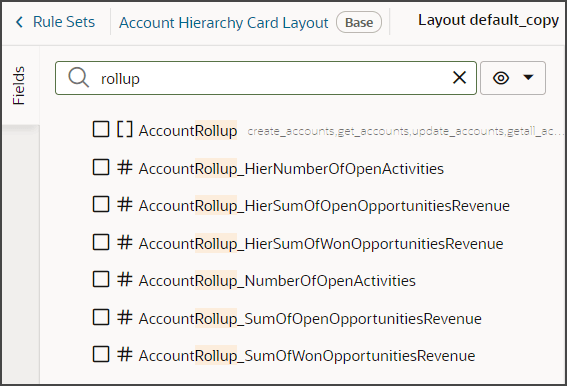
-
Click the Preview button to see your changes in your runtime test environment.

The total number of employees is now displayed in the Hierarchy panel next to the total number of accounts in the hierarchy. If the accounts don't have employee counts specified, then nothing displays in the panel at runtime.