How do I add products to an opportunity in Sales in the Redwood User Experience?
You can add products or product categories to an opportunity in several ways. You can either browse the product catalog and search for your product or if you know the exact name of the product you want to add, then you can quickly add the product from the Add Products panel.
Add Products from the Panel
Here's how to quickly add products or product categories to an opportunity from the Add Products panel.
-
Open the opportunity you want to update.
-
In the Action Bar, enter
addand select Add Products. - From the Add Products panel, enter the product
details.
-
Click Add More to add more products and when you're done adding and editing the items, click Save.
Add Products Using Browse Catalog
Here’s how to add products or product categories to an opportunity by browsing the catalog.
-
Open the opportunity you want to update.
-
In the Action Bar, enter
browseand select Browse Catalog. -
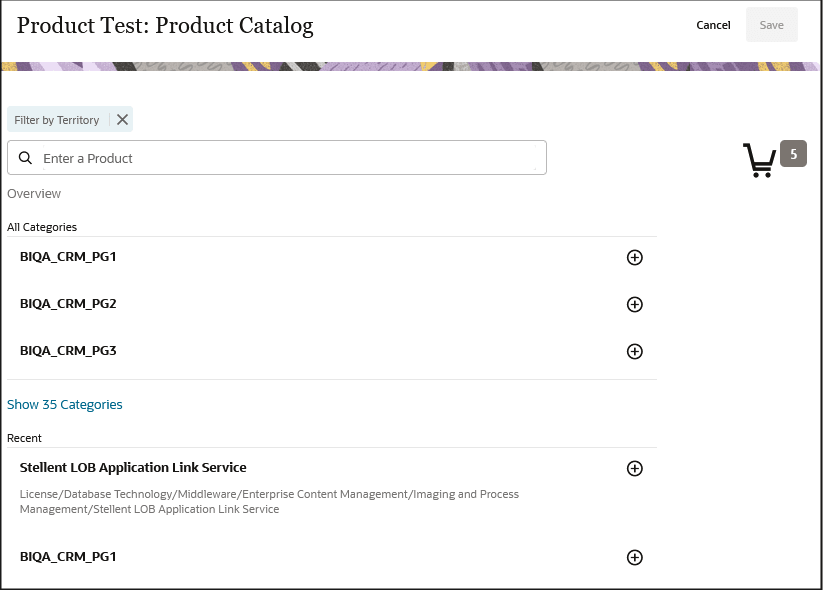
You can add multiple products or product categories to the opportunity in one of two ways:
- You can browse the Product Catalog by clicking on product category
names. As you browse, you can add multiple items to the lead or
opportunity by clicking the plus (+) icon. You can also select from the
list of recent items displayed at the end of the page. Note: Depending upon how the application is configured, your default view of the products list might be filtered to show only the products or product groups in your assigned territories. If so, you can click the x on the Filter by Territory filter to show all products and product groups in the catalog.
-
If you know the name or part of the name of the product or category, enter it in the Action Bar and press the Return key to display product categories and products with that name or part of that name. You can add multiple such filters. And you can start browsing through your search results at any time.
Note: Ensure that your administrator has enabled the Product and Product Group objects for Adaptive Search and has run a full publish process. While records you create and update in the UI are automatically indexed and made searchable within seconds, imported records or records updated by background processes aren't available for search until the indexing process completes.
- You can browse the Product Catalog by clicking on product category
names. As you browse, you can add multiple items to the lead or
opportunity by clicking the plus (+) icon. You can also select from the
list of recent items displayed at the end of the page.
As you browse or search, you can add multiple items to the cart by clicking the + (plus) icon.
-
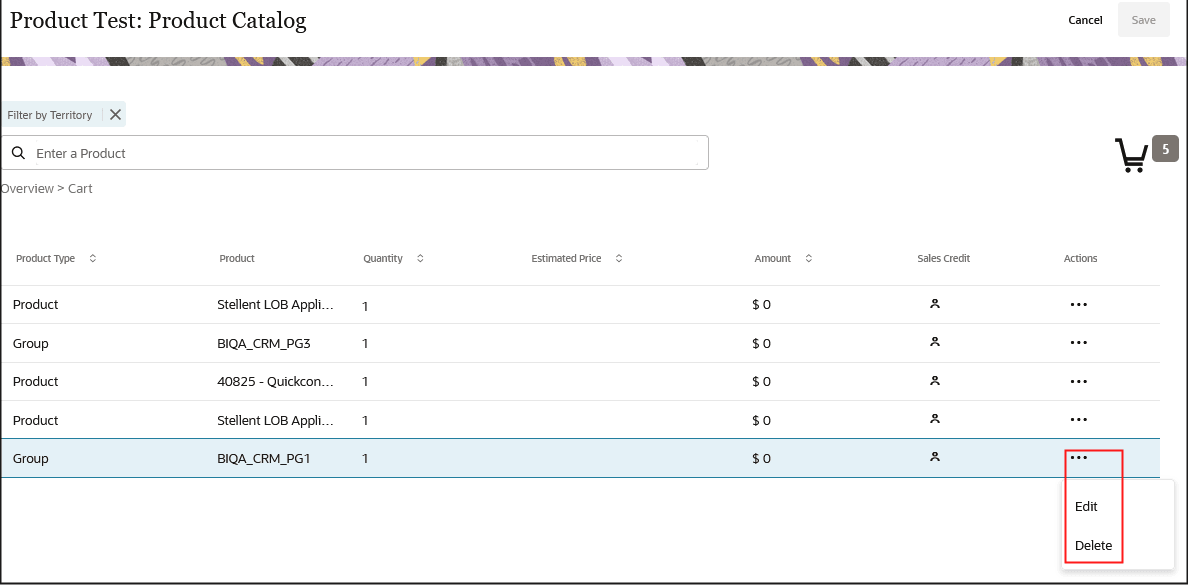
Click the cart icon to change add pricing and quantity information, or to delete products and replace them with others:
-
To add pricing and quantity information, or to change the product, click Actions (the three horizontal dots icon highlighted in the screenshot) and select Edit.
-
To delete the product, click Actions and select Delete.
-
-
When you're done adding and editing the items, click Save.