Enable Navigation to the Sales Dashboard
Enable the navigation to the Sales Dashboard from the Home page.
- From the Navigator, select .
- On the Sandboxes page, click Create Sandbox.
- On the Create Sandbox page, enter a sandbox name.
- For the Publishable option, click Yes.
- In the All Tools table, select the Structure checkbox.
- Click Create and Enter.
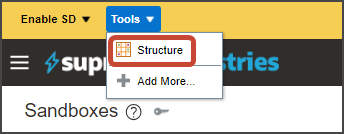
- On the Sandboxes page, from the Tools menu, select
Structure.
Here's an example image showing how to access the Structure tool:
-
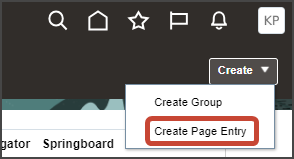
On the Navigation Configuration page, click .
Here's a sample image of the create a page entry item in the UI:
- On the Create Page Entry page, enter these field values:
Create Page Entry Field Values for Sales Dashboard
Field Value Name
Sales Dashboard
Icon
Select your desired icon
Group
(Top Level)
Show on Navigator
Yes
Show on Springboard
Yes
Mobile Enabled
Yes
Link Type
Dynamic URL
Web Application
ORA_FSCM_UI
Destination for Web Application
/redwood/cx-sales/application/container/dashboards/sales-dashboard
- Click Save and Close.
- Test and confirm that you can access the Sales Dashboard using both the Navigator and from the Home page.
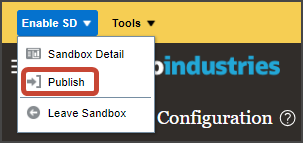
- When ready, publish the sandbox by clicking the sandbox name and then clicking
Publish.
This sample image shows the Publish item when publishing a sandbox: