Configure Redwood Sales Dashboard Layouts
To modify the Sales Dashboard, you must first duplicate a predefined Sales Dashboard layout. Let's look at an example of adding a component to a dashboard page.
Predefined Dashboard Layouts
The Sales Dashboard is constructed using a Dashboard fragment, which is divided into two containers that hold dashboard layouts.
Each layout is read-only. To make changes to a layout, you must first duplicate it.
The Dashboard fragment includes these two containers:
-
Metrics Container
This container holds read-only metric card layouts. Use this container to add new metric cards to metric card layouts.
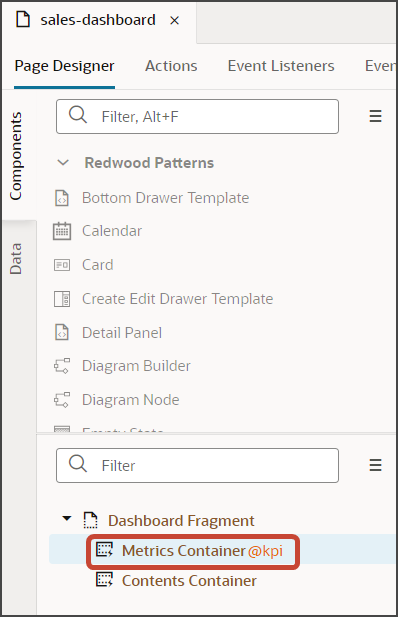
-
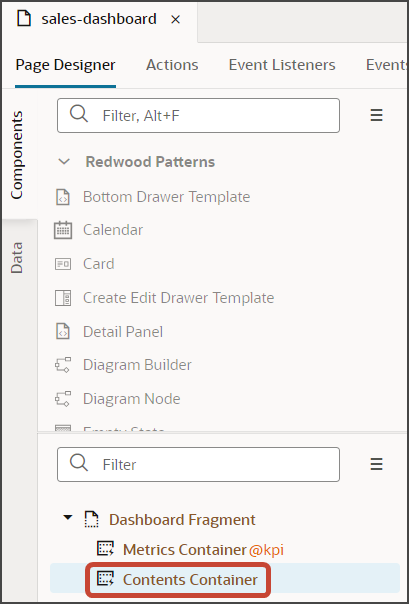
Contents Container
This container holds read-only dashboard page layouts. Use this container to add new components to dashboard pages.
The Metrics Container includes two read-only layouts:
-
Sales Manager Metrics
-
Sales Representative Metrics

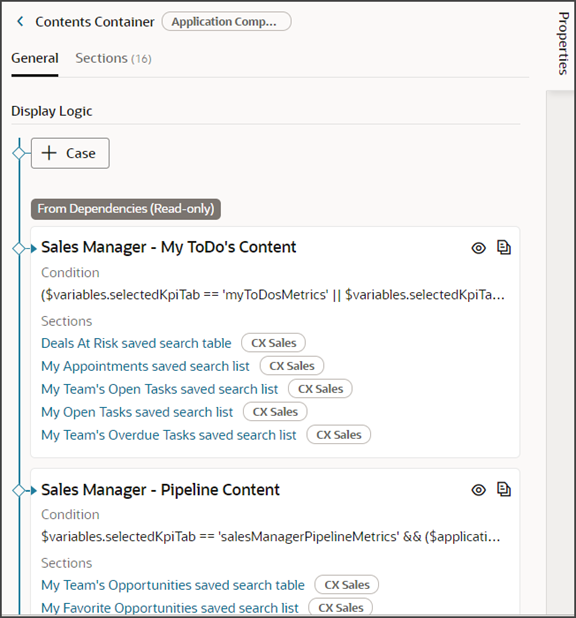
The Contents Container includes four read-only layouts:
-
Sales Manager - My ToDo's Content
-
Sales Manager - Pipeline Content
-
Sales Representative - My ToDo's Content
-
Sales Representative - Pipeline Content
Duplicate a Layout
In this example, let's add a predefined My Open Tasks component to the sales representative's version of the Sales Dashboard.
To start, you must first duplicate an existing layout.
-
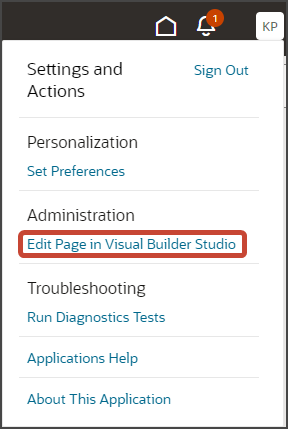
Navigate to the Sales Dashboard.
-
Under the Settings and Actions menu, select Edit Page in Visual Builder Studio.
-
Select the Redwood Sales project that's already set up for you. If only one project exists, then you will automatically land in that project.
-
If you're working in an active sandbox when you launch Visual Builder Studio from Digital Sales, then Visual Builder Studio looks for a workspace that's associated with your sandbox. If you're not working in a sandbox when you launch Visual Builder Studio, then Visual Builder Studio looks for a workspace without a sandbox. You might have to select a workspace if more than one workspace exists. If no workspace exists, then Visual Builder Studio automatically creates one for you.
-
When you enter into your workspace in Visual Builder Studio, you land on the Page Designer. This is where you create your application extension.
The Sales Dashboard is displayed in the main design area called the canvas.
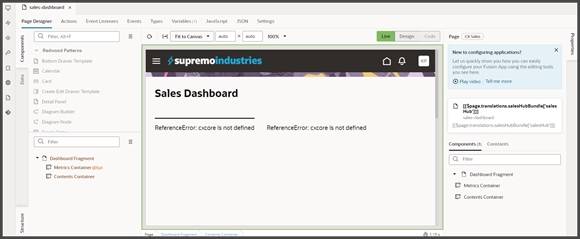
In this example, let's add a My Open Tasks component to the sales representative's version of the Sales Dashboard.
On the Structure pane, click the Contents Container node.
-
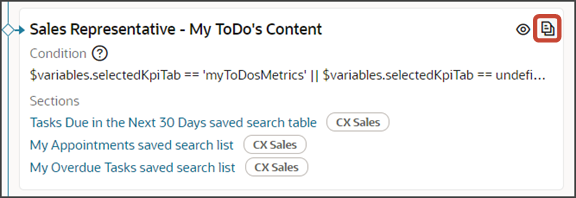
On the Properties pane, scroll down to the Sales Representative - My ToDo's Content layout.
-
Click the Duplicate icon to make a copy of the layout.
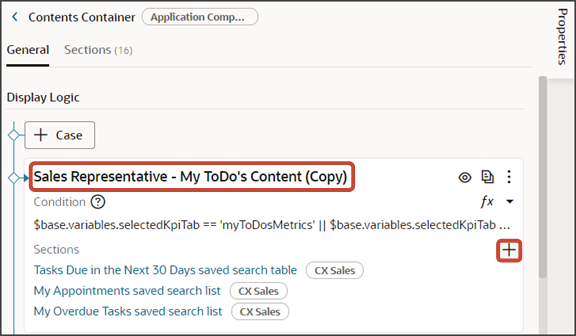
Visual Builder Studio makes a copy of the layout named Sales Representative - My ToDo's Content (Copy).
-
Review the layout's condition to ensure that the correct metric card ID and role are specified for this layout. You can either accept the metric card value inherited from the original layout that you duplicated, or you can update the metric card ID.
Use this format for the layout condition:
$variable.selectedKpiTab == '<metric card id>'For example:
$base.variables.selectedKpiTab == 'myToDosMetrics'Here's an example that includes a role:
($variables.selectedKpiTab == 'myToDosMetrics' ||
                            $variables.selectedKpiTab == undefined) &&
                            ($user.roles.includes('ORA_ZBS_INSIDE_SALES_MANAGER_JOB') ||
                            $user.roles.includes('ORA_ZBS_SALES_MANAGER_JOB'))
Note: The conditions for all sales manager layouts specify a job role. Notice, however, that the sales representative layouts don't have any role specified. This means that if the signed-in user isn't a sales manager, then they'll always see the sales representative version of the Sales Dashboard. Moreoever, if the sales representative layout is listed first, before the sales manager layout, then the sales representative layout will always display because (1) it's evaluated first and (2) its condition applies to any user regardless of their role. To read more about how layouts are evaluated for display, see Understand Layout Order.
You're now ready to make changes to the dashboard layout.
Modify the Layout
Once you have a layout that's ready to modify, you can make a change.
-
Click the Add Section icon to add a component.
-
From the list of available components that display, click My Open Tasks saved search list.
-
Test the modified dashboard layout by previewing your application extension.
Click the Preview button to see your changes in your runtime test environment.

-
The resulting preview link will be:
https://<servername>/fscmUI/redwood/cx-sales/dashboards/sales-dashboard Change the preview link as follows:
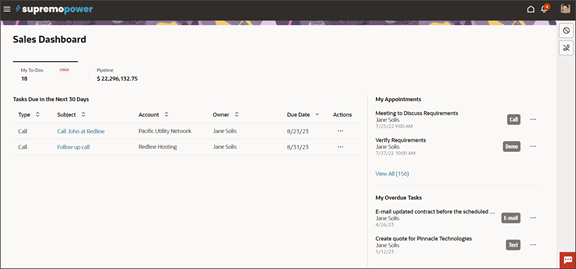
https://<servername>/fscmUI/redwood/cx-sales/application/container/dashboards/sales-dashboardHere's the default layout for the My To-Dos dashboard page for sales representatives:
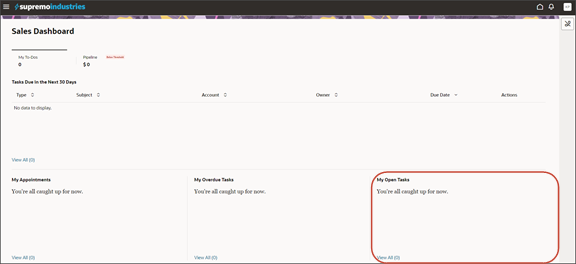
The screenshot below illustrates what the modified dashboard layout looks like with the new My Open Tasks component.
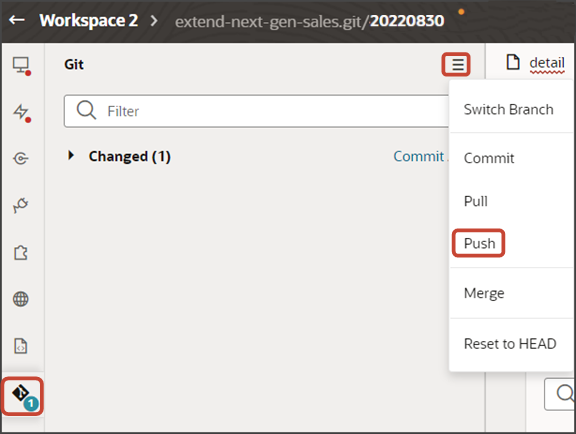
Save your work by using the Push Git command.
Navigate to the Git tab, review your changes, and do a Git push (which does both a commit and a push to the Git repository).
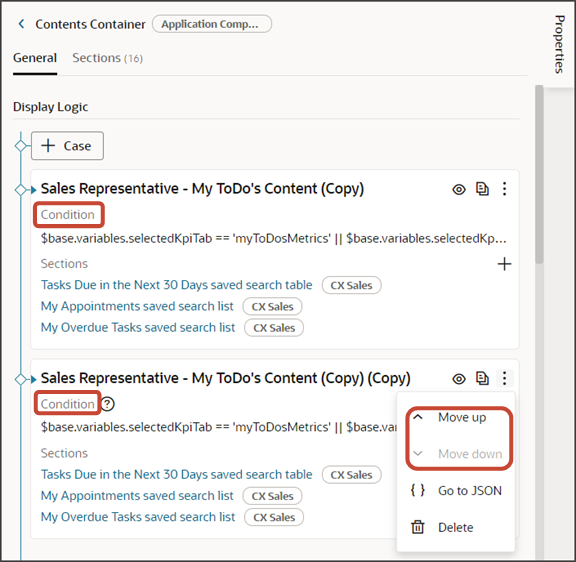
Understand Layout Order
When you duplicate multiple layouts, keep in mind that the sequence of those layouts is meaningful.
The sequence is meaningful because Visual Builder Studio evaluates the conditions of each layout to determine which one to display to the user. The first layout to meet the signed-in user's conditions is the layout that's displayed.
After creating multiple layouts, you can always change the sequence of layouts using the Move up and Move down options.